When To Harvest Pumpkins: 5 Signs For Perfect Timing
Learn the perfect timing and techniques for harvesting your homegrown pumpkins for maximum flavor and storage potential
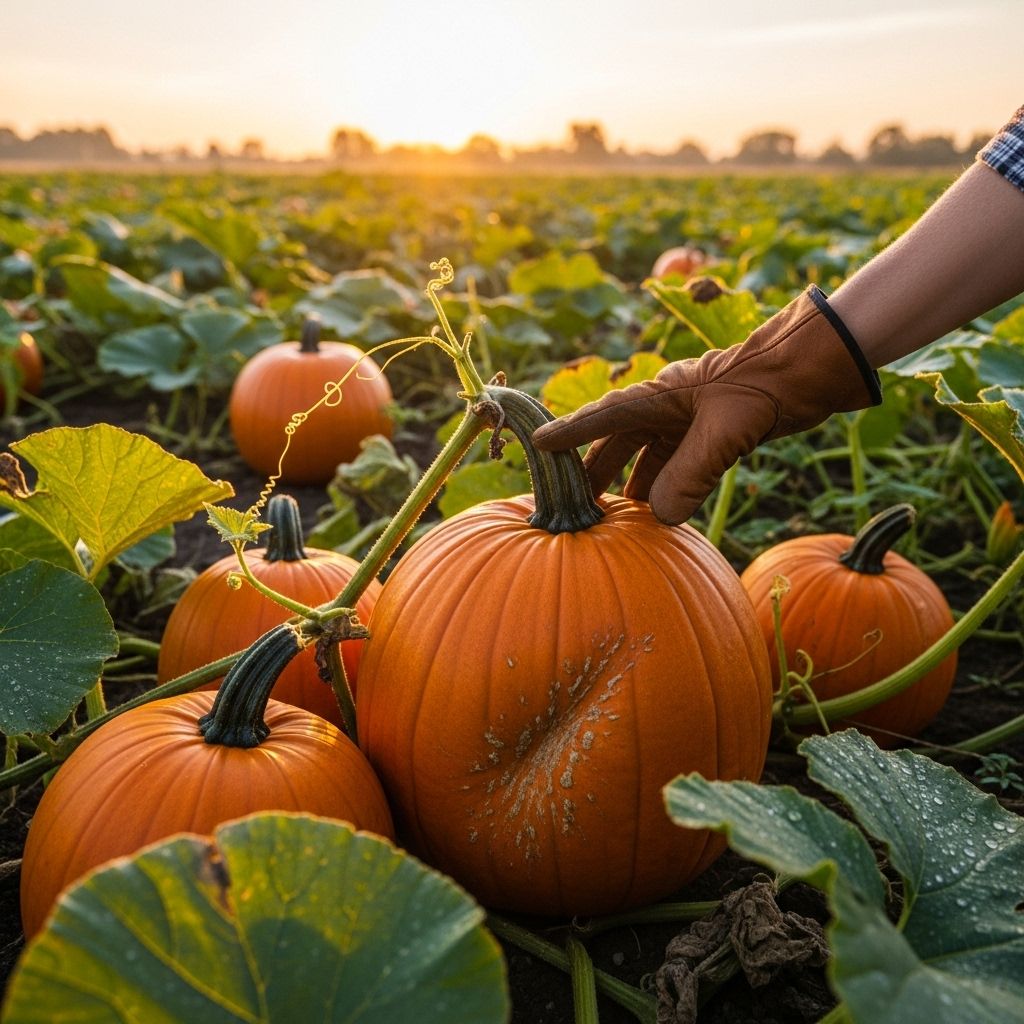
Image: HearthJunction Design Team
When to Harvest Your Pumpkins
Growing pumpkins is a rewarding experience, but knowing exactly when to harvest them can be tricky. Pumpkins typically mature in 85 to 120 days or more after planting, depending on the variety. Smaller varieties like dwarf and miniature pumpkins will be ready on the earlier end of this range, while larger varieties need more time to fully develop. To ensure you’re harvesting at the optimal time, look for these key indicators of ripeness.
Color Development
One of the most obvious signs that your pumpkins are ready for harvest is their color. Most varieties will turn a deep, solid orange when mature, though this varies by type. Some decorative varieties may be white, blue, or green when ripe. The important thing to look for is an even, consistent color throughout the entire pumpkin. If there are still green patches or the color appears faded, your pumpkin likely needs more time on the vine.
Remember that some heirloom varieties naturally have unique coloration patterns, so be sure to research your specific variety’s characteristics before harvesting. The stem should also begin to dry and turn a brownish color as the pumpkin reaches maturity, which is another good visual indicator.
The Sound Test
A simple but effective way to check for ripeness is the sound test. Gently knock on the pumpkin with your knuckles – a ripe pumpkin will produce a hollow sound, similar to knocking on a door. If the sound is more dull or dense, the pumpkin likely needs more time to mature. This test works because as pumpkins ripen, the flesh becomes firmer and the interior cavity develops properly.
Skin Hardness
The hardness of the pumpkin’s skin is a crucial indicator of ripeness. A mature pumpkin will have tough, hard skin that protects the flesh inside and enables long-term storage. To test this, try pressing your fingernail into the skin. If your fingernail can easily dent or puncture the skin, the pumpkin needs more time to develop. Give it another week or so before checking again.
A properly ripened pumpkin will resist punctures, which is essential for preventing rot and disease during storage. The hardened skin acts as a natural barrier against moisture loss and pathogen entry, significantly extending the pumpkin’s shelf life after harvest.
Stem Condition
The condition of the stem offers valuable clues about a pumpkin’s readiness for harvest. A mature pumpkin will have a stem that’s beginning to dry out and harden. It should feel woody rather than green and pliable. The stem may also begin to shrivel slightly, though it should still be firmly attached to the pumpkin.
Never use the stem as a handle when picking up your pumpkin, as breaking it off can create an entry point for bacteria and fungi, reducing storage life. Instead, always lift pumpkins from the bottom, supporting their weight evenly in your hands.
Dying Vines
Nature often provides its own harvest indicators. As the growing season ends, pumpkin vines naturally begin to die back. When you notice the vines turning yellow, brown, or beginning to wither, it’s usually a sign that your pumpkins are ready or nearly ready for harvest. The plant is essentially finishing its life cycle after producing mature fruit.
However, be careful not to confuse natural die-back with disease or pest damage. If only parts of your vines are dying while others remain healthy, investigate for possible issues before deciding to harvest.
How to Harvest Pumpkins Properly
Harvesting pumpkins with the correct technique is just as important as timing. Properly harvested pumpkins will store longer and remain healthier throughout their use, whether for decorations or culinary purposes.
Tools for Harvesting
Before heading out to your pumpkin patch, gather the right tools:
- Sharp pruning shears or a sharp knife
- Clean gardening gloves
- A soft cloth for cleaning
- A wheelbarrow or garden cart (for larger harvests)
Using clean, sharp tools is essential to prevent crushing the stem or introducing disease. Dull tools can create jagged cuts that may lead to rotting later.
Cutting Technique
To harvest a pumpkin properly, cut the stem approximately 3-5 inches from the fruit. This longer stem not only makes the pumpkin look more attractive but also helps it last longer. The stem continues to provide nutrients to the pumpkin even after cutting and helps prevent bacteria from entering the fruit.
Make a clean, angled cut with your pruners or knife. Avoid tearing or twisting the stem, as this can damage both the stem and the pumpkin. Never lift pumpkins by their stems, as they can break off, creating an entry point for decay organisms.
Handling After Harvest
Handle freshly harvested pumpkins with care. Their skin, while hardened, can still be damaged by rough treatment. Bruising or scratching the surface can lead to rot developing during storage. If soil or debris is on the pumpkins, gently clean them with a soft cloth. You can also use a mild solution of 1 part bleach to 10 parts water to sanitize the surface and kill any pathogens that might cause decay.
If you notice any pumpkins with soft spots, damage, or signs of disease, separate them immediately from healthy specimens and use them promptly, as they won’t store well.
Curing Your Pumpkins
Curing is a crucial step that many gardeners overlook. This process allows pumpkins to develop a harder shell and heal any minor nicks or cuts, significantly extending their storage life.
The Curing Process
To properly cure pumpkins:
- Place them in a warm, dry location with good air circulation
- Maintain temperatures between 80-85°F (27-29°C)
- Keep humidity around 80-85%
- Cure for approximately 10-14 days
During this time, the pumpkin’s skin will continue to harden and any small wounds will heal over. You can cure pumpkins outdoors in your garden if you’re expecting consistently dry, warm weather. Otherwise, a greenhouse, warm garage, or barn makes an ideal curing location.
Position the pumpkins so they’re not touching each other and are sitting on a dry surface like cardboard, straw, or wooden pallets. This prevents moisture buildup that could lead to rot. Keep them out of direct sunlight during the curing process.
When to Skip Curing
While curing benefits most pumpkins, there are situations where you might skip this step:
- If you plan to use the pumpkins immediately for cooking or carving
- If the pumpkins are already showing signs of damage or disease
- If you’re growing a variety that doesn’t store well anyway
Remember that some specialty varieties, particularly those bred specifically for cooking rather than storage, may not benefit as much from curing.
Storing Your Pumpkins
After proper harvesting and curing, your pumpkins are ready for storage. With the right conditions, many varieties can last for months, allowing you to enjoy your harvest well into winter.
Optimal Storage Conditions
The ideal storage environment for pumpkins includes:
- Cool temperatures between 50-55°F (10-13°C)
- Low humidity (50-60%)
- Good air circulation
- Protection from freezing temperatures
- Darkness or indirect light
Common storage locations include basements, root cellars, cool pantries, or unheated spare rooms. Avoid storing pumpkins directly on concrete floors, as they can draw moisture from the concrete and begin to rot. Instead, place them on wooden shelves, pallets, or even cardboard.
Storage Techniques for Different Uses
How you store your pumpkins may vary depending on their intended use:
For Decoration: Arrange decorative pumpkins in a single layer, not touching each other. Periodically check for signs of softening or rot, removing any affected pumpkins immediately. Wipe the exterior occasionally with a dry cloth to remove dust.
For Cooking: Prioritize using any pumpkins with minor blemishes or imperfections first, as these won’t store as long. Consider processing and freezing pumpkin puree for longer storage. Most cooking pumpkins will last 2-3 months in proper storage conditions.
For Seeds: If you’re saving seeds for next year’s planting, extract them from fully mature pumpkins, clean thoroughly, and dry completely before storing in paper envelopes in a cool, dry location.
Regular Maintenance
Even with perfect storage conditions, it’s important to check your stored pumpkins regularly:
- Inspect weekly for soft spots or signs of decay
- Rotate pumpkins occasionally to prevent pressure points
- Remove any that show signs of deterioration immediately
Remember that one rotting pumpkin can quickly spread decay to others, so vigilance is key to maximizing storage life.
Common Problems and Solutions
Even with careful attention, you may encounter some issues when harvesting and storing pumpkins. Here are solutions to common problems:
Early Frost Damage
If an unexpected frost threatens your pumpkin patch before harvest, cover the fruits with blankets or tarps overnight. If light frost has already affected them, harvest immediately. Frost-damaged pumpkins won’t store well but can still be used for cooking if processed promptly.
Disease and Rot Issues
Pumpkins showing signs of disease or rot should be separated from healthy specimens immediately. Small areas of surface mold can sometimes be cleaned with the bleach solution mentioned earlier, but any pumpkin with soft spots or significant mold growth should be discarded or composted.
Stem Breakage
If a stem breaks during harvest or handling, use the pumpkin promptly as it won’t store well. The open wound where the stem attached creates an entry point for bacteria and fungi. These pumpkins are still perfectly good for cooking or immediate decoration but won’t last for long-term storage.
Frequently Asked Questions
Q: Can I harvest pumpkins early if frost threatens?
A: Yes, if frost is forecasted and your pumpkins show signs of maturity, it’s better to harvest slightly early than risk frost damage. Pumpkins can continue to ripen somewhat after harvest if they’ve already begun to change color. Place them in a warm area (around 70-75°F) out of direct sunlight to continue ripening.
Q: How can I tell if my specialty pumpkin varieties are ready to harvest?
A: Specialty varieties (white, blue, or uniquely patterned pumpkins) may not show the same color changes as traditional orange pumpkins. For these, rely more on the sound test, skin hardness, stem condition, and days to maturity listed on the seed packet.
Q: What’s the best way to preserve pumpkins for cooking later?
A: For long-term preservation, cook and puree the pumpkin flesh, then freeze in airtight containers or freezer bags. You can also cube and freeze the flesh, or can it using a pressure canner following safe canning guidelines. Properly frozen pumpkin puree can last up to a year.
Q: Why did my stored pumpkins start rotting so quickly?
A: Premature rotting usually results from one or more of these factors: harvesting before full maturity, stem damage, skin punctures or bruising, improper curing, storage in too warm or humid conditions, or disease presence at harvest time. Inspect your harvest and storage methods to identify the specific issue for future improvement.
Q: Can I eat the pumpkins I used for fall decorations?
A: It depends. If you used pie pumpkins or other culinary varieties and they remain undamaged (no cuts, paint, or significant deterioration), they may still be good for cooking. However, if they’ve been displayed outdoors or show any signs of decay, it’s safer to compost them instead.
References
Read full bio of Anjali Sayee

