How to Make a Classic Ghost Costume for Halloween: Step-by-Step Guide
A plain bedsheet transforms into a playful, wearable design with easy-to-follow tips.
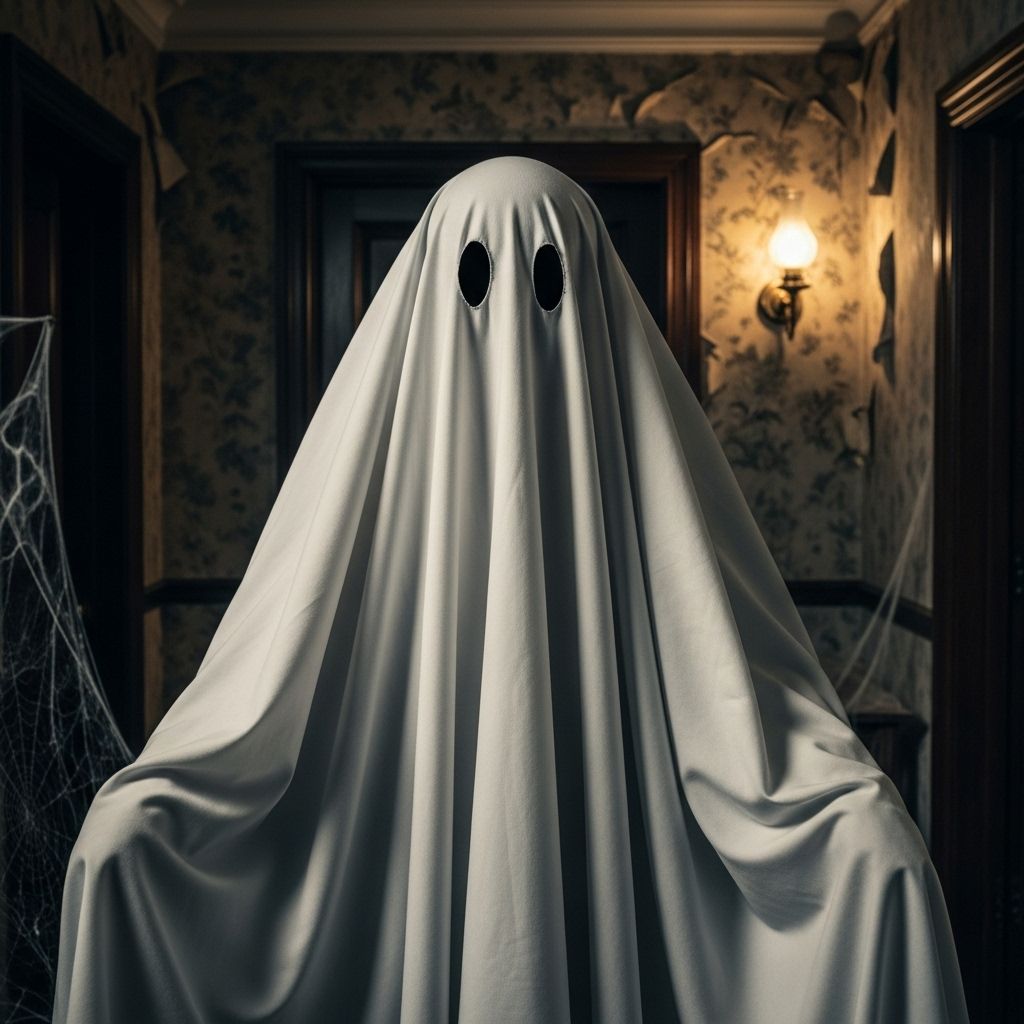
Want a Halloween costume that’s both spooky and simple? The classic ghost costume is a timeless choice. With just a few supplies—primarily a bed sheet—you can create an iconic look that’s perfect for children, adults, and even pets. Whether you need a last-minute costume or want to craft something with your kids, this guide will walk you through each step, offer creative variations, and answer all your ghostly questions.
Why Choose a DIY Ghost Costume?
- Easy and Affordable: Most supplies are already at home, making this ideal for impromptu costumes or budget-conscious families.
- Timeless Appeal: Ghost costumes have been popular for generations, offering simplicity and nostalgic charm.
- Customizable: Add unique touches—fun faces, spooky extras, or personalized flair.
- Comfortable: Soft fabric and loose fit mean kids (and adults) can trick-or-treat and play comfortably.
Materials You’ll Need
- White sheet or fabric: Twin or full-sized, ideally cotton for breathability and ease of cutting/sewing.
- String or soft measuring tape for marking and measuring.
- Scissors: Sharp enough for fabric.
- Black fabric, felt, or fabric marker/paint: To create facial features.
- Safety pins, sewing kit, or fabric glue: For attaching or finishing details.
- Optional: Fusible webbing (for iron-on details), a pen or pencil for tracing, and a sewing machine if you want durable seams.
Step 1: Measure and Prepare
Start by determining the size of the ghost costume:
- Have the wearer stand straight with arms slightly away from the body.
- Drape the sheet over their head, ensuring it falls to the desired length. For walking safety, make sure it doesn’t drag on the ground—generally, one inch above the ankles is ideal.
- Mark the spot for the eyes. Ensure the area isn’t restricting movement or vision, especially for children.
Step 2: Shaping the Costume
For a classic ghostly drape, you’ll want an even, flowing look:
- Fold the sheet into quarters and lay it flat.
- Using string tied to a pencil, create a large arc from one corner. This will give the bottom of the costume a rounded, even effect.
- Cut carefully around the arc. Unfold and check the length on the wearer.
Tip: If making a costume for a child, you may want to trim the sheet further.
Step 3: Creating the Head Hole (Hood or Drape)
For comfort, you’ll need a head opening:
- On the center point, cut a small hole (start small—you can always make it bigger) for the head to go through.
- If you want a hooded effect, use leftover fabric. Measure the wearer’s head plus 2 inches for comfort, cut out a rectangular or rounded shape, and sew or pin it into the neckline for a ‘hood’—giving the costume a subtle point at the top for a classic ghost look.
- Finish raw edges with a quick zigzag stitch, hand stitching, or carefully tucked-in folds pinned from inside, to prevent fraying.
Step 4: Eye and Mouth Openings
You have two main options for adding a ghost face:
- Cut Out Openings: While wearing the sheet, gently mark where the eyes should go. Remove the sheet and cut two holes large enough for clear vision—but not too large to maintain the ghostly look. For the mouth, a small oval or circle beneath the eyes adds to the effect (optional).
- Add-on Features: For safety—especially for young children—create eyes and mouth from black felt or fabric and glue/sew them onto the costume. For older kids/adults, fabric paint or permanent marker works well.
Note: Painted or sewn-on facial features are much safer for younger children, ensuring full visibility.
Step 5: Decorating Your Ghost
Personalize your costume with creative touches:
- Classic: Add simple black oval eyes and a round mouth.
- Funny Ghost: Create silly faces using colored felt or fabric—smiling mouths, sticking-out tongues, or even winking eyes.
- Scary Ghost: Use jagged lines around the mouth or eyes for a more haunting look, or add fake ‘stitches’ with fabric markers.
- Glowing Ghost: Attach glow-in-the-dark tape or paint to outlines for nighttime visibility.
- Monogram: Add initials or Halloween words (“BOO!” or “EEK!”) using fusible web, felt, or fabric paint.
Arrange all features on the sheet before permanently attaching. When happy with placement, secure eyes and mouth with either fabric glue, iron-on tape, or sewing.
Step 6: Making It Fit
Some simple tweaks can improve fit and function:
- For sleeves: Pin or stitch small tucks at the shoulder for armholes.
- Waist tie: Consider adding a loose string or sash at the waist for shape without restricting movement.
- Secure the costume: Use safety pins or a small tie under the chin (hidden under the fabric) to keep the costume from rotating and blocking vision.
Creative Customizations and Variations
- Patchwork Ghost: Use remnant fabrics of white/light gray for a playful patchwork look.
- Rainbow Ghost: Add pastel or neon shapes for a whimsical twist—for a not-so-spooky party!
- Pet Ghost Costume: Use smaller pieces of fabric, measuring your pet’s length and neck to ensure comfort. Skip the eye holes and stick to sewn-on features.
- Littlest Ghosts (Toddlers): Use pillowcases or kitchen towels instead of full sheets. Add sewn-in mittens or feet covers for warmth.
- Charlie Brown-Inspired Ghost: For a retro twist, glue or sew on multiple black “holes” in random spots, mimicking the iconic Peanuts Halloween costume.
Pro Tips for Safety and Comfort
- Always double-check visibility, especially for children. Try the costume on before Halloween night and make adjustments if needed.
- Use breathable, lightweight fabric—avoid thick or stiff material.
- Ensure the costume is ankle length or higher to prevent trips and falls, particularly on stairs.
- For outdoor trick-or-treating, add reflective tape to the hem or back for nighttime safety.
- Test the costume for comfort: have your child walk, lift their arms, and even run a little to make sure movement isn’t restricted.
Caring for Your Ghost Costume
- Washing: Most cotton ghost costumes can be machine washed on gentle. Spot-clean painted features if needed.
- Storage: Fold and store in a dry, cool area for next Halloween—or recycle the sheet for crafts.
Frequently Asked Questions (FAQ)
Does the sheet have to be pure white?
No, you can use off-white, light gray, or even patterned sheets for a modern or whimsical ghost. Traditional ghosts are white, but feel free to use what you have.
Is it safe to cut eye holes for children?
For safety, it’s usually best to avoid cutting eye holes for young children. Instead, use dark felt or paint to add facial features. Always check visibility and comfort before use.
Can I make this costume with no sewing at all?
Absolutely! Fabric glue, fusible webbing, or simple safety pins work well. Sewing is optional for increased durability.
How do I keep the costume from slipping or twisting?
Add a hidden tie beneath the chin, pin the shoulders lightly, or use a sash at the waist for stability during movement.
How do I create a ghost costume for a toddler or baby?
Start with a smaller piece of fabric—such as a pillowcase or half-sheet. Make sure the length is well above the feet and avoid any features that can become choking hazards. Attach the costume loosely to allow for movement but prevent tripping.
Can I use this guide for group costumes?
Yes! Making matching ghost costumes for families, classrooms, or friends is easy. Vary the height or add small differences in facial expressions for group photos.
Quick Reference: Ghost Costume Steps
| Step | Description |
|---|---|
| 1. Measure & Drape | Use sheet, drape over wearer, mark length and eye location. |
| 2. Shape Sheet | Fold, trim hem for desired ghostly effect. |
| 3. Create Head Hole | Small center cut or sew on a hood for added style. |
| 4. Facial Features | Sew/glue/cut fabric eyes and mouth or use markers/paint. |
| 5. Decorate | Customize with monograms, shapes, or glow paint. |
| 6. Fit & Secure | Pin or tie for best comfort and safety. |
Extra Tips for an Unforgettable Costume
- Use matching white sneakers or slippers for a head-to-toe ghostly vibe.
- Add a toy chain or lantern for a fun prop.
- Coordinate with friends or siblings as a “family of ghosts” for added effect.
- Repurpose the costume as home decor the following year—just stuff it with pillows for a festive Halloween haunt.
Final Ghostly Thoughts
The DIY bed sheet ghost costume is a beloved, approachable craft that blends nostalgia with creativity. Whether you’re dressing up a toddler, a tween, your pet, or yourself, the steps are easy to follow, adaptable, and full of ghostly possibilities. There’s joy in crafting something timeless with your own hands—and your haunting style will be the highlight of Halloween night!
References
- https://www.youtube.com/watch?v=2KxzsUmGt7U
- https://www.instructables.com/Charlie-Brown-Ghost-Costume/
- https://www.pressprintparty.com/diy/halloween-ghost-craft-dollar-tree/
- https://www.pressprintparty.com/diy/costumes/easy-ghost-costume-tutorial/
- https://www.countryliving.com/life/kids-pets/a41591914/how-to-make-a-ghost-costume/
- https://www.countryliving.com/shopping/a62641417/viral-ghost-halloween-porch-decorations/
- https://www.countryliving.com/diy-crafts/g4571/diy-halloween-costumes-for-women/
- https://www.aol.com/diy-ghost-costumes-whole-family-154600105.html
Read full bio of Sneha Tete

