How to Season Cast Iron Like a Pro: The Ultimate Step-By-Step Guide
Unlock the secret to long-lasting, non-stick cast iron with expert seasoning tips and troubleshooting advice.

How to Season Cast Iron Like a Pro
Seasoning cast iron cookware is the key to achieving a slick, non-stick surface and preserving your skillet or Dutch oven for generations. This comprehensive guide covers why seasoning matters, what you’ll need, the science behind it, step-by-step instructions, the best oils to use, and expert troubleshooting tips—so you can confidently master cast iron care at home.
Why Should You Season Cast Iron?
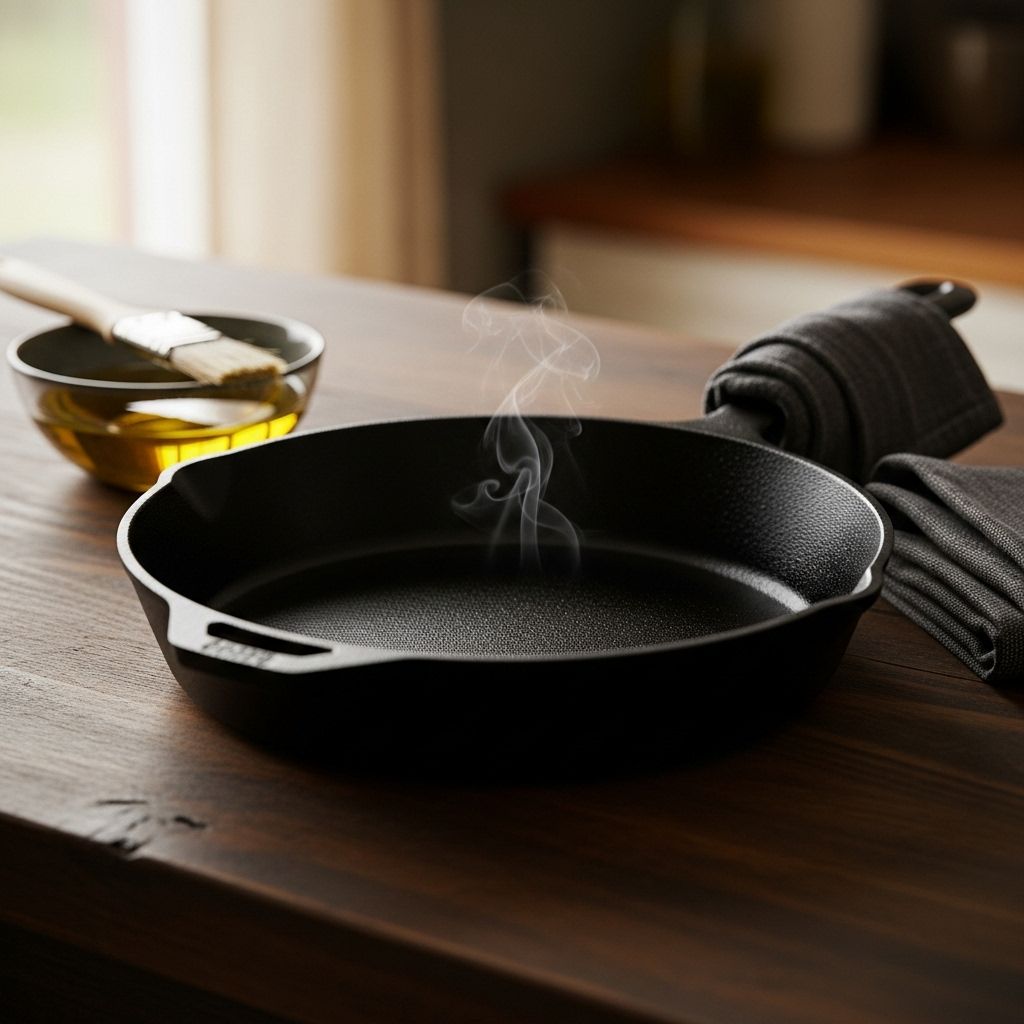
Cast iron’s legendary durability and cooking performance only shine when its surface is properly seasoned. Contrary to common belief, seasoning in this context isn’t about adding herbs or spices. Instead, it refers to building up a protective layer of polymerized oil through heat, which bonds to the metal and forms the iconic shiny patina.
- Rust prevention: Seasoning coats the iron in a barrier that blocks moisture and prevents rust even after repeated uses.
- Non-stick surface: The more you season and use your cast iron, the more resilient and slick the surface becomes, making food release effortless.
- Easy cleaning: With less food sticking, cleanup is a breeze—no more scrubbing required.
- Better flavor: A well-seasoned skillet won’t impart metallic tastes or off-flavors to your meals.
- Long-lasting cookware: Well-maintained cast iron can last a lifetime and be passed down for generations.
What Is Cast Iron Seasoning? The Science Explained
Seasoning is a chemical transformation called polymerization. When oils or fats are heated to their smoke point inside a clean cast iron skillet, they undergo a reaction that bonds them to the pan’s surface, creating a hard, smooth coating. Over time, each additional layer of oil thickens and strengthens this surface, making your pan more non-stick and resilient.
Without seasoning, cast iron’s porous surface is prone to rust and food sticking. Seasoning fills these pores, creating a glassy finish that protects the iron and enhances its cooking qualities.
What Do You Need to Season Cast Iron?
- Dish soap (for initial cleaning)
- Sponge or soft scrub brush
- Clean cloths or paper towels
- High-oleic oil or shortening (safflower, canola, vegetable, or specially formulated cast iron seasoning oils)
- Baking sheet or aluminum foil (to catch drips in the oven)
- An oven (for consistent, even heating)
The Step-By-Step Guide: How to Season Cast Iron the Right Way
1. Preheat Your Oven
Set your oven temperature between 350°F and 400°F (175–205°C). This heat is ideal for polymerizing most common oils without excess smoke.
2. Wash the Skillet Thoroughly
Clean your cast iron pan with warm, soapy water and gently scrub any debris with a sponge. It’s okay to use a little soap for this initial cleaning—don’t worry, you’ll immediately wash it away. Rinse thoroughly.
3. Completely Dry the Pan
Water is cast iron’s enemy at this stage. Pat your skillet dry with a clean cloth or paper towels. For extra precaution, place the pan on a low stovetop burner for a minute or two to evaporate any lingering moisture.
4. Apply a Thin Layer of Oil or Shortening
Pour a small amount of your preferred seasoning oil onto a folded paper towel or cloth. Rub the oil all over the pan—including the inside, outside, sides, and handle—until thoroughly coated in a thin, even layer. Avoid excess oil; this is key to preventing sticky residue.
5. Remove Excess Oil
Using another clean, dry paper towel, wipe away as much oil as possible. The pan should look nearly dry, with just a subtle sheen.
6. Arrange the Pan Upside-Down in the Oven
Place a sheet of aluminum foil or a baking sheet on the bottom oven rack to catch any dripping oil. Position your cast iron pan upside down on the oven’s middle rack; this prevents pooling and helps achieve a uniform finish.
7. Bake for One Hour
Let your skillet bake for about 60 minutes. This is when the polymerization process takes place, turning the oil into a durable, seasoned layer. If you notice a little smoke, that’s normal—just make sure your kitchen is well-ventilated.
8. Cool Slowly in the Oven
Turn off the oven and let the pan cool inside for about an hour. Slow cooling helps set the seasoning and prevents thermal shock.
9. Repeat for a Stronger Layer (Optional but Recommended)
For the best results, especially with a new or stripped skillet, repeat the oiling and baking process two or three times. Each layer makes the surface harder, smoother, and more resistant to sticking and rust.
Best Oils for Seasoning Cast Iron
Not all oils are created equal, and the best choice for seasoning depends on its smoke point (the temperature at which oil starts to burn and break down). You want an oil with a high smoke point to ensure effective polymerization and prevent rancid flavors.
| Oil Type | Smoke Point (°F) | Notes |
|---|---|---|
| Flaxseed Oil | 225 | Popular in DIY guides for its strong, hard finish—but lower smoke point can cause more smoke and potential flaking if overheated. |
| Safflower Oil | 440–510 | High-oleic and high smoke point make it ideal for seasoning. |
| Canola Oil | 400–450 | Affordable, widely available, neutral flavor, works well for most pans. |
| Vegetable Oil | 400–450 | Easy to find and reliable. |
| Lard/Shortening | 370–400 | Traditional choice, creates a good finish but can go rancid if cookware isn’t used regularly. |
| Specialty Cast Iron Oils (e.g., Lodge, Camp Chef) | Varies | Formulated for seasoning, convenient but optional. |
Note:
- High-oleic oils (marked as such on labels) are specifically recommended for their high-temperature performance and resistance to oxidization.
- Animal fats like lard can work well, but may become rancid if the pan is stored for long periods without use.
- Olive oil is not ideal for seasoning due to its lower smoke point and potential to produce sticky finishes.
Common Mistakes and Troubleshooting Cast Iron Seasoning
- Sticky Surface: This means there was too much oil left on the pan or the oil was not heated to a high enough temperature for polymerization. Remove the sticky layer with hot water and a mild scrub, then repeat the seasoning process with thinner coats.
- Rust Spots: If your skillet develops rust, scrub it away with steel wool or a non-abrasive pad, rinse well, dry thoroughly, and re-season the affected area.
- Flaking Seasoning: This often results from excess oil or under-heating during seasoning. Remove loose flakes, clean the pan, and re-season with a thin layer of oil at a high enough temperature.
- Food Still Sticking: Some sticking is normal in early uses, especially with acidic or protein-rich foods. As you build more layers through cooking and re-seasoning, performance improves.
Cast Iron Seasoning Maintenance Tips
After you’ve established a good seasoning base, maintaining your cast iron is simple. Consistent care ensures your pan stays non-stick and rust-free for years to come.
- Clean promptly after use, preferably while the pan is still warm. Use a brush or scrubber and just water, or a tiny amount of gentle soap if needed.
- Dry thoroughly after washing to prevent rust.
- Rub a thin layer of oil onto the surface after each cleaning, especially if the pan looks dry or dull.
- Re-season occasionally as needed, particularly if food starts to stick or dull spots appear.
Seasoning New vs. Used Cast Iron
Most new cast iron cookware is sold “pre-seasoned,” but it’s beneficial to begin with one or two additional layers of seasoning before first use. For vintage or rescued pans—especially those with rust or stripped surfaces—start from scratch, following the steps above and repeating the process until a dark, semi-glossy finish develops.
Frequently Asked Questions (FAQs)
Q: How often do I need to season my cast iron pan?
A: For new pans, two or three rounds of oven seasoning produce a solid non-stick finish. After that, regular use adds more layers naturally; re-season only if you notice sticking or dull spots.
Q: Is it okay to use soap on seasoned cast iron?
A: Mild soap can be used for the initial wash and occasionally thereafter—modern seasoning is tough enough to handle it—but harsh scrubbing or overnight soaks should be avoided.
Q: Can I season cast iron on the stove instead of the oven?
A: Oven seasoning is recommended, as it provides uniform heat and thorough coverage, including the sides and handles. Stovetop seasoning can leave uneven spots.
Q: How do I fix a pan with sticky or uneven seasoning?
A: Scrub off sticky residue, dry, and repeat seasoning with a very thin coat of oil at a high temperature. Patience and several cycles yield the best results.
Q: Is smoke normal when seasoning?
A: Some smoke is expected, especially with oils nearing their smoke point. Open windows or run your kitchen fan for ventilation.
Conclusion: Enjoy Your Perfectly Seasoned Cast Iron
Seasoning cast iron is a simple but essential practice that enhances cooking, simplifies cleanup, and extends the life of your favorite pan. With just a few household items and some patience, anyone can unlock the benefits of expertly maintained cast iron. Cook frequently, clean attentively, and season as needed—your skillet will reward you with outstanding meals for years to come.
References
- https://www.prevention.com/food-nutrition/a34717079/how-to-season-cast-iron/
- https://grow.ifa.coop/outdoor-cooking/seasoning-cast-iron
- https://devilsfoodkitchen.com/2018/04/14/the-science-of-cast-iron/
- https://www.prevention.com/food-nutrition/healthy-eating/g20474655/cast-iron-skillet-recipes/
- https://blog.mountainroseherbs.com/how-to-season-cast-iron-cast-iron-conditioner-recipe
- https://www.prevention.com/food-nutrition/a20486754/what-not-to-cook-with-cast-iron/
Read full bio of Sneha Tete


