How to Make Granola From Scratch: A Step-by-Step Guide
Master the basics of homemade granola with expert tips, tasty variations, and nutrition insights for the perfect crunchy snack.
How to Make Granola From Scratch: The Complete Guide
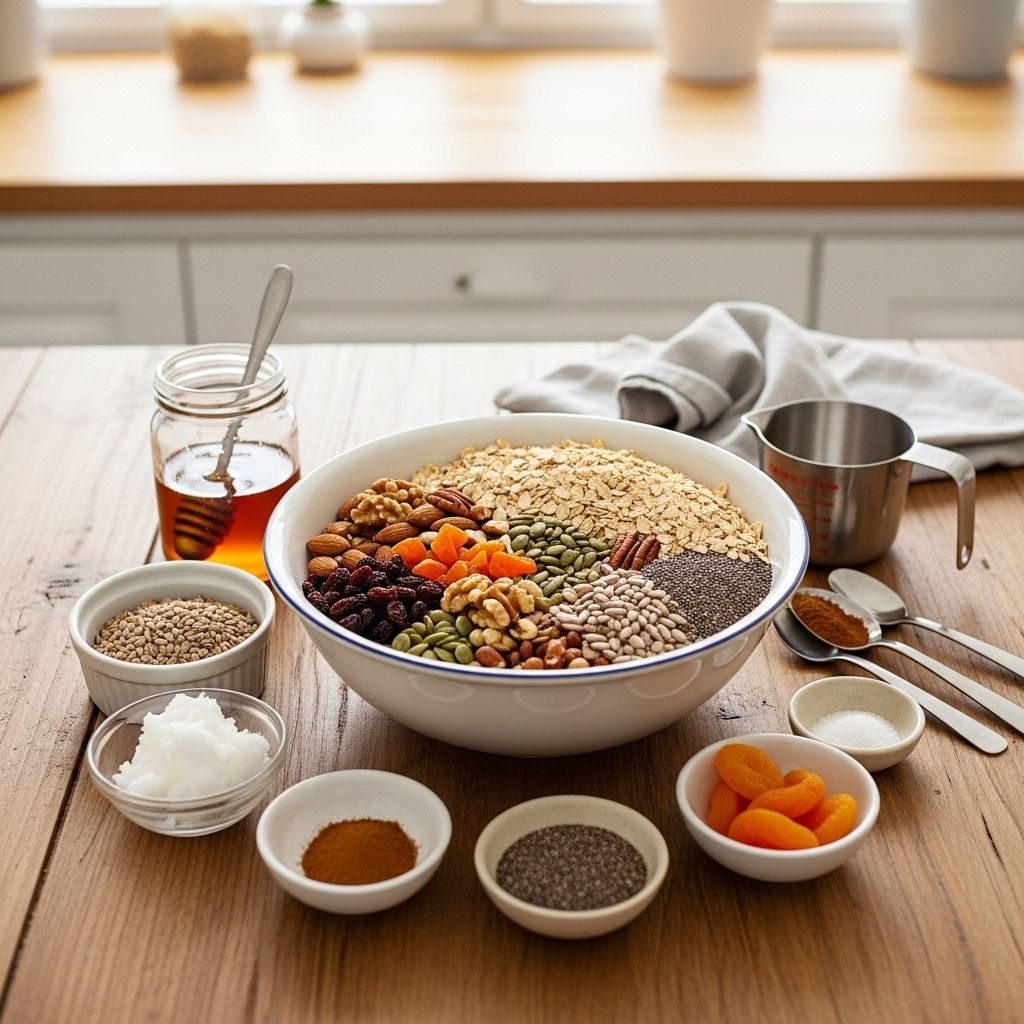
Homemade granola is a versatile, healthy staple that transforms basic pantry ingredients into a crunchy, satisfying treat. Crafting your own batch not only lets you control sweetness and fat content but also opens up endless flavor possibilities. Whether you want a quick breakfast, a nutritious snack, or a topping for yogurt, learning how to make granola is both rewarding and straightforward.
Why Make Granola at Home?
- Healthier ingredients: Control the sugar, oil, and mix-ins you use.
- Customizable: Swap grains, nuts, seeds, and fruits to suit your tastes and dietary needs.
- Cost-efficient: Buy ingredients in bulk for savings and use leftovers in other recipes.
- No unnecessary additives: Avoid preservatives and processed sugars found in pre-packaged varieties.
1. Ace Your Base: Choosing Grains and Beyond
The foundation of any great granola is its base, typically a grain or a grain alternative. Classic granola starts with rolled oats thanks to their hearty texture and fiber content, but you can reach for a wider variety for different flavors, textures, and nutritional profiles.
- Rolled oats: The traditional option, loaded with gut-filling fiber.
- Quinoa flakes: Add protein and a slightly nutty taste.
- Millet, barley, or rye: For unique flavors and additional nutrients.
- Grain-free base: Skip grains entirely and bulk up with extra nuts, seeds, and coconut for a low-carb or paleo-friendly option.
Choose 2 to 3 cups of your preferred base for a standard batch. Feel free to mix multiple types for a complex blend.
2. Add a Touch of Sweetness and Fat
Fat and sweetener are essential—not just for flavor, but for achieving the signature granola crunch. They bind ingredients together as the mixture bakes and create golden clusters.
- Oils: Neutral options like olive oil, coconut oil, or canola oil work best. About 1/2 cup per batch is standard.
- Sweeteners: Natural sugars like honey, pure maple syrup, or brown rice syrup deliver sweetness and help form clusters. Match oil with an equal amount of sweetener (usually 1/2 cup).
- Nut butters: For extra depth, add a couple tablespoons of peanut, almond, cashew, or tahini to the wet mix.
Balance is key: too much fat or sweetener can make granola heavy or overly sweet. Start with a 1:1 oil to sweetener ratio and adjust to your liking.
3. Get Creative: Nuts, Seeds, and Mix-Ins
This is where granola really becomes your own. Plant-based mix-ins enhance texture, flavor, and nutritional value, providing protein, healthy fats, antioxidants, and fiber.
- Nuts: Almonds, walnuts, cashews, hazelnuts, pistachios, pecans—chop to bite size for even baking.
- Seeds: Try chia, flax, sesame, sunflower, or pumpkin seeds for added crunch and nutrients.
- Dried fruits: Add raisins, dried cranberries, apricots, cherries, blueberries, or chopped dates after baking to avoid burning.
- Coconut: Shredded, flaked, or chipped coconut offers a sweet, toasty bite (add in the last 10 minutes of baking).
- Spices: Enhance flavor with cinnamon, nutmeg, ginger, vanilla, or cardamom. Start with 1–2 teaspoons per batch.
- Other fun additions: Crystallized ginger, cocoa nibs, or mini chocolate chips (add after cooling).
4. How to Bake Granola for Perfect Crunch
Baking technique can be the difference between soggy and satisfyingly crisp granola. Spread your prepared mixture on a rimmed baking sheet lined with parchment paper. Bake in a preheated oven at 325°F (163°C) for 25 to 35 minutes, stirring once or twice midway through to ensure even toasting.
Key Tips for Baking:
- Don’t crowd the pan: Overloading prevents even browning. Use two sheets for larger batches.
- Check for golden color: Remove from oven when edges and tops are evenly golden brown—not dark brown (which can taste burnt).
- For clusters: Press granola gently with a spatula after baking, let cool without stirring to form natural clumps.
5. Cool and Store Properly
Granola crisps up further as it cools. Leave it on the baking sheet, undisturbed, for about 30 minutes. When completely cool, stir in any delicate or sticky add-ins like chocolate chips or dried fruit. Then, transfer to an airtight container. Homemade granola stays fresh up to 2 weeks at room temperature, or up to 3 months in the freezer.
Sample DIY Granola Recipe
| Ingredient | Amount |
|---|---|
| Rolled oats | 3 cups |
| Chopped walnuts | 3/4 cup |
| Shredded coconut | 1/3 cup |
| Hemp seeds | 2 tbsp |
| Flaxseed | 1 tbsp |
| Chia seeds | 1 tbsp |
| Salt | 1/4 tsp |
| Honey | 1/2 cup |
| Olive oil | 1/3 cup |
| Vanilla extract | 1 tsp |
| Dried cherries | 1 cup (add after baking) |
Instructions:
- Preheat oven to 325°F (163°C). Line a baking sheet with parchment.
- Mix oats, walnuts, coconut, seeds, and salt in a large bowl.
- In another bowl, combine honey, oil, and vanilla. Stir into the dry ingredients.
- Spread mixture evenly. Bake 30 minutes, stirring midway, until golden.
- Cool completely before stirring in dried fruit. Store in airtight container.
How to Customize Your Granola
Homemade granola’s biggest advantage is its flexibility. Here are some simple ways to adapt each batch to your cravings or nutritional goals:
- Swap the grains: Try gluten-free oats, quinoa flakes, or amaranth for different textures.
- Seed power: Add pumpkin or sunflower seeds for a protein boost.
- Lower the sugar: Cut sweetener in half or substitute unsweetened applesauce for part of the oil or sugar.
- Vegan version: Use maple syrup or brown rice syrup instead of honey.
- Nut allergy: Use extra seeds and coconut in place of nuts.
- Flavor upgrades: Toss in citrus zest, espresso powder, or exotic spices.
Healthy Tips from a Dietitian
- Portion control: Granola is energy-dense; stick to 1/4 to 1/3 cup serving to avoid calorie overload.
- Choose fiber-rich bases: Oats and bran bring prebiotic fiber for good digestion.
- Use whole food sweeteners: Small amounts of honey or maple syrup give sweetness with trace nutrients.
- Boost healthy fats: Prioritize nuts and seeds over processed oils for nutrition and satiety.
- Add proteins: Hemp or chia seeds, or a spoonful of nut butter, boost protein and curb hunger.
Serving Ideas and Variations
- Breakfast parfait: Layer Greek yogurt, fruit, and granola for a nutritious start.
- On-the-go snack: Fill small containers for a portable, filling energy boost.
- Trail mix: Mix with dried fruit and chocolate for a hiking-friendly treat.
- Baking topper: Sprinkle over muffins, quick breads, or baked apples for extra crunch.
- Salad enhancer: Toasted, lightly spiced granola makes a fun topping for roasted veggie salads.
Homemade Granola vs. Store-Bought: At-a-Glance
| Feature | Homemade Granola | Store-Bought Granola |
|---|---|---|
| Sweetener Control | Full control (adjust to taste) | Often high in added sugar |
| Fat Content | Customizable (choose healthy oils) | May use refined oils or saturated fats |
| Ingredient Quality | Fresh, high-quality ingredients | May include additives or preservatives |
| Cost | Cost-effective in bulk | Premium price for convenience |
| Variety | Endless customization | Limited by brand formulas |
Frequently Asked Questions (FAQs)
Q: Can I make granola gluten-free?
A: Yes! Use certified gluten-free oats and ensure all mix-ins (like seeds and sweeteners) are safe for celiac or gluten-sensitive diets.
Q: How do I make my granola extra crunchy?
A: Bake at 300–325°F, press the mixture with a spatula after baking, and let it cool undisturbed to encourage chunky clusters.
Q: Is homemade granola healthier than store-bought?
A: Typically yes; you control the amount and type of fat and sugar, and skip unneeded additives for a more wholesome snack.
Q: How do I store homemade granola? How long does it last?
A: Keep in an airtight container at room temperature for up to 2 weeks, or freeze up to 3 months for longer storage.
Q: Can I use steel-cut oats in granola?
A: It’s not recommended—steel-cut oats stay too hard. Use rolled or quick oats for the best texture.
Homemade Granola: Final Tips for Success
- Experiment! Try new combinations and keep track of your favorites.
- Start simple: Make a basic oat-nut batch, then add new spices, bases, and mix-ins as you master the method.
- Gift-worthy: Homemade granola, packaged in jars, makes a thoughtful present for friends and family.
With a bag of oats and a few minutes of prep, you can transform your kitchen into a granola bakery—one delicious batch at a time.
References
- https://cancerdietitian.com/2010/08/cancer-fighting-granola-recipe-its-delicious-too.html
- https://www.prevention.com/weight-loss/diets/a20456440/flat-belly-diet-recipes-50/
- https://www.prevention.com/food-nutrition/recipes/a20485649/superseed-granola/
- https://www.prevention.com/food-nutrition/a36831364/how-to-make-granola/
- https://www.prevention.com/food-nutrition/recipes/a20530668/granola/
- https://www.prevention.com/food-nutrition/recipes/a20529794/basic-granola/
- https://www.prevention.com/food-nutrition/recipes/a20487534/baked-granola-apples/
- https://www.prevention.com/food-nutrition/recipes/a20525403/the-ultimate-easy-granola/
- https://www.prevention.com/food-nutrition/recipes/a20517986/healthy-granola-with-yogurt-and-berries/
- https://www.prevention.com/food-nutrition/recipes/a20521630/granola-with-nuts/
Read full bio of medha deb

