Cleaning Beard Trimmer Blades: The Complete Sanitization Guide for Safe Grooming
Regular maintenance prevents buildup, delivering sharper cuts and healthier skin.

Thoroughly cleaning and sanitizing your beard trimmer blades is essential for both effective grooming and personal hygiene. Buildups of hair, skin cells, and oils can not only diminish trimmer performance but also lead to bacterial growth, skin irritation, or even infections. This comprehensive guide breaks down the step-by-step process for keeping your beard trimmer in peak condition, backed by expert recommendations and best practices.
Table of Contents
- Why Cleaning Beard Trimmer Blades Matters
- Understanding Your Beard Trimmer: Key Components
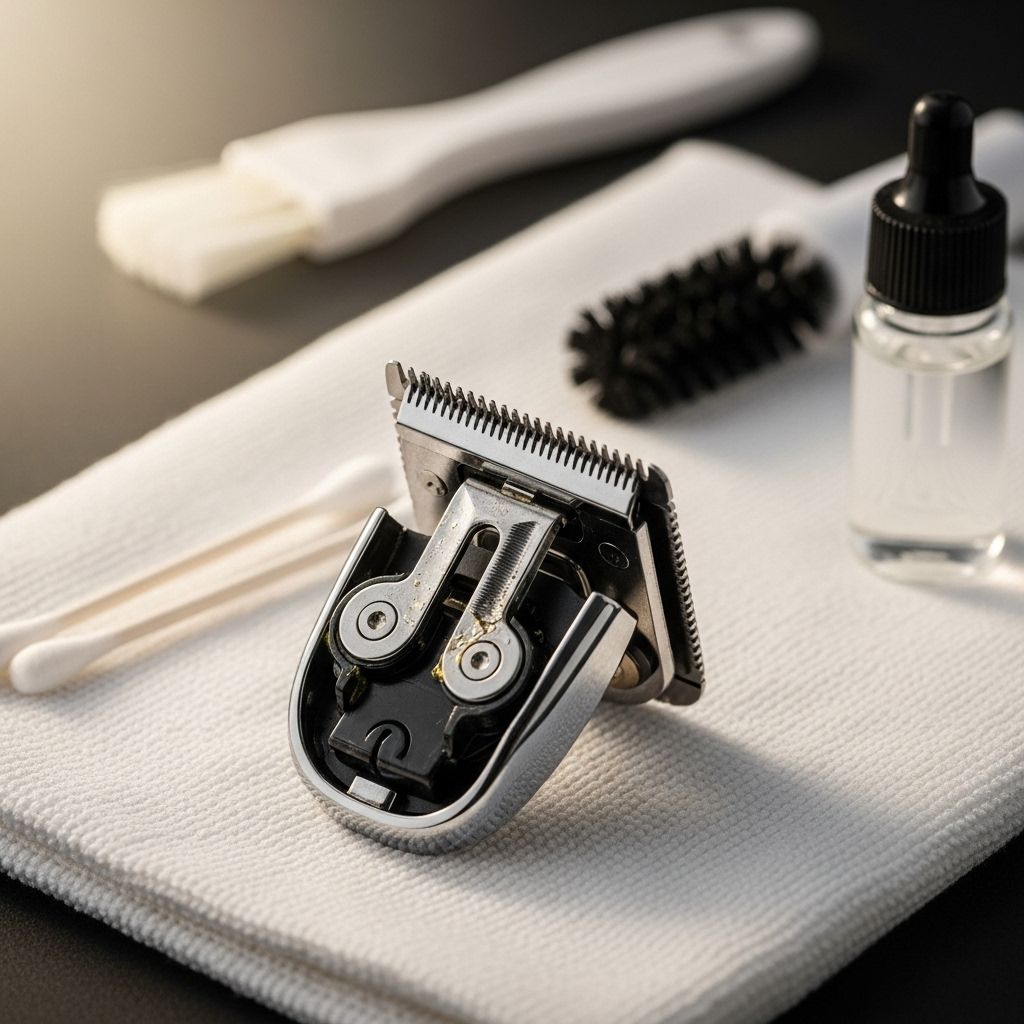
- Essential Cleaning and Sanitization Supplies
- Step-by-Step Guide: Cleaning and Sanitizing Your Trimmer Blades
- Deep Cleaning & Blade Maintenance
- Special Precautions Based on Trimmer Type
- Preventive Care: Oil, Storage, and Regular Maintenance
- Frequently Asked Questions (FAQs)
Why Cleaning Beard Trimmer Blades Matters
Beard trimmer blades come into contact with hair, skin, natural oils, and any grooming products you use. Over time, these materials accumulate, compromising cutting efficiency and elevating the risk of:
- Irritation and razor bumps from dull or bacteria-laden blades.
- Spread of bacteria and potentially harmful microbes, leading to infections.
- Clogged blades, causing snagging, uneven trimming, or mechanical failure.
- Shortened trimmer blade lifespan and increased need for replacements.
Keeping your trimmer blades meticulously clean is essential for both optimal grooming results and your health.
Understanding Your Beard Trimmer: Key Components
To effectively clean your trimmer, it helps to know its main parts:
- Blade assembly: The primary cutting part, often detachable for cleaning.
- Clipper guards/combs: Snap-on attachments for selecting hair length.
- Body/casing: The main handle housing the motor and electronics.
- Brush: Typically included with your trimmer for basic cleaning.
Always consult your manufacturer’s manual to confirm which parts are water-resistant or removable, as cleaning steps may differ between waterproof and non-waterproof trimmers.
Essential Cleaning and Sanitization Supplies
Before starting, gather these commonly recommended tools and solutions:
- Small cleaning brush (often included with trimmers, or use a soft toothbrush)
- Mild dish soap or gentle detergent
- Warm running water (or distilled water for hard water areas)
- Antibacterial clipper spray or isopropyl alcohol (70%+ concentration preferred)
- Microfiber towel or lint-free cloth for drying
- Lubricating clipper oil or food-grade mineral oil for blades
- Optional: Blade cleaning tray or small bowl for soaking
- (Optional) Compressed air for hard-to-reach areas
Never use harsh chemicals or bleach, as these can degrade metal and plastic parts.
Step-by-Step Guide: Cleaning and Sanitizing Your Trimmer Blades
Follow these expert-backed steps after every few uses, or more often if you use your trimmer daily.
1. Disconnect and Disassemble
- Unplug corded units or remove batteries if possible.
- Detach blade assembly and guards per manufacturer’s instructions.
2. Remove Hair and Debris
- Use your cleaning brush to dislodge hair clippings from the blade teeth, guard, and trimmer head.
- Tap the trimmer gently to shake out any hidden debris.
- Tip: For stubborn buildup, use compressed air or a toothpick (carefully) for corners.
3. Wash Removable Parts
- If waterproof, rinse the blade and guards under warm running water. Add a drop of mild dish soap and scrub gently with a toothbrush.
- For non-waterproof models, do not soak the body or motor; limit water exposure to removable blades and guards only.
- Rinse all soap residue thoroughly to prevent skin irritation.
4. Disinfect the Blades
- Spray or soak in antibacterial clipper cleaner, Barbicide, or nail the job with isopropyl alcohol (over 70%).
- If soaking, let the blades sit for the duration specified by the manufacturer (typically 5–10 minutes).
- Alternative: Wipe with a cloth dampened in distilled white vinegar (natural but not as potent as alcohol).
5. Dry Thoroughly
- Pat blades and guards dry with a lint-free towel.
- Allow all parts to air dry completely before reassembly to avoid rust.
6. Reassemble and Lubricate
- Once dry, reattach all parts.
- Apply 2–3 drops of clipper oil along the blade’s edge. Distribute with a brush or while running the device briefly to cover the teeth evenly.
- Wipe excess oil; avoid oil running onto the handle or switches.
Repeat these steps every 2–4 uses for the best performance. Below is a quick reference table for basic and deep cleaning:
| Task | Frequency | Waterproof Trimmer | Non-Waterproof Trimmer |
|---|---|---|---|
| Remove hair with brush | After each use | Yes | Yes |
| Rinse blades/guards | Weekly | Yes | No |
| Sanitize with alcohol/cleaner | Weekly | Yes | Yes |
| Lubricate blades | Weekly | Yes | Yes |
| Deep clean (soak parts) | Monthly | Yes | No |
Deep Cleaning & Blade Maintenance
If you notice your trimmer pulling, making noise, or lacking cutting power—even after basic cleaning—it is time for a deep cleanse:
- Detach blades completely from the trimmer.
- Soak in a bowl of warm water with 2-3 drops of dish soap for 10 minutes.
- Gently scrub every tooth and seam with a brush.
- Sanitize with isopropyl alcohol and dry thoroughly before reattaching.
- Sharpen or replace blades if dullness persists after cleaning.
Professional barbers may also employ ultrasonic cleaners or special blade washes for higher-use devices, but the above steps suffice for personal routines.
Special Precautions Based on Trimmer Type
It’s important to match your cleaning method to the trimmer type you own:
- Corded Trimmers: Must never be cleaned while plugged in. Avoid wetting the main body, as it can cause electrical hazards and machine damage.
- Rechargeable/Battery-Powered Trimmers: Many are waterproof, but always check the manufacturer’s markings first.
- Waterproof (Wet/Dry) Trimmers: Can typically be rinsed under the tap for convenience.
- Non-Waterproof/Older Models: Limit any liquid contact to blades and detachable guards alone.
When unsure, always defer to your user manual for allowable cleaning practices to avoid voiding warranties or causing irreparable harm.
Preventive Care: Oil, Storage, and Regular Maintenance
To extend the lifespan of your beard trimmer and keep blades sharp, consider the following preventive routines:
- Oil blades regularly. Add 1–2 drops of clipper oil every few uses to keep them gliding smoothly and protect against friction, heat, and corrosion.
- Store in a dry, dust-free place. Use a storage pouch or the original case.
- Let blades air dry after every cleaning. Never store or reassemble them damp.
- Replace dull or pitted blades. No amount of cleaning can resurrect a truly worn-down cutting surface.
- Clean guards and attachments separately. These are just as prone to debris and bacteria buildup.
Frequently Asked Questions (FAQs)
How often should I clean my beard trimmer blades?
Ideally, brush away hair after each use and perform a thorough clean/sanitize at least weekly. Deep cleaning and oiling once a month will keep blades in optimal condition.
Can I use water to clean all trimmer blades?
Only if your trimmer is labeled waterproof. Otherwise, restrict water to removable blades and never submerge the motor or body.
What is the best disinfectant for trimmer blades?
Use antibacterial clipper spray, Barbicide, or isopropyl alcohol (70%+) for safe sanitization. These eradicate bacteria and fungi without damaging the blades.
What happens if I skip oiling the blades?
Unlubricated blades wear faster, overheat, produce uneven cuts, and may tug on hair. Oiling is key to blade longevity.
Do I have to remove the blade to clean properly?
Yes, for best results. Built-up debris behind the blade can be invisible and degrade cutting performance.
Are there natural alternatives to commercial disinfectants?
Distilled white vinegar is a mild natural option, but it’s not as effective as alcohol or salon-grade cleaning sprays for eliminating pathogens.
Should I wear gloves while cleaning?
Not required, but wearing disposable gloves protects your hands from cleaning solutions and accidental nicks—especially for deep cleaning.
Summary: Proper Cleaning = Safer, Better Grooming
Invest a few minutes after each use in cleaning and sanitizing your trimmer blades, and you’ll enjoy precise, comfortable trims, longer blade life, and peace of mind about your grooming hygiene. With the clear steps, safety guidance, and preventive care tips provided here, anyone can master beard trimmer maintenance at home.
References
- https://www.brio4life.com/blogs/mens-grooming/electric-trimmer-cleaning-guide
- https://www.wilkinsonsword.com/blogs/mens/cleaning-electric-trimmer
- https://glossgenius.com/blog/how-to-clean-barber-clippers
- https://www.menshealth.com/grooming/a64162693/how-to-maintain-your-beard-trimmer/
- https://wahlusa.com/expert-advice/beard-mustache-trimming/priming-and-trimming-4-ways-maintain-your-trimmer
- https://www.youtube.com/shorts/Nd4EJKbZEhA
Read full bio of Sneha Tete


