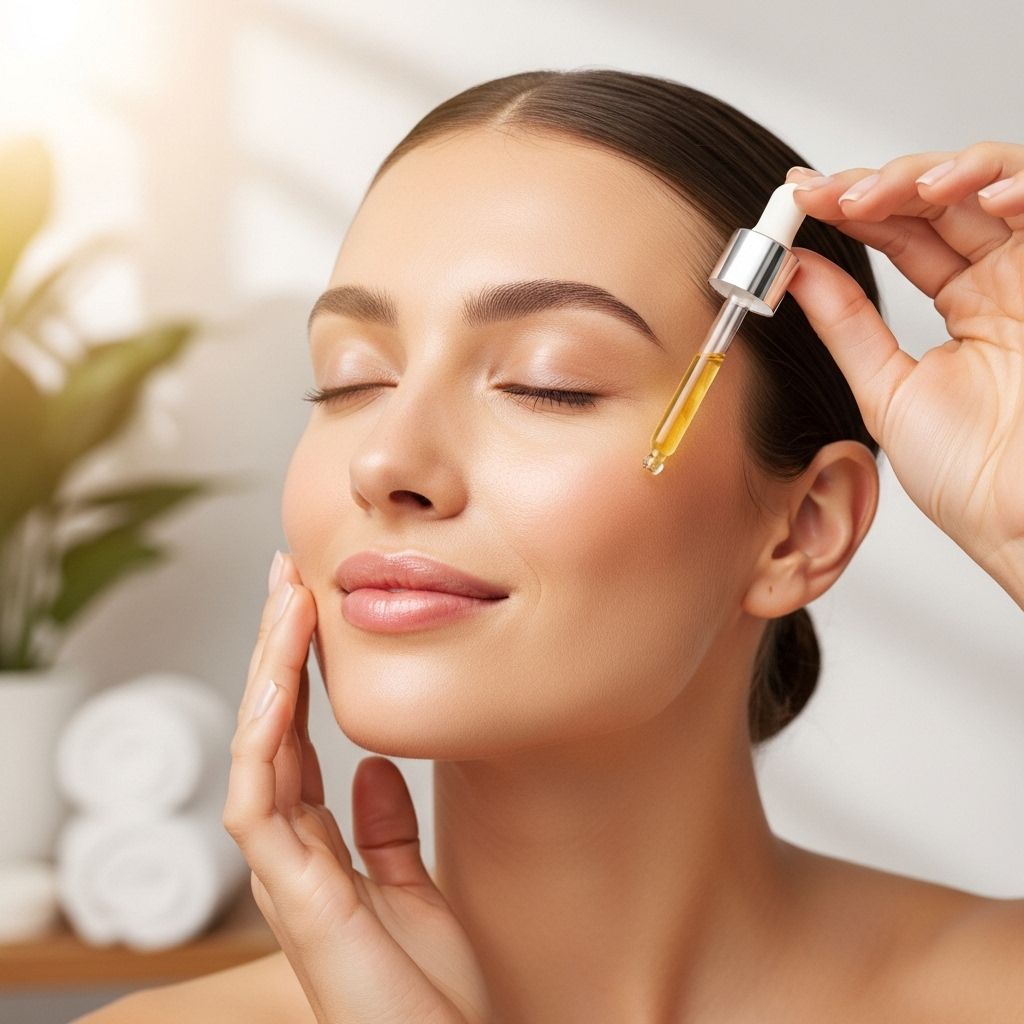
Beginner At-Home Peels: A Comprehensive 4-Week Safety Plan for Healthy, Glowing Skin
A gradual routine builds tolerance and smoothes your complexion without irritation.

Beginner At-Home Peels: 4-Week Safety Plan
At-home chemical peels have become increasingly popular as a cost-effective way to achieve smoother, brighter, and refreshed skin. Yet, without proper preparation and safety steps, beginners risk damaging their skin and causing long-term issues. This comprehensive guide provides a four-week plan to safely introduce at-home peels into your skincare routine, helping you avoid injuries, maximize results, and achieve glowing skin.
Table of Contents
- Introduction to At-Home Peels
- Understanding Chemical Peels: Types and Benefits
- Risks and Safety Concerns of At-Home Peels
- Preparing for Your First At-Home Peel
- 4-Week At-Home Peel Safety Plan
- Products and Ingredients to Avoid
- Aftercare: Essential Steps for Recovery
- Troubleshooting Common Issues
- Frequently Asked Questions (FAQs)
- Summary and Next Steps
Introduction to At-Home Peels
Chemical peels use acids to exfoliate and remove dead skin cells, revealing newer, healthier skin beneath. While traditionally administered in a clinic by dermatologists, many over-the-counter options now make it possible to perform mild peels at home. However, the strength, type, and method of application greatly influence both results and safety.
Understanding Chemical Peels: Types and Benefits
To maximize safety and effectiveness, understanding peel types and their benefits is essential.
- Superficial Peels: Use mild acids (e.g., alpha hydroxy acids like lactic, glycolic or mandelic acid). These peels only affect the epidermis and are suitable for at-home beginners, improving tone, texture, and radiance.
- Medium Peels: Glycolic acid or trichloroacetic acid at higher strengths. Penetrate the middle skin layers. Not recommended for home use due to higher risks.
- Deep Peels: Use strong chemicals (e.g., phenol). Provide dramatic results, but should only be administered by medical professionals due to potential for serious side effects.
Benefits of mild at-home peels include:
- Brightening complexion and evening out skin tone
- Reducing fine lines and mild pigmentation
- Improving skin smoothness and radiance
- Minimizing mild acne and superficial scars
Risks and Safety Concerns of At-Home Peels
Although at-home peels can be safe when used appropriately, several risks are associated with improper use:
- Skin damage: Incorrect product concentration or application can result in burns, scarring, and long-term damage.
- Infection: Performing peels in an unclean environment can introduce bacteria, increasing the risk of infections.
- Uneven results: Uneven application can lead to blotchy, patchy, or inconsistent skin tone.
- Allergic reactions: Skipping a patch test may trigger severe allergic symptoms.
- Improper aftercare: Inadequate recovery steps can worsen irritation and slow the healing process.
- Sun sensitivity: Chemical peels increase your skin’s sensitivity to UV rays, increasing the risk of sunburn and hyperpigmentation.
Important Note: The FDA strongly advises against unsupervised use of high-strength peel products. Many at-home products are not regulated and may exceed safe concentrations, increasing risk of adverse effects. Always use products specifically marketed for at-home use, and do not attempt medium or deep peels at home.
Preparing for Your First At-Home Peel
Safe preparation is crucial, especially for first-timers. Here’s how to prepare:
- Choose a gentle, beginner-friendly peel: Options such as lactic acid, mandelic acid, or low-percentage glycolic acid (under 10–15%) are best.
- Read instructions thoroughly: Each peel formula is different. Understand the application, timing, and neutralization process (some are self-neutralizing, while others require rinsing).
- Do a patch test: Test on the inner forearm or behind the ear 48–96 hours before facial application to check for delayed reactions.
- Avoid other strong actives: Discontinue use of retinoids, strong exfoliants, or other peels 3–5 days before and after the peel to prevent irritation.
- Gather essentials: Timer, gentle cleanser, soft towels, bland moisturizer, and broad-spectrum sunscreen.
4-Week At-Home Peel Safety Plan
Week 1: The Patch Test and First Application
- Day 1–2: Perform a patch test as described above. Wait 48–96 hours before facial use.
- Day 3–7: If there’s no irritation, cleanse your face, dry it completely, and apply the peel per product instructions. For the first application, leave the peel on for only 30 seconds to 1 minute (much less than the manufacturer’s maximum).
- Rinse thoroughly with cool water.
- Moisturize generously.
- Avoid: Retinol, exfoliants, scrubs, or vitamin C for 48 hours.
- Daily: Apply sunscreen (SPF 30 or higher) every morning—even indoors.
Week 2: Methodical Progression
- Second application: After a 5–7 day break, perform the next peel session.
- Increase duration by 30 seconds to 1 minute: Do not exceed 2 minutes unless product instructions explicitly allow.
- Monitor skin response carefully: Watch for redness, blistering, or excessive irritation.
- Adjust routine: Continue gentle cleansing, skip harsh actives, moisturize, and protect from sun.
- If facing irritation, wait longer between sessions or revert to a shorter leave-on time.
Week 3: Maximize Benefits, Maintain Caution
- Third application: If your skin has responded well and is not sensitized, extend leave-on time by another 30 seconds–1 minute. Maximum should rarely exceed 5 minutes for beginners.
- Continue meticulous aftercare: Hydrate skin, avoid sun, and use only barrier-strengthening products in between peels.
- If irritation, scale back frequency or duration.
Week 4: Assess, Maintain, and Prepare for Ongoing Care
- Final application (fourth session): Use the duration established in Week 3, not exceeding the maximum recommended by the product.
- Assess: At week’s end, evaluate progress. Have you noticed improved texture, brightness, or clarity?
- Plan maintenance: For most, once-weekly peels are sufficient for ongoing results.
| Week | Application Frequency | Peel Duration | Key Actions |
|---|---|---|---|
| 1 | Once | 30 sec – 1 min | Patch test, monitor skin, apply sunscreen |
| 2 | Once (after ~7 days) | + 30 sec – 1 min (max 2 min) | Gentle skincare, sun protection |
| 3 | Once | Up to 3–4 min | Hydrate, monitor, scale back if irritated |
| 4 | Once | Established safe max (max 5 min) | Assess, plan ongoing maintenance |
Products and Ingredients to Avoid
- No high-concentration acids: Do not use peels with acid concentrations higher than 20% without dermatological supervision.
- Avoid combination peels: Beginners should avoid multi-acid blends or strong agents like TCA or phenol.
- Other potential irritants: Retinoids, benzoyl peroxide, vitamin C, scrubs, and clay masks should be paused around peel use.
- Warning: Never use peels on open wounds, active breakouts, or inflamed skin.
Aftercare: Essential Steps for Recovery
- Moisturize: Use a bland, fragrance-free moisturizer liberally to support healing.
- Sunscreen: Apply SPF 30+ daily, reapply every 2–3 hours if outdoors.
- Cleanse gently: Do not scrub or pick at the skin.
- Hydrate: Drink plenty of water to support skin recovery.
- Pause powerful actives: Wait at least 2–3 days post-peel before reintroducing strong actives, and only if the skin is calm.
- Monitor: Watch for signs of infection (pus, excessive swelling, fever). Seek medical help if these occur.
Troubleshooting Common Issues
Redness or mild stinging: Usually resolves with hydration and sun avoidance.
Persistent burning or blistering: Rinse off immediately, apply a cold compress, use a bland ointment, and seek medical attention if severe.
Flaking/peeling: This can be normal for superficial peels—do not pick or pull at flaking skin.
Hyperpigmentation: Consistent sunscreen use usually resolves this, but see a dermatologist for persistent issues.
Frequently Asked Questions (FAQs)
Q: How often can I safely use an at-home chemical peel as a beginner?
A: Once a week is recommended for most beginners. Overuse increases the risk of irritation, burns, and sensitization.
Q: Are at-home peels suitable for all skin types?
A: Mild peels (like lactic or mandelic acid) are generally well-tolerated. Those with sensitive skin, darker skin tones, or a history of eczema/rosacea should consult a dermatologist beforehand to prevent post-inflammatory pigment changes.
Q: Can I use a peel if I have acne?
A: Mild peels may help with superficial acne, but active, inflamed acne may worsen. See a professional for best treatment.
Q: When will I see results from my at-home peel routine?
A: Most users notice smoother, brighter skin after 2-4 sessions (about one month). Full benefits may take several cycles. Patience is key—more is not better.
Q: Are at-home peels safe during pregnancy?
A: Some acids (like glycolic or lactic acid in low concentrations) are considered low risk, but consult with your healthcare provider before starting any peel during pregnancy.
Summary and Next Steps
At-home chemical peels can be safely and effectively incorporated into a beginner’s skincare routine with careful planning, patch testing, incremental application, and rigorous aftercare. By following this four-week plan, beginners can minimize the risk of complication while enjoying a refreshed, glowing complexion. Remember, patience and caution are paramount, and consulting a skincare professional before starting any new treatment is always the safest choice.
References
- https://kassmd.com/the-risks-of-at-home-chemical-peels-why-professional-supervision-is-essential/
- https://www.neostrata-me.com/learn-about-skincare/skincare-blog/beginners-guide-chemical-peels-home
- https://www.healthline.com/health/beauty-skin-care/chemical-peels-at-home
- https://www.youtube.com/watch?v=mDJ73nFHSGo
- https://www.lorealdermatologicalbeauty.us/-/media/Feature/SkincPro/Protocols/Resources/Saftey-Guidelines-for-Chemical-Peel-Procedures.pdf
- https://www.platinumskincare.com/prevent-peel-mistakes-at-home
- https://health.clevelandclinic.org/chemical-peels-at-home
- https://labmuffin.com/how-to-get-started-on-at-home-chemical-peels/
Read full bio of Sneha Tete


