How to Properly Clean and Maintain a Lice Comb: Step-by-Step Guide
Learn expert-backed, thorough methods to clean and disinfect lice combs for effective, safe lice treatment and prevention.
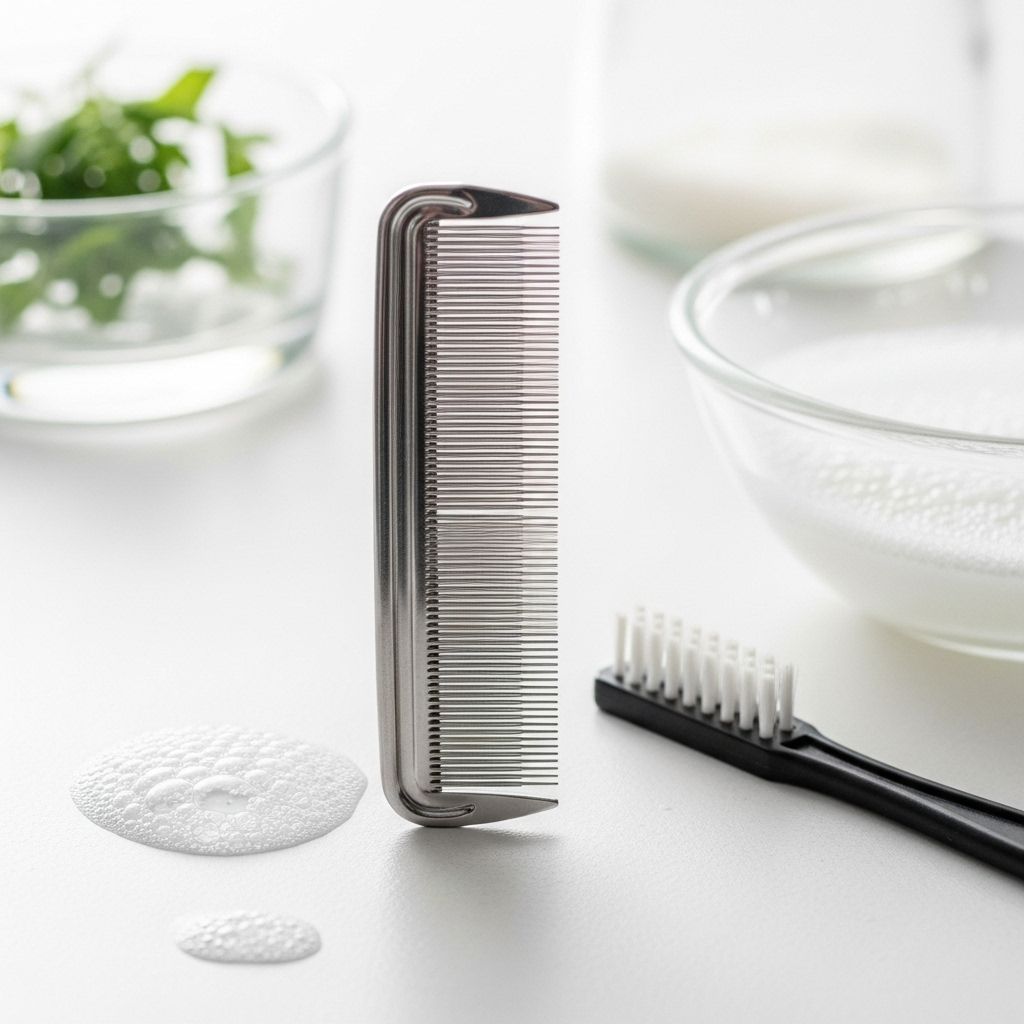
Using a lice comb is one of the most reliable ways to remove lice and nits (lice eggs) during an infestation. However, the effectiveness of your lice treatment hinges on the hygiene and care of the comb you use. Without proper cleaning, lice and nits can remain trapped between the teeth of the comb, putting you at risk of continued infestation or reinfestation. This comprehensive guide outlines the best techniques for cleaning and disinfecting lice combs, how to use them correctly, as well as tips on when it is necessary to replace your comb.
Why Cleaning Your Lice Comb Matters
Lice combs are specifically designed with fine, narrowly spaced teeth that can effectively snag and remove active lice and their eggs from your scalp and hair. While these specialized combs provide an invaluable tool in lice treatment—outperforming many chemical solutions alone—their tight teeth can easily trap live lice and nits. If not cleaned thoroughly, your comb can quickly become a source of cross-contamination, risking both reinfestation for yourself and the spread of lice to others.
Cleaning your lice comb properly after every use is crucial for effective treatment and long-term hygiene.
How to Clean a Lice Comb
Each time you use a lice comb, follow these detailed steps to make sure you remove, disinfect, and prevent the spread of lice and nits:
1. Soak the Lice Comb in Hot Water
- Fill a basin or bowl with water heated to 130°F (54°C). You can use a thermometer to ensure the right temperature; water that is not hot enough may not effectively sanitize the comb.
- Place the lice comb in the hot water bath for 5 to 10 minutes.
- Hot water kills surviving lice and nits, disinfecting both the teeth and the handle of the comb.
- Tip: Use fresh, clean water each time, and avoid handling the comb until the water temperature cools to a safe level.
2. Use Pediculicide for Extra Disinfection
- If you desire additional assurance, soak the lice comb in a pediculicide (lice-killing shampoo or solution) for up to one hour after its use.
- Pediculicides are formulated to kill both live lice and unhatched eggs.
- Always read product labels and safety warnings before soaking. Some individuals may be sensitive or allergic to these chemicals.
- After soaking, rinse the comb thoroughly under clean water to remove any lingering chemical residue.
3. Physical Cleaning: Removal of Lice and Nits
- After soaking, use a paper towel, soft bristle toothbrush, or cotton swab to wipe or brush between the teeth of the comb.
- Inspect closely for any stuck nits or debris.
- Consider using a magnifying glass or working under bright lighting to carefully check for any remaining white or translucent nits between the teeth.
- If you find stubborn debris, re-soak and clean until the comb is completely clear.
4. Dry and Store Properly
- Pat the comb dry with a clean towel or paper towel.
- Allow the comb to air dry completely before putting it away; this prevents bacterial or fungal growth.
- Store the clean, dry comb in a sealed bag or container in a dry place, away from humidity or direct sunlight.
5. Clean After Every Use
- Repeat the above cleaning and disinfection steps after every use of the lice comb—even if it is just a brief comb-through.
- Lice and nits can survive for up to 2 days after being removed from a scalp, so diligence in cleaning is vital to avoid reintroduction.
Best Practices for Using a Lice Comb
The manner in which you use your lice comb can make a significant difference in the efficacy of treatment and in simplifying the cleaning process afterward.
Wet Combing Technique
- Wet your hair thoroughly before you begin combing. This technique immobilizes lice and nits, making removal easier and more effective.
- Apply conditioner or gentle shampoo to damp hair—it helps slow down the lice and allows for smoother stroke-through.
- Section your hair and work in small segments, running the comb from scalp to tip.
- After each pass, wipe the comb teeth onto a clean paper towel and inspect it for lice or nits.
- Continue until the entire scalp has been addressed. Repeat this process every two to three days for two to three weeks after infestation or as instructed by your healthcare provider.
Visual Inspection by Magnifier or Bright Light
- After cleaning, inspect the comb in bright lighting or with a magnifying glass to ensure all visible lice, nits, or residues have been removed.
- Look specifically for tiny white or oval-shaped objects around the teeth, signaling remaining nits.
- If you notice any residue, clean and disinfect again before reclaiming the comb for use.
Lice Combs: Types and Materials
Understanding your lice comb’s construction helps determine its cleaning method and longevity.
- Metal lice combs are typically preferred due to their durability and ease of cleaning. Their narrowly spaced, rigid teeth are very effective in mechanically removing both lice and nits. They rarely wear out with proper care.
- Plastic lice combs are affordable and widely available, but may trap debris, are harder to clean thoroughly, and can warp with repeated exposure to hot water. They also harbor bacteria more easily if not dried and sanitized properly.
When Should You Replace a Lice Comb?
There is no fixed schedule for replacing a lice comb. With proper cleaning and care, a high-quality lice comb can last for many uses. However, consider replacement under the following circumstances:
- The comb is broken, bent, or has missing teeth.
- Teeth are clogged or permanently grimy despite thorough cleaning.
- Plastic combs may need frequent replacement, particularly if cracked, discolored, or misshapen due to repeated hot water soaking.
- If a comb becomes difficult to pass through hair because of damage, it is time to purchase a new one.
Tips to Prevent Head Lice Reinfestation
- Clean and disinfect all lice combs after each use.
- Wash and dry bedding, hats, scarves, and other items in contact with the hair using hot water and a hot dryer cycle.
- Do not share lice combs or brushes between individuals.
- Vacuum hair, upholstery, and carpets in frequently used living areas.
- Educate household members about lice prevention and hygiene best practices.
Common Mistakes When Cleaning Lice Combs
- Skipping hot water or pediculicide treatments: Rinsing under lukewarm water alone won’t kill all lice and nits.
- Neglecting frequent cleaning: Even after a single use, viable eggs or lice can linger.
- Using abrasive cleaners or boiling water: These can damage or warp the comb, especially plastic ones.
- Storing in humid areas: Damp storage can foster bacterial or fungal growth on the comb.
Frequently Asked Questions (FAQs) About Lice Comb Care
What is the best way to disinfect a lice comb between uses?
Soaking the comb in hot water at 130°F (54°C) for 5–10 minutes remains the gold standard for disinfection. For enhanced protection, consider soaking in a pediculicide solution for up to one hour.
Is soap or dishwashing liquid effective on its own?
Soap and dishwashing liquid may remove surface debris and some lice or nits but are not sufficient to kill all lice or unhatched eggs (nits), especially if water is not hot enough.
How often should I clean my lice comb?
Clean and disinfect your lice comb after every use, with no exceptions.
Can I reuse a lice comb on another person after cleaning?
If you have disinfected the lice comb properly—through hot water or pediculicide soaking, physical cleaning, and air drying—it is safe to reuse on another person. Never share the comb without cleaning between uses.
When is it time to throw away my lice comb?
Replace your lice comb if it is damaged, lost teeth, warped from cleaning, or still harbors visible debris after multiple attempts at cleaning.
Are electronic or battery-powered lice combs easier to clean?
Electronic lice combs may come with detachable or rinseable heads for easier cleaning. Always follow the manufacturer’s care instructions, avoid submerging electronic components, and focus on the removable comb part.
Summary: Key Steps to a Clean, Effective Lice Comb
- Always clean and disinfect your lice comb after every use by soaking in hot water (130°F/54°C) or a pediculicide solution.
- Physically remove debris with a brush, towel, and visual inspection, using a magnifying glass if needed.
- Dry your comb thoroughly before storage and keep it in a dry, sanitary location.
- Regularly inspect your comb for wear or trapped nits and replace if damaged or worn.
Treating lice successfully depends on more than just combing—it’s about maintaining strict hygiene standards for all care tools. Consistent cleaning, careful inspection, and prompt comb replacement will support both effective lice treatment and prevention in your household.
References
- https://www.healthline.com/health/lice/how-to-clean-a-lice-comb
- https://www.healthychildren.org/English/health-issues/conditions/from-insects-animals/Pages/signs-of-lice.aspx
- https://pmc.ncbi.nlm.nih.gov/articles/PMC1123177/
- https://www.health.harvard.edu/blog/fda-approves-new-treatment-for-head-lice-201101191170
- https://www.mayoclinic.org/diseases-conditions/head-lice/diagnosis-treatment/drc-20356186
- https://www.kidshealth.org.nz/head-lice
Read full bio of medha deb

