How To Grow Indigo Plant: Essential Guide For Vibrant Blue Dye
Discover the secrets of cultivating indigo, from seed to stunning blue dye, with practical tips and expert guidance.
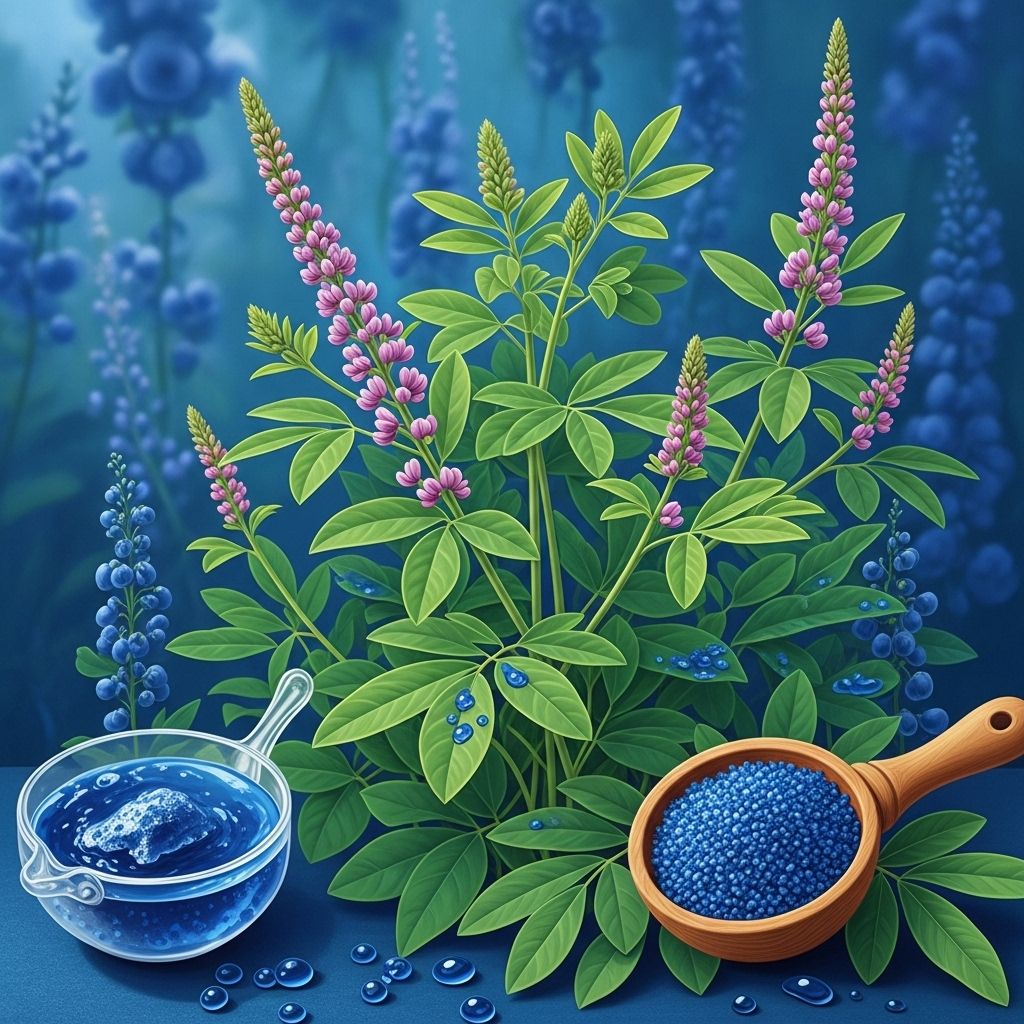
Image: HearthJunction Design Team
Indigo: The Plant World’s Natural Blue Wonder
Indigo has long captivated people across the globe as one of nature’s most vivid and stable blue dyes. The indigo plant, celebrated for centuries in dyeing, textiles, and even traditions, is also a rewarding specimen to grow at home. Whether you’re an avid gardener, a DIY natural dyer, or just curious about this iconic plant, learning how to cultivate indigo unlocks a completely new shade of blue for your garden and craft projects.
What Is Indigo?
Indigo refers to a group of plants whose leaves can be processed to extract a deep blue dye. The most famous is Indigofera tinctoria, the ‘true indigo,’ but other species like Polygonum tinctorium (Japanese indigo) and Baptisia australis (blue false indigo) also produce blue pigments. These plants belong to the Fabaceae (legume) family and thrive in warm, sunny conditions. Indigo’s legacy stretches from ancient textiles to contemporary art, making it both historical and practical for modern gardens.
Why Grow Indigo?
- Natural Dye Source: Indigo produces one of the most vibrant and permanent natural blues available.
- Unique Foliage: With lush, compound leaves, indigo adds ornamental value to garden beds and borders.
- Pollinator Attractor: When in bloom, indigo’s flowers draw bees and butterflies to your garden.
- Soil Health: As a legume, indigo can help fix nitrogen, improving the soil for neighboring plants.
Choosing the Right Indigo Variety
Several species are commonly grown for different uses:
- True Indigo (Indigofera tinctoria): Best for dyeing, with high pigment content and a traditional blue hue.
- Japanese Indigo (Polygonum tinctorium): Suitable for cooler climates and equally rich in blue pigment.
- Blue False Indigo (Baptisia australis): Native North American plant, often grown as an ornamental but also yields a blue dye, albeit with less intensity than true indigo.
Planting Indigo
Indigo can be started via seed or, less commonly, from transplants. Because transplants are rarely available, starting from seed is the most reliable method.
Starting From Seed
- Begin indoors 6–8 weeks before your last expected frost date.
- Use a seed tray or small pots filled with a moist, well-draining seed-starting mix.
- Sow seeds about ¼ inch deep, as shallow covering aids germination.
- Maintain soil temperatures between 70–80°F (21–27°C) for optimal germination.
- Consistently keep the soil moist but never waterlogged.
- Expect seedlings to emerge in 2–4 weeks; patience is key as indigo sprouts slowly.
Once seedlings display their second set of true leaves, begin the process of hardening off: gradually exposing them to outdoor conditions for a week to ensure a smooth transition.
Transplanting
- Plant outside after all danger of frost has passed and nighttime temperatures are reliably above 50°F (10°C).
- Choose a site with full sun or partial afternoon shade, especially in very hot climates.
- Space plants 2–4 feet apart in all directions to allow for mature growth and airflow.
- Dig planting holes slightly larger than the root ball, gently set the seedlings in place, backfill, and water thoroughly.
Keep the soil moist for the first few weeks to help plants establish without unnecessary stress.
Site Selection and Soil Preparation
- Light: Indigo thrives in full sun, though it can tolerate some afternoon shade.
- Soil: Well-draining soil is essential. Indigo prefers loamy soil, rich in organic matter, but will tolerate sandy soils as long as drainage is good.
- pH: Neutral to slightly acidic soils (pH 6.0–7.5) are ideal.
- Amendments: Mix in compost or well-rotted manure to enhance fertility and moisture retention, especially for Japanese and true indigo.
How to Grow and Care for Indigo
Watering
- Maintain evenly moist soil during the first month after transplanting.
- Once established, indigo is relatively drought-tolerant but will yield more lush growth and pigment if watered regularly during dry spells.
- Deep watering is preferable to frequent shallow watering, encouraging roots to penetrate deeply.
Fertilizing
- Indigo isn’t a heavy feeder, especially as a legume, but benefits from a light application of balanced, organic fertilizer at planting time.
- Avoid high-nitrogen fertilizers, which can promote excessive leafy growth at the expense of dye pigment.
Mulching
- Mulch with 2–3 inches of organic matter, such as straw, shredded leaves, or compost. This conserves moisture, maintains even soil temperature, and suppresses weeds.
Pruning & Maintenance
- Indigo typically requires minimal pruning. Remove any dead or damaged stems in early spring.
- If the plant becomes leggy, pinch or prune lightly to encourage bushier growth.
Support
- Mature indigo plants can reach 2–4 feet in height and similar width. Depending on the type, staking may be helpful in windy sites or for young, lanky seedlings.
Companion Planting
- Indigo pairs well with lavender, salvias, and other sun-loving, low-water perennials.
- Avoid planting next to heavy feeders or water-demanding plants to reduce root competition.
Pests and Diseases
Indigo is generally robust, but monitor for:
- Powdery Mildew: Appears as white, powdery spots on leaves. Improve airflow and water at the base to prevent spread.
- Leaf Spot: Small brown or black lesions on leaves, usually controlled by removing affected foliage and improving plant spacing.
- Weevils and Leaf-Eating Insects: Rare but can cause minor defoliation; hand-pick or use natural predators.
Harvesting Indigo
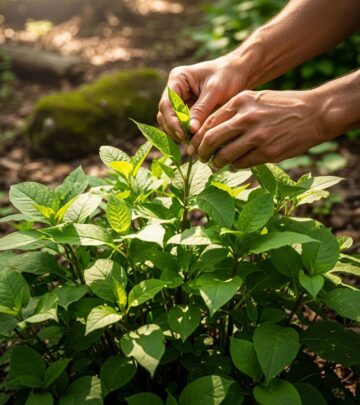
The best time to harvest indigo leaves for dyeing is just before or during flowering, when pigment levels peak.
- Cutting: Use sharp garden shears to trim leafy stems. Take no more than one-third of the plant at a time to encourage regrowth.
- Frequency: In warm climates, multiple small harvests are possible each growing season.
- Signs of Readiness: Mature, full-colored leaves with no yellowing or disease.
Immediately process or dry the leaves to preserve the pigment for later extraction.
Processing Indigo for Dye
Extracting indigo dye is an ancient yet rewarding craft. The most common home method involves fermenting or steeping the leaves to release the blue pigment. Here is a simplified overview:
- Harvest healthy leaves and stems.
- Soak in warm water and, optionally, agitate or crush to help pigment release.
- Allow to ferment overnight, then strain the liquid.
- The colorless precursor oxidizes to blue when exposed to air; after settling, the paste can be dried, stored, and reactivated for dyeing fabrics.
Safety tip: Always use gloves when handling indigo dye, as it can stain skin and clothing.
Common Problems and Solutions
- Poor Germination: Ensure consistent warmth and moisture; seeds sown too deep may fail to emerge.
- Yellow Leaves: Often a sign of poor drainage or overwatering. Amend soil with organic matter and reduce irrigation.
- Leggy Seedlings: Insufficient light; use a strong grow light or brighter window if starting indoors.
- Slow Growth: Check for root-bound seedlings and transplant into larger containers before moving outdoors.
Indigo in the Garden: Decorative and Functional Uses
Beyond dyeing, indigo makes a beautiful addition to ornamental gardens. Its arching form, lush foliage, and, in some varieties, pink or purple flowers, provide long-season interest.
- Plant in mixed borders with perennials or as a stand-alone feature.
- Use as a living mulch or to break up heavy clay soils over time with its extensive root system.
- Create a ‘dye garden’ by combining indigo with other natural dye plants such as madder, coreopsis, or marigold.
Frequently Asked Questions (FAQs)
Q: Can I grow indigo in containers?
A: Yes, indigo can be grown in large containers. Use a pot of at least 12–16 inches diameter, with well-draining potting mix, and keep in a sunny spot. Regular watering and feeding will help container plants thrive.
Q: How long does it take for indigo to mature?
A: Indigo plants typically mature in 3–4 months from seed. Harvest can begin during the first summer if started early indoors and transplanted after frost.
Q: Is indigo safe for wildlife and pets?
A: Indigo is generally safe for wildlife and pollinators. The plant is non-toxic to pets in small amounts but, as with all plants, avoid excessive consumption.
Q: What climate is best for indigo?
A: Indigo prefers warm, frost-free growing seasons. True indigo thrives in USDA zones 9–11, while Japanese indigo can tolerate cooler zones with a longer summer for full growth.
Q: Do I need any special tools to process indigo dye?
A: No special tools are needed for basic home dye extraction, though gloves and non-reactive containers are recommended. For more advanced techniques, dedicated dyeing pots and pH testing strips can provide consistent results.
Conclusion: Indigo Awaits in Your Garden
With a little patience and attention, indigo can reward growers with beauty, history, and that elusive blue. Whether your goal is to produce your own natural dye or simply enjoy a unique ornamental, indigo’s deep roots in the garden and in human culture make it a standout addition to any landscape. From sowing seed to your first harvest of sapphire leaves, growing indigo is a journey in color, tradition, and sustainable living.
References
Read full bio of medha deb


