How To Harvest Garlic: The Complete Gardener’s Guide
Unlock the secrets to harvesting, curing, and storing garlic for the best flavor, size, and long-term storage success.
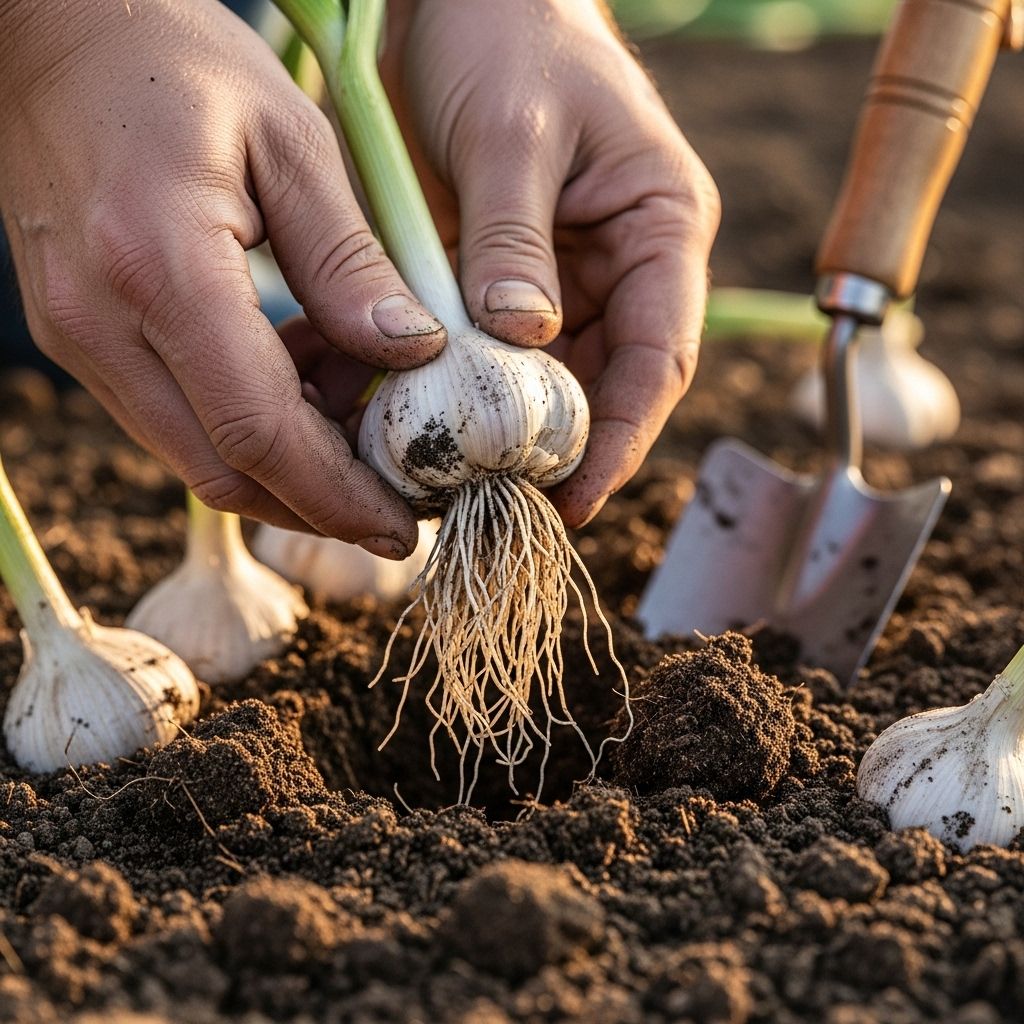
Image: HearthJunction Design Team
How and When to Harvest Garlic: The Complete Gardener’s Guide
Garlic is a rewarding crop for home gardeners, blending simple cultivation with the pleasure of homegrown flavor in the kitchen. Timing your harvest right and using proper curing and storage techniques can provide you with plump, flavorful bulbs that last for months. This comprehensive guide covers the signs that your garlic is ripe for harvest, step-by-step digging methods, essential post-harvest care, and expert advice for curing and storing garlic for optimal shelf life and taste.
Understanding Garlic Types and Harvest Cycles
Garlic comes mainly in two types — softneck and hardneck — and knowing which variety you grow influences both harvest time and method.
- Softneck garlic: Best suited for warmer climates, rarely produces a flowering stalk (scape), and has a longer storage life but a more subtle flavor.
- Hardneck garlic: Tolerates colder climates, produces edible garlic scapes in late spring, and is known for robust, complex flavors. However, it tends to store for a shorter period compared to softneck types.
Typical Garlic Harvest Windows
- First harvest (early spring): Some gardeners may harvest green garlic (young, tender plants) for immediate use.
- Mid to late spring: Softneck garlic bulbs mature and are ready for harvest, especially in mild climates.
- Late spring to early summer: Hardneck garlic scapes are ready to be harvested, followed by the bulbs a few weeks later.
Understanding your garlic’s growth cycle is key to getting the perfect harvest. Planting usually takes place in the fall, allowing bulbs to overwinter and mature over 7-9 months.
How to Spot When Garlic is Ready to Harvest
Reading the Leaves: Nature’s Harvest Calendar
Because garlic bulbs develop underground, visual cues from the leaves are your best guide for harvest timing:
- Wait until one-third to one-half of the leaves at the base of each plant have turned yellow or brown; the top leaves should remain green.
- Each leaf is both a photosynthetic engine and a future wrapper for the bulb. More green leaves at harvest = more protective wrappers, which means longer storage potential.
- Do not wait for all leaves to brown or wither, as this can result in overripe bulbs with separated cloves, reducing both quality and shelf life.
Checking Bulb Size and Clove Separation
- Test readiness by gently brushing away soil from around the stalk at the base of a few sample plants.
- Harvest if bulbs are full-sized and the papery skins are intact. If bulbs seem small or poorly formed, wait a bit longer, unless more than half the leaves have browned.
- Once half the leaves are brown, it is best to harvest all remaining garlic, regardless of bulb size, to prevent spoilage.
Harvesting Garlic: Step-by-Step Technique
Preparing for Harvest
- Stop watering your garlic about one week before your anticipated harvest date. This allows the bulbs to dry slightly, reducing the risk of rot or mold during curing.
- Choose a dry, preferably overcast day for harvesting to minimize sun damage and make the process gentler on your garlic.
Digging Garlic Bulbs
- Loosen Soil:
Use a garden fork or spade, sinking it deep about 4 inches away from the stalk to avoid damaging the bulbs. - Lift and Gently Shake:
Leverage the tool to lift clusters of garlic. Gently shake off excess soil but do not remove the wrappers or wash the bulbs. - Handle Carefully:
Garlic bruises easily. Avoid pulling on the tops to remove bulbs from soil, as this can separate the stalk from the bulb or damage the neck, reducing shelf life.
Harvesting Garlic Scapes (for Hardneck Varieties)
- Garlic scapes appear as curling, green shoots in late spring. Cut them off when they make a full loop or two, ideally before the flower pod forms.
- Harvesting scapes redirects the plant’s energy back to bulb growth and provides a culinary treat — the scapes themselves are edible and delicious.
Curing Garlic: The Key to Flavor and Longevity
Proper curing is essential for both flavor development and extended storage of garlic bulbs.
How to Cure Freshly Harvested Garlic
- Do not wash bulbs: Instead, gently brush off noticeable soil. Wet bulbs are more prone to rot and mold.
- Keep leaves and roots attached: These will be removed only after curing.
- Bundle and Hang: Gather garlic bulbs in small bunches (5-10 bulbs), securing them with twine, and hang them in a well-ventilated, shaded, and dry location.
- Alternative: Lay bulbs out on racks or screens in single layers if hanging isn’t possible. Ensure good airflow above and below.
Ideal Curing Environment
- Out of direct sunlight, which can damage bulbs and reduce flavor.
- Temperature between 60-80°F (15-27°C).
- Low humidity for two to four weeks until outer skins are dry and papery, and roots/leaves are brittle.
Cleaning and Preparing Garlic for Storage
Trimming and Finishing
- After curing, use garden scissors or snips to trim roots close to the base of the bulb.
- Cut leaves/stalks an inch above the bulb (for storage), or leave longer if you intend to braid softneck garlic for attractive kitchen displays.
- Gently peel away only the outermost, dirtiest wrappers, keeping as many layers as possible intact for storage protection.
Best Practices for Storing Garlic
Storage Conditions
| Garlic Type | Ideal Temp (°F) | Humidity | Expected Storage |
|---|---|---|---|
| Softneck | 60–65 | Low | 6–9 months |
| Hardneck | 32–50 | Low | 3–6 months |
- Store bulbs in mesh bags, paper bags, or baskets to ensure airflow.
- Never store garlic in plastic bags or sealed containers, as this traps moisture and encourages mold.
- Keep bulbs in a cool, dry, dark location, such as a pantry, cellar, or unheated basement.
Bulb Inspection
- Check stored garlic monthly, removing any bulbs that show signs of mold, sprouting, or softness to protect the rest of your crop.
Tips for Maximizing Garlic Shelf Life
- Use hardneck varieties first, as they don’t store as long as softneck types.
- Save your most robust cloves from healthy bulbs as seed garlic for next season’s planting.
Common Garlic Harvesting Mistakes to Avoid
- Harvesting too early: Results in small bulbs with underdeveloped flavor and poor storage potential.
- Harvesting too late: Leads to cloves separating in the bulb, increasing risk of spoilage and reducing storage life.
- Poor handling: Dropping or bruising bulbs can damage them, making them more susceptible to disease.
- Insufficient curing: Increases risk of rot and reduces shelf life.
- Improper storage: High humidity or lack of airflow can quickly spoil the harvest.
Frequently Asked Questions (FAQs) About Harvesting Garlic
Q: Can I harvest garlic after all the leaves have turned brown?
A: It’s not recommended. When all leaves are brown, the bulb may be overripe, and the cloves may have begun to separate, which leads to faster spoilage. Harvest when a third to half the leaves have browned for best results.
Q: What happens if I harvest garlic bulbs too early?
A: Bulbs will be small, poorly formed, and will not store well. They may lack the full flavor developed during the last stage of bulb growth.
Q: Can I eat garlic immediately after harvesting?
A: Yes! Freshly dug garlic (sometimes called “wet” garlic) can be used right away, but it will be milder in flavor. For longer storage and best flavor, cure the bulbs first.
Q: How do I know if my garlic is cured completely?
A: The skins should feel dry and papery, roots will be brittle, and the stalks will no longer be green or pliable. Cured garlic also has a distinct, concentrated aroma.
Q: Is it necessary to remove the scapes from hardneck garlic?
A: Yes, if you want the largest possible bulbs. Removing scapes redirects energy to bulb formation. Plus, the scapes themselves are a delicious bonus crop.
Q: How do I store garlic for planting next year?
A: Select your healthiest, largest bulbs, store them in the same way as you would for culinary garlic, and plant individual cloves in the fall for a new harvest next year.
Conclusion
Harvesting garlic is a blend of careful observation, timing, and gentle handling. By monitoring leaf color, sampling bulbs to check maturity, and using the right digging and curing techniques, you can secure a year’s worth of delicious, homegrown garlic. Store your harvest properly, use up hardneck types first, and save the best for replanting. Happy harvesting and bon appétit!
References
Read full bio of Anjali Sayee


