11 Essential Tips for Growing Stunning Hibiscus in Containers
Grow vibrant hibiscus blooms in containers with expert guidance on pots, soil, watering, and care routines.
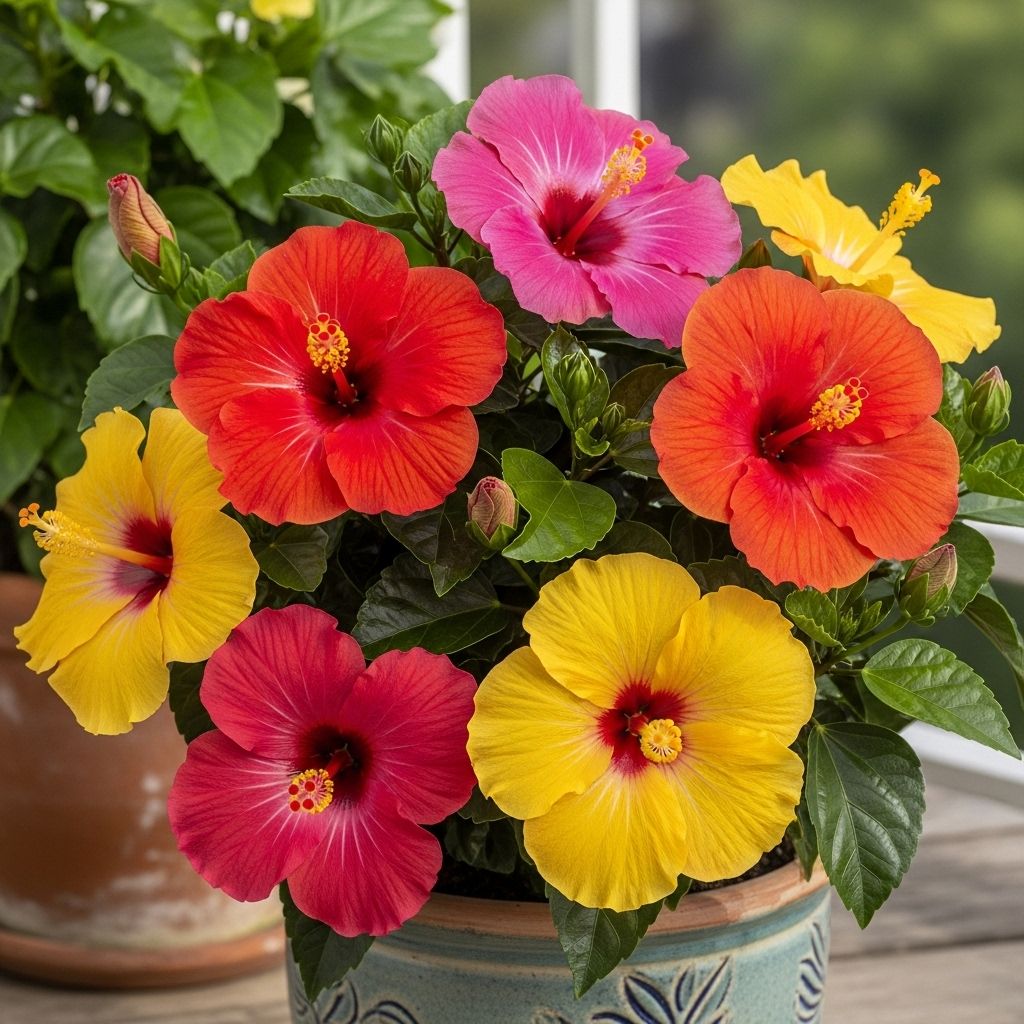
Image: HearthJunction Design Team
Hibiscus plants are renowned for their vibrant, showy blooms that can transform any patio or indoor space into a tropical oasis. Fortunately, you don’t need an in-ground garden to enjoy their beauty—hibiscus can thrive in pots and containers, bringing a splash of exotic color wherever you place them. However, successful container gardening requires attention to a few specific needs of hibiscus plants. Follow these comprehensive tips to ensure your potted hibiscus stay healthy, happy, and bursting with blooms all season long.
Why Grow Hibiscus in Containers?
Growing hibiscus in containers offers several advantages. You gain flexibility in positioning your plant for optimal sunlight throughout the year and easily bring your tropical varieties indoors when colder months threaten frost damage. With the right care, hibiscus in containers can be just as rewarding—if not more—than those grown in the ground.
- Mobility: Easily move containers for the best sunlight, protection from harsh weather, or decorative appeal.
- Climate Control: Overwinter tropical hibiscus indoors to avoid cold damage.
- Aesthetics: Pots add a decorative element to patios, balconies, and entrances.
1. Choose the Right Container
The first step to flourishing hibiscus is selecting an appropriate container. Both size and drainage are critical for healthy growth.
- Drainage: Always use pots with at least one drainage hole. This prevents soggy roots and root rot, a top killer of container plants.
- Size: Go one size up, but don’t overdo it! Hibiscus prefer to be a bit rootbound, which encourages more blooms. Choose a container just 1–2 inches wider than the current root ball.
- Material: Lightweight options like plastic or composite are easy to move, while ceramic, clay, or stone provide stability and insulation.
2. Select the Ideal Soil
Good potting soil is crucial for hibiscus. It needs to retain enough moisture but drain excess water efficiently.
- Well-Draining Mix: Use a high-quality potting mix with added perlite, vermiculite, or pine bark for drainage.
- Organic Matter: Incorporate compost or worm castings to boost nutrients and soil life.
- Avoid Heavy Garden Soil: Do not use ground soil or heavy mixes, as they retain too much water and compact over time.
3. Planting Your Hibiscus in the Pot
Once you’ve selected a pot and prepared the soil, it’s time to transplant your hibiscus.
- Gently Remove the Plant: Carefully take the hibiscus out of its current container, loosening root-bound areas if needed.
- Place in New Pot: Set the root ball at the same soil level as before. Do not bury the stem deeper than it was originally planted.
- Fill with Soil: Add potting mix around the roots, gently firming it in with your hands. Water thoroughly after planting.
4. The Importance of Sunlight
Hibiscus are true sun-worshippers. To produce those signature blooms, they need plenty of light.
- Full Sun Preferred: Place your container where it will receive at least 6 hours of direct sunlight per day.
- Afternoon Shade in Hot Climates: If summers are intensely hot, provide light afternoon shade or use larger, insulated pots to keep roots cool.
- Rotate the Pot: Turn your hibiscus every week or two for even growth and balanced flowering.
5. Watering: Keep it Consistent
Container-grown hibiscus dry out faster than those planted in the ground. Consistent watering is the key to healthy plants.
- Frequency: Check soil moisture daily, especially in hot or windy weather. Water when the top 1–2 inches of soil feel dry to the touch.
- Deep Watering: Water thoroughly so liquid drains from the hole at the bottom.
- Avoid Overwatering: Never let hibiscus sit in standing water, as this leads to root rot.
6. Fertilizing for Maximum Blooms
Potted hibiscus rely on you for nutrients. A regular feeding schedule is essential for abundant flowers.
- Type: Use a balanced, water-soluble fertilizer with higher potassium (K) for blooming, such as 10-10-20.
- Frequency: Fertilize every 2–3 weeks during the active growing season (spring through fall).
- Supplement: Add slow-release granules or occasional liquid seaweed/compost tea for micronutrients.
7. Pruning and Deadheading
Regular trimming helps your hibiscus produce more flowers and stay compact.
- Prune in Early Spring: Cut back leggy growth to encourage new shoots.
- Deadhead Spent Blooms: Pinch off faded flowers to keep the plant tidy and encourage continual blooming.
- Shape as Needed: Trim for size control and aesthetic appeal.
8. Dealing with Pests and Disease
Container plants are not immune to insects or fungal issues.
- Aphids, Whiteflies, Spider Mites: Common pests; watch for sticky residue or webbing on leaves.
- Solution: Spray with insecticidal soap, neem oil, or rinse foliage with a strong jet of water.
- Root Rot & Mildew: Prevent with proper watering and adequate air circulation.
9. Repotting Your Hibiscus
Even though hibiscus like a snug fit, eventually they outgrow their containers. Signs it’s time to repot:
- Roots circling the bottom or poking through drainage holes
- Plant dries out quickly after watering
- Declining bloom production
Repot in spring, selecting a pot one size larger and refreshing with new soil.
10. Overwintering: Bringing Hibiscus Indoors
If you grow tropical hibiscus (Hibiscus rosa-sinensis), they won’t survive freezing temperatures. Plan ahead:
- Bring Indoors: Move hibiscus inside before outdoor temperatures drop below 50°F (10°C).
- Light & Humidity: Place near a bright window; supplement with grow lights if needed. Mist leaves or use a humidifier for best results.
- Reduce Watering: Cut back on water in winter months to avoid soggy roots.
Hardy hibiscus (such as Hibiscus moscheutos and syriacus) can usually spend winter outside in their containers in zones 5 and warmer, though protection with mulch or wrapping helps in severe cold.
11. General Maintenance Tips
- Regular Inspection: Check for pests, yellowing leaves, or any signs of stress.
- Clean Pots: Keep pots clean and free of debris to avoid disease.
- Mulching: Top the soil with a thin layer of mulch to help retain moisture in hot weather.
Table: Care Summary for Container Hibiscus
| Care Task | Details |
|---|---|
| Container Size | 1-2″ larger than root ball; must have drainage holes |
| Soil | Well-draining, organic-rich potting mix |
| Watering | When top 1-2″ of soil is dry; avoid standing water |
| Light | 6+ hours sun; some afternoon shade in extreme heat |
| Fertilizer | Balanced, high-potassium feed every 2-3 weeks |
| Pruning | Early spring; deadhead regularly |
| Repotting | Every 2-3 years, as needed |
| Overwintering | Bring tropical hibiscus indoors before frost |
Types of Hibiscus Suitable for Containers
- Tropical Hibiscus (Hibiscus rosa-sinensis): Lush, shiny leaves and spectacular blooms in a range of colors. Needs protection from frost.
- Hardy Hibiscus (Hibiscus moscheutos, Hibiscus syriacus): Can survive lower temperatures and may stay outdoors year-round in many climates.
Companion Plants for Hibiscus in Containers
Enhance your hibiscus display by pairing with other container-friendly plants:
- Creeping Jenny: Offers trailing, bright foliage.
- Sweet Potato Vine: Rapid growth and colorful leaves.
- Compact Annuals: Such as petunias, coleus, or lobelia for added color and texture.
Frequently Asked Questions (FAQs)
Q: Can all hibiscus be grown in containers?
A: Yes, both tropical and hardy hibiscus thrive in containers with proper care. Just be sure to provide for their specific temperature needs.
Q: How often should I water hibiscus in pots?
A: Water when the top 1–2 inches of soil feel dry. In hot weather, you may need to water daily, but always check the soil first.
Q: Why are my hibiscus leaves turning yellow?
A: Overwatering, under-watering, or nutrient deficiencies are the most common causes. Check your watering routine and consider a balanced fertilizer.
Q: How do I encourage more blooms?
A: Ensure your hibiscus gets at least 6 hours of sun, regular feeding, and deadhead spent flowers. Keep roots snug but not cramped in the pot.
Q: Do I need to prune my potted hibiscus?
A: Yes, pruning in early spring stimulates new growth and more blooms. Remove dead or leggy stems anytime for a tidy shape.
Q: What is the best fertilizer ratio for hibiscus in pots?
A: Look for a fertilizer higher in potassium (K), such as a 10-10-20 or similar, for optimal flowering.
Conclusion: Enjoying Hibiscus in Containers
Growing hibiscus in containers is an excellent way to enjoy these gorgeous, long-flowering plants even if yard space is limited. With proper pot selection, quality soil, plenty of sunlight, and a regular care routine, your potted hibiscus will provide an eye-catching display of color from late spring through fall. Follow these expert tips, and get ready to enjoy a tropical escape—right on your own porch, patio, or living room!
References
Read full bio of medha deb


