How To Draw A Garden Plan: 4-Step Guide For Flawless Layout
Master the basics of garden planning: Learn to map your outdoor space, organize plantings, and create a beautiful, thriving garden.

Image: HearthJunction Design Team
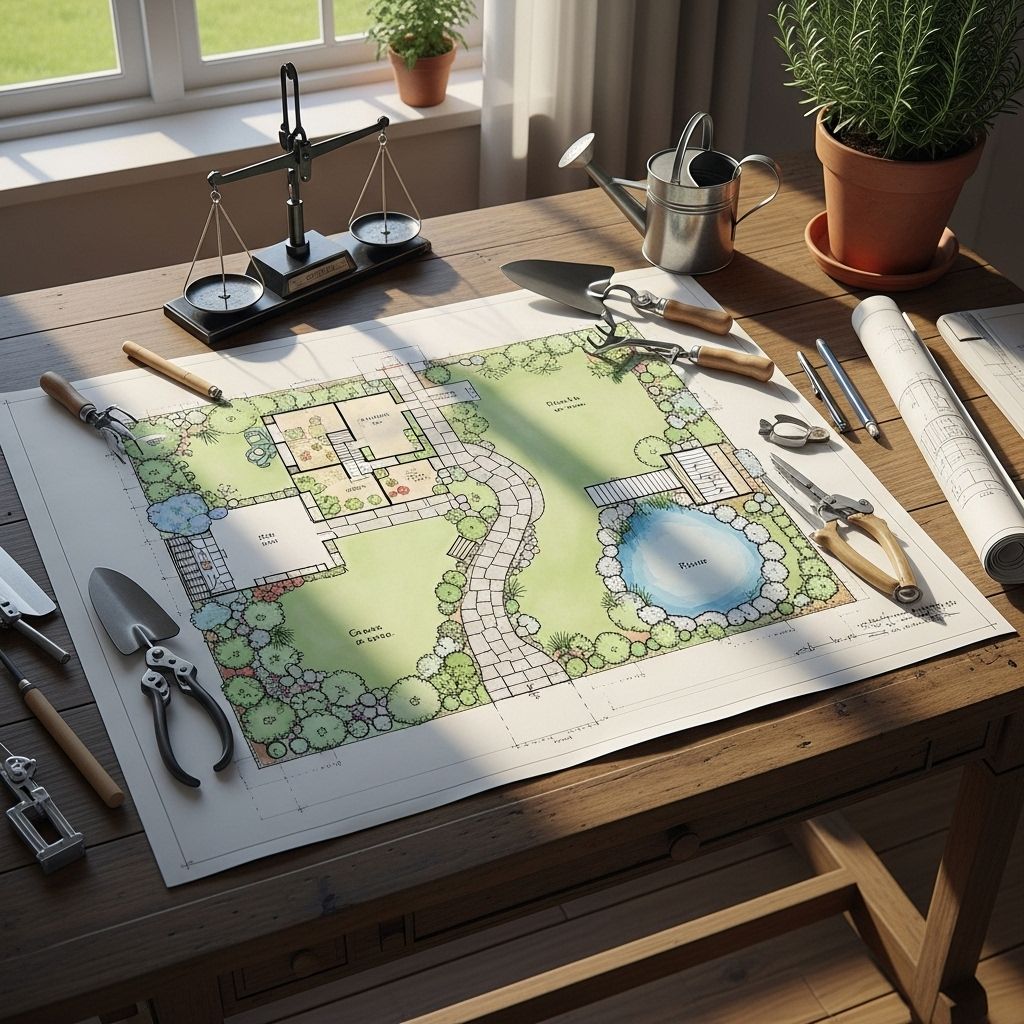
Gardening 101: How to Draw the Perfect Garden Plan
Ever struggled to remember where you planted those tulip bulbs last fall? Do ambitious design ideas get lost between seasons? Drawing a garden plan is one of the simplest, most effective ways to keep track of your plants — and bring new garden dreams to life. Whether you’re a seasoned gardener or just starting out, a clear garden plan helps you visualize your space, avoid costly mistakes, and set the stage for a flourishing landscape.
Why Draw a Garden Plan?
A garden plan is more than a pretty drawing. It’s a working document that lets you:
- Track exactly where you planted bulbs, perennials, and shrubs — so you won’t accidentally dig them up or crowd new additions.
- Visualize seasonal changes and plant heights to ensure a balanced, attractive layout through spring, summer, and fall.
- Experiment safely with new arrangements, color schemes, and plant combinations on paper before you commit them to soil.
- Identify gaps or overcrowded areas, making it easier to plan for new seasonal purchases or swaps.
Essential Tools for Garden Planning
You don’t need fancy software or professional drafting tools. To get started, gather:
- White paper: Standard printer or drawing paper works, or you can use graph paper for neatness.
- Tracing paper and tape: Overlay tracing paper on your sketch to try out new ideas without erasing the base drawing.
- Pencil: For easy edits. Colored pencils are optional, but helpful for distinguishing plant types and features.
- Eraser: As plans often change, corrections are part of the process.
- Measuring tape: Accurate measurements are critical — even for small gardens.
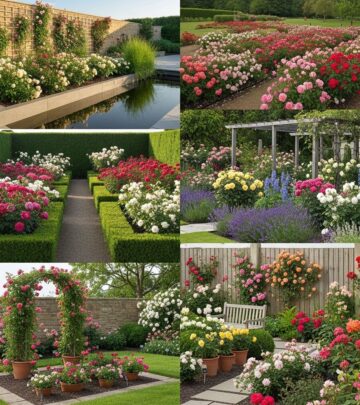
- Inspiration: Photos from magazines or online sources can help spark ideas and clarify your vision.
Pro tip: Keep your planning kit handy. As inspiration strikes or your garden changes, you’ll want everything you need within reach.
Getting Ready: Measuring Your Garden
Before you begin sketching, spend time in your garden taking detailed measurements:
- Measure the outer perimeter of your garden or yard.
- Record the sizes of existing garden beds and notes on their positions.
- Mark the locations and dimensions of permanent features, such as trees, shrubs, fences, patios, walkways, and irrigation points.
- Jot these measurements down on scrap paper for easy reference throughout the planning process.
Not sure where to start? Focus on the biggest, least movable elements first, then work your way down to smaller beds, individual plants, and empty spots you’d like to fill.
How to Draw Your Garden Plan: Step-by-Step Guide
Step 1: Gather Your Measurements
With your scrap paper and measuring tape in hand, record:
- Perimeter length and width
- Existing garden bed dimensions
- Trees, shrubs, structures, and hardscape features
Step 2: Choose a Suitable Scale
Your plan needs to be to scale so that additions and changes are spatially accurate. For most average-sized backyards (e.g., 18 feet wide), a scale of 3 feet = 1 inch works well. Adjust as needed for larger or smaller spaces.
- Draw a legend or note the scale on your sketch for clarity.
- Use a ruler for straight lines; graph paper helps maintain proportion.
Step 3: Draw the Perimeter and Existing Features
- On your main sheet of white or graph paper, outline the edges of your space.
- Sketch in fixed elements: beds, paths, patios, lawn, fence lines, established trees and large shrubs.
- Label each element for easy identification.
This initial drawing is your base map. It’s the reference point for all future changes and new plantings.
Step 4: Add a Layer of Tracing Paper
- Place tracing paper over your base map and tape in place.
- On the tracing paper, sketch planned additions: new plants, potential beds, hardscape changes, or seasonal containers.
- Try out different arrangements, color schemes, or layouts by swapping out the tracing paper or using colored pencils.
With this layered approach, you won’t risk losing your original map — and you can continue making tweaks as the garden evolves season by season.
Pro Tips and Planning Advice
- Photograph your garden through the seasons. These photos help remind you what emerges where, and when you’re likely to see bare spots or bursts of color.
- Document plant names and sources. Add notes to your map about specific plant varieties, bloom times, and suppliers. This is invaluable for maintenance and future planning.
- Use symbols or color coding. Designate different plant types (perennials, annuals, shrubs, trees) with unique icons or colors for visual clarity.
- Update regularly. Gardens change with time. Make a habit of updating your plan after major plantings, removals, or structural changes.
Planning for Spring: Seasonal Considerations
Planning your first spring bulb garden? Mark where you want to add bulbs on the tracing paper so you don’t forget come planting season. Use your map to track:
- Where you’ve already planted bulbs to avoid duplication or accidental removal
- Bare or underwhelming spots that need extra color in spring
- Clusters of bulbs versus single specimen plantings
For in-depth guidance on spring bulbs, see resources like “Foolproof Spring Bulbs for a Beginner.” Having a precise plan is especially helpful for beginners — and even the most seasoned gardeners can forget what’s underground by the time spring arrives.
Sample Garden Plan Walkthrough
Below is a simplified example layout based on the steps above. Adjust according to your actual measurements and plant choices.
| Feature | Dimensions | Notes |
|---|---|---|
| Perimeter Fence | 36 ft x 24 ft | Main boundary, do not move |
| Central Lawn | 12 ft x 8 ft | Grassy play area |
| Flower Bed (East) | 10 ft x 3 ft | Daylilies, tulips, foxgloves |
| Pathway | 3 ft wide | Stone, connects gate to patio |
| Patio | 8 ft x 6 ft | Outdoor seating |
Layer a tracing paper sheet over this layout to try out new plantings, experiment with border shapes, or test new color schemes. This makes it simple to visualize different options before committing to them in the real garden.
Common Planning Pitfalls (and How to Avoid Them)
- Guessing at distances: Always use accurate measurements to avoid overcrowding or wasted space.
- Ignoring permanent features: Do not forget to include things like trees, sheds, irrigation lines, and hardscape elements.
- Overcomplicating the plan: Start with an easy, clear drawing. You can add detail as confidence grows.
- Failing to update your plan: Gardens evolve—keep the plan current to reflect changes and avoid confusion.
Frequently Asked Questions (FAQs)
Q: How detailed should my garden plan be?
A: Start simple with boundaries, major beds, and permanent features. Add details such as plant names, bloom times, and symbols as you get more comfortable or as your garden matures.
Q: Do I need special software to draw a garden plan?
A: No — pen or pencil, paper, tracing paper, and a ruler are all you need. Digital tools can be helpful for larger plots or if you prefer digital tracking, but are not necessary.
Q: How often should I update my plan?
A: Update your plan after every major change—new plantings, removals, or structural additions. A seasonal review is a good habit.
Q: What scale should I use for my drawing?
A: For average-sized gardens, 3 feet per inch is a good starting point. Use graph paper for precision. Adjust the scale as needed based on your space.
Q: How can a plan help with bulb planting?
A: A plan prevents over-planting or digging up bulbs accidentally. Mark bulb locations each season and add notes for color, bloom time, and spacing.
Final Thoughts: Keep It Simple and Flexible
The most important rule of garden planning is to keep it simple and maintain flexibility. A garden plan is a living document that evolves with your outdoor space and your tastes. It’s a tool for experimentation, reflection, and above all, for creating a garden that brings you joy — season after season.
Ready to get started? Grab a pencil, paper, and measuring tape — and begin charting the green spaces of your dreams today.
References
Read full bio of Srija Burman


