DIY Insect Hotel: 3 Easy Steps To Boost Garden Biodiversity
Transform garden waste into a beautiful shelter that supports biodiversity and insect conservation in your outdoor space

Image: HearthJunction Design Team
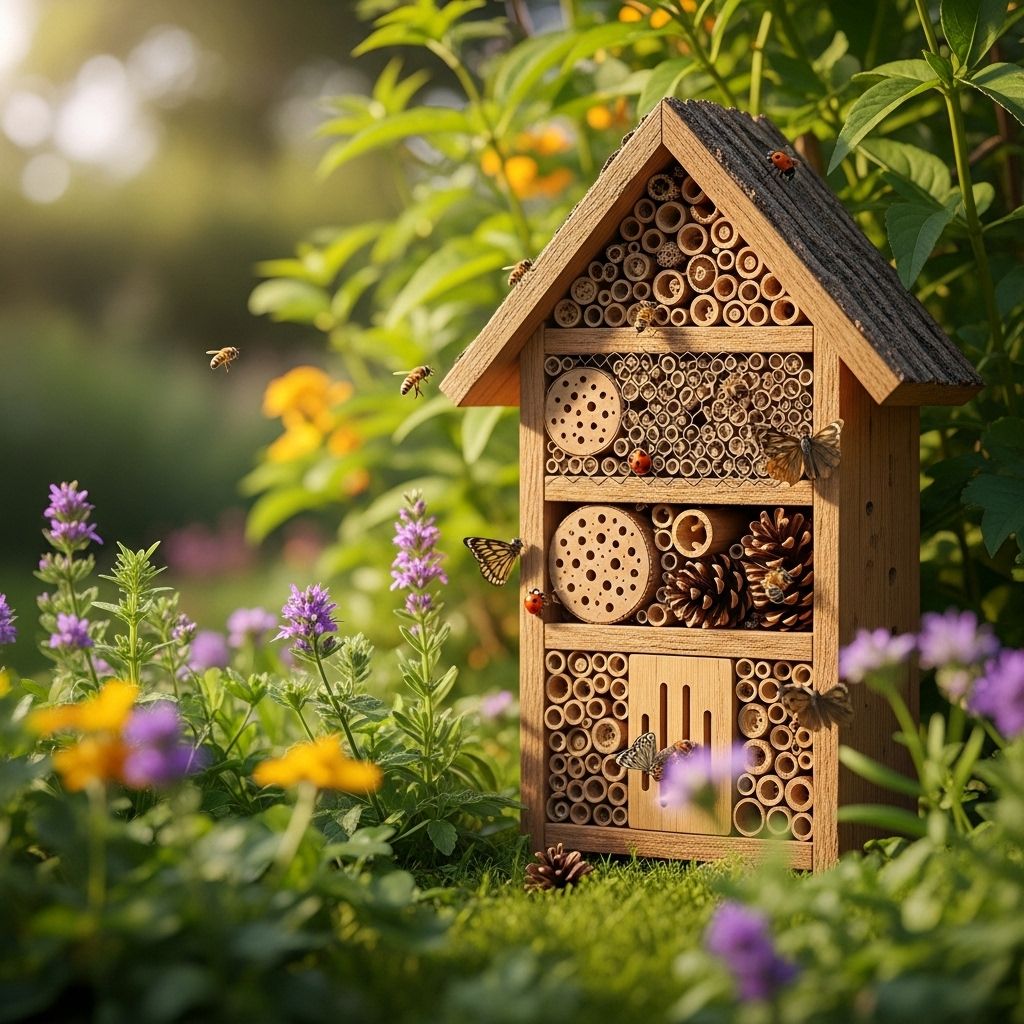
DIY Bug Snug: Create a Haven for Garden Insects
In the world of garden DIY projects, sometimes the simplest ideas have the most profound impact. The bug snug, popularized by OmVed Gardens, represents one such innovation—an elegantly simple structure that transforms garden waste into valuable wildlife habitat. This easy-to-create insect shelter has captured the imagination of gardeners worldwide, spreading across social media and garden communities as a practical way to support biodiversity while making use of garden trimmings.
What makes the bug snug particularly appealing is its accessibility—requiring only materials you likely already have on hand and minimal time investment. Yet despite this simplicity, it offers tremendous ecological value, providing essential shelter for overwintering insects and invertebrates that form the backbone of a healthy garden ecosystem.
Why Create a Bug Snug for Your Garden?
Insect populations worldwide face unprecedented challenges from habitat loss, climate change, and pesticide use. By creating dedicated spaces for insects to shelter, hibernate, and reproduce, gardeners can make a meaningful difference in supporting local biodiversity. The bug snug serves multiple ecological functions:
- Provides winter hibernation space for beneficial insects
- Creates nesting habitat for solitary bees and other pollinators
- Offers shelter for predatory insects that control garden pests
- Repurposes garden waste that might otherwise be discarded
- Creates microhabitats that support diverse insect communities
Beyond these ecological benefits, bug snugs add visual interest to the garden landscape. Their teepee-like structure creates an attractive focal point that evolves through the seasons as materials weather naturally. They serve as conversation starters about the importance of insects in our gardens and can be particularly engaging for children learning about gardening and ecology.
Materials Needed for Your Bug Snug
The beauty of the bug snug lies in its simplicity and flexibility. You’ll need:
- Three sturdy poles of equal length (hazel, bamboo, or any straight branches)
- Garden twine or jute string for binding
- Garden prunings and waste including:
- Hollow stems from perennials
- Small twigs and branches
- Dried flower stems
- Grass clippings
- Fallen leaves
- Pine cones
- Optional decorative elements like dried seed heads or ornamental grasses
The key is to collect materials with varying textures and hollow centers, which provide the most effective habitat spaces for different insect species. Hollow plant stems are particularly valuable, as they offer perfect hibernation chambers for solitary bees and many beneficial insects.
Step-by-Step Guide to Building Your Bug Snug
Creating a bug snug is straightforward enough for even novice gardeners to accomplish in under an hour. Follow these simple steps to build your own insect haven:
Step 1: Build the Frame
Select a location for your bug snug in a sunny or partially sunny spot in your garden. The warmth of the sun will attract insects to the structure. Take three sturdy poles of equal length—hazel branches work well, but bamboo canes or any straight, sturdy sticks will suffice. The height is flexible; OmVed Gardens’ bug snugs stand approximately chest-high, but you can adjust based on your available materials.
Gather the three poles at one end and tie them securely with garden twine or jute string. For a more stable structure, consider using a clove hitch knot to create a proper tripod lashing. Once tied, spread the bottom ends of the poles to form a tripod or teepee shape. For additional stability, you can gently push the poles into the soil or tap them with a mallet to secure them in place.
Step 2: Fill the Frame
With your frame established, begin filling it with garden trimmings and waste materials. Start by placing longer sticks and stems around the perimeter, leaning them against the frame to create the outer structure. Layer in a variety of materials, including:
- Hollow stems from perennials like foxgloves, sunflowers, or joe-pye weed
- Twigs and small branches from shrub pruning
- Dried ornamental grasses
- Pine cones and seed pods
- Bark pieces from fallen trees
Arrange the materials with variety in mind—some densely packed areas and some looser sections will create diverse microhabitats. Pay special attention to incorporating hollow stems, which provide essential hibernation spaces for solitary bees and other beneficial insects. Position these horizontally or at slight angles to prevent rainwater from filling them.
Step 3: Add Finishing Touches
As you near the top of your structure, consider adding decorative elements that also serve ecological purposes. Dried seed heads from echinacea, rudbeckia, or ornamental alliums add visual interest while providing food sources for birds. Tuck in bundles of dried leaves toward the bottom of the structure to create hibernation spaces for ground beetles and other beneficial predators.
To enhance stability in windy areas, you might want to weave some flexible stems horizontally through the structure or add an additional binding of twine around the middle. For a more finished appearance, trim any excessively protruding stems or sticks.
Optimal Placement in Your Garden
The placement of your bug snug can significantly impact its effectiveness and longevity. Consider these factors when choosing a location:
- Sunlight exposure: A position that receives morning sun is ideal, providing warmth that attracts insects without overheating during summer afternoons.
- Wind protection: While the structure is relatively stable, placing it where it’s somewhat sheltered from strong prevailing winds will extend its lifespan.
- Proximity to plantings: Position your bug snug near flowering plants to provide food sources for the insects you’re sheltering.
- Visibility: Consider placing the bug snug where it’s visible from seating areas or paths so you can observe the wildlife it attracts.
- Moisture balance: Avoid low spots where water collects, as excessive moisture can lead to premature decomposition.
Many gardeners create multiple bug snugs throughout their garden, each with slightly different materials to attract diverse insect populations. You might place one near vegetable gardens to encourage predatory insects, another near ornamental beds to support pollinators, and perhaps a third in a wilder area of the garden.
Seasonal Maintenance and Evolution
One of the beautiful aspects of the bug snug is that it requires minimal maintenance while naturally evolving over time. As materials decompose, they create additional habitat niches and return nutrients to the soil. To maintain your bug snug:
- Fall: Add fresh materials as you conduct fall garden cleanup, incorporating hollow stems and seed heads.
- Winter: Leave the structure undisturbed, as it’s actively providing hibernation habitat.
- Spring: Observe emerging insects but resist the urge to clean or disturb the structure extensively.
- Summer: Add new materials as they become available from garden pruning.
Over time, lower portions of the bug snug will decompose, returning to the soil. This is a natural process and part of the structure’s lifecycle. You can simply add new materials to the top as needed. After several years (typically 2-3), you might choose to dismantle what remains of an older bug snug and create a fresh one, perhaps incorporating some of the more durable materials from the original.
The Ecological Impact of Bug Snugs
Creating insect habitat goes beyond simply attracting wildlife—it makes a meaningful contribution to ecosystem health. Bug snugs support numerous ecological functions:
- Pollination support: By providing habitat for native bees, beetles, and other pollinators, bug snugs help ensure robust pollination of both garden plants and surrounding native vegetation.
- Natural pest control: Predatory insects like lacewings, ladybugs, and parasitic wasps that overwinter in bug snugs help control garden pest populations naturally.
- Biodiversity enhancement: Each bug snug may host dozens of insect species, contributing to overall garden biodiversity.
- Food web support: Insects supported by bug snugs become food sources for birds, small mammals, and other wildlife, strengthening the entire ecosystem.
By creating these structures, gardeners participate in conservation efforts that address declining insect populations worldwide. When many gardeners adopt these practices, the collective impact can be significant, creating wildlife corridors through urban and suburban landscapes.
Creative Variations on the Basic Bug Snug
While the tripod design popularized by OmVed Gardens provides an excellent starting point, gardeners have developed numerous creative variations:
- Wall-mounted versions: Created against existing garden walls or fences using just the fill materials
- Spiral structures: Built around a central pole with radiating arms that create a spiral effect
- Living bug snugs: Incorporating climbing plants that grow over the structure for additional habitat
- Themed bug snugs: Using materials with specific colors or textures for decorative effect
- Children’s project versions: Smaller, simplified structures that young gardeners can help create
These variations maintain the ecological function while allowing for personal expression and adaptation to different garden styles. Some gardeners incorporate educational elements like information stakes or QR codes linking to resources about the insects their bug snug might support.
Frequently Asked Questions About Bug Snugs
Q: Will a bug snug attract pests to my garden?
A: Bug snugs primarily attract beneficial insects rather than pest species. The diverse habitat created tends to support predatory insects that help control garden pests naturally. By enhancing the overall ecological balance of your garden, bug snugs typically reduce pest problems rather than increase them.
Q: How long will a bug snug last?
A: A typical bug snug will gradually decompose over 2-3 years, with lower portions breaking down first. This natural process is beneficial, returning nutrients to the soil. You can extend its lifespan by adding fresh materials to the top as lower portions decompose.
Q: Can I create a bug snug in a small garden or balcony space?
A: Absolutely! Bug snugs can be scaled to fit any space. For very small gardens or balconies, consider creating a miniature version using smaller sticks or a wall-mounted variation. Even a small bug snug can provide valuable habitat for beneficial insects.
Q: When is the best time to build a bug snug?
A: Fall is ideal, as it coincides with garden cleanup when you’ll have plenty of materials available, and it provides immediate habitat for overwintering insects. However, bug snugs can be created any time of year with good results.
Q: How can I tell if insects are using my bug snug?
A: Observe your bug snug on warm, sunny days, particularly in early spring and summer. You may notice insects entering or exiting the structure. Small holes in hollow stems indicate that insects have used them as nesting sites. You might also see spider webs, cocoons, or other evidence of insect activity.
The bug snug represents a perfect fusion of practicality and ecological gardening—turning what might be considered garden waste into valuable wildlife habitat. By creating these simple structures, gardeners participate in conservation efforts while adding visual interest to their outdoor spaces. As climate change and habitat loss continue to impact insect populations worldwide, these small acts of creation become increasingly important, demonstrating how individual gardeners can make meaningful contributions to biodiversity conservation.
References
- https://www.gardenista.com/posts/bug-snug-easy-free-diy-project-garden-omved-gardens/
- https://www.gardenista.com/web-stories/the-bug-snug-an-easy-diy-insect-habitat-by-omved-gardens-e9y2k/
- https://in.pinterest.com/pin/36451078227482652/
- https://www.instagram.com/reel/CzD7jdooacr/
- http://www.gdogc.org/information-articles/commentary/1001-create-a-bug-snug.html
Read full bio of Shinta


