How to Dye Easter Eggs Naturally: A Complete Step-by-Step Guide
Elevate spring traditions with eco-friendly colors from everyday kitchen ingredients.

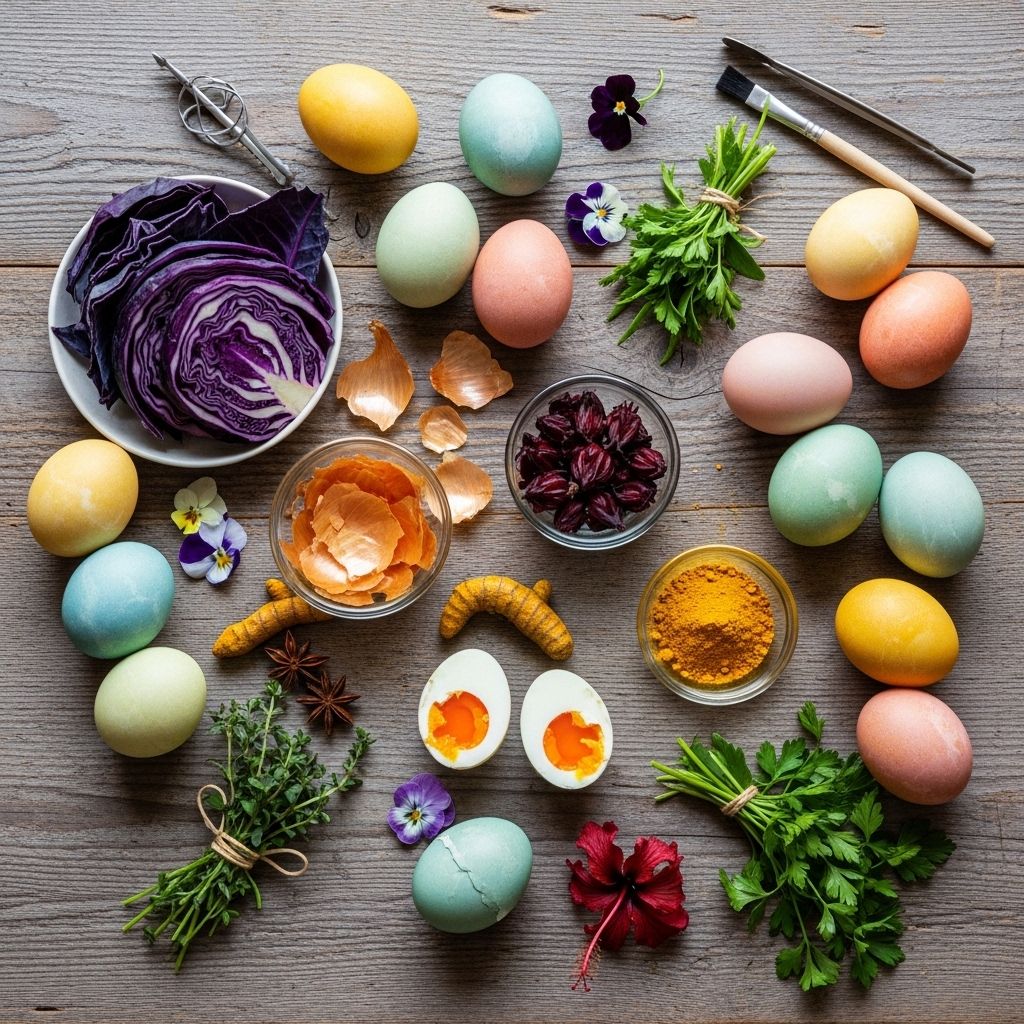
Easter egg dyeing is a cherished tradition, but you don’t need store-bought kits or synthetic chemicals to create stunning and memorable eggs. With just a few everyday fruits, vegetables, and spices, you can achieve a spectrum of colors that are as beautiful as they are natural. This comprehensive guide walks you through everything you need to know, from choosing ingredients and techniques to pro tips for vibrant results and glossy finishes.
Why Choose Natural Easter Egg Dyes?
Natural Easter egg dyes offer a safe, sustainable, and charming alternative to chemical dye kits. The colors you achieve with natural dyes are subtle, earthy, and unique, often reflecting the ingredients they come from. This method is a delightful family project and a great learning opportunity for children, introducing basic kitchen science through hands-on color experiments.
- Non-toxic and Kid-Safe: No chemicals, just natural pantry staples.
- Eco-Friendly: Ingredients are compostable and reduce plastic waste from dye kits.
- Creative Results: Natural dyes give one-of-a-kind patterns and hues every time.
- Educational: Encourages experimentation and curiosity about everyday foods and colors.
Essential Supplies for Natural Dyeing
Before you start, gather these basics:
- White eggs: Brown eggs can also be used, but colors may appear richer or more muted.
- Saucepans or pots for boiling dyes and/or eggs.
- Mesh strainer or cheesecloth (for removing bits from dye liquid).
- Mason jars or bowls for soaking eggs.
- Vinegar (white or apple cider) to fix color on eggshells.
- Slotted spoon, tongs, or gloves to handle dyed eggs.
- Paper towels or cooling rack for drying eggs.
- Olive oil or vegetable oil for a glossy finish (optional).
Ingredients for Every Color
You can achieve a palette of beautiful colors using common kitchen ingredients. Here’s a handy reference:
| Color | Natural Ingredient |
|---|---|
| Blue | Red cabbage |
| Pink | Beets, raspberries |
| Purple | Red wine, grape juice, or blueberries |
| Yellow | Turmeric, yellow onion skins |
| Green | Spinach, parsley, mixed dyes (yellow + blue) |
| Orange | Paprika, yellow onion skins |
| Light brown/tan | Coffee, black tea |
| Red/Deep pink | Cherries, cranberries, beetroot |
Step-by-Step Guide to Dyeing Eggs Naturally
Follow these core steps for best results:
- Prepare the Eggs.
- Hard-boil white eggs for 10–12 minutes, then let them cool. For hollow eggs, blow out the yolk beforehand to keep eggs for decoration.
- Make the Dye Bath.
- Combine 4 cups water with your chosen ingredient (e.g., 2 cups chopped red cabbage or beets; a handful of onion skins; 2 tablespoons turmeric) in a pot.
- Bring to a boil and simmer 15–30 minutes to extract color. Stir occasionally and check color intensity.
- Strain solids out using a mesh strainer or cheesecloth, reserving colored liquid in a heatproof bowl or jar.
- Add Vinegar.
- Stir in 3 tablespoons of vinegar per 4 cups of dye. Vinegar helps set the color.
- Dye the Eggs.
- Submerge eggs in cooled dye bath. For most intense colors, leave eggs in the solution overnight (especially for cold dyes like cabbage).
- For quick results or smoother colors, eggs can be boiled in the dye bath itself.
- Dry and Finish.
- Use tongs or a spoon to carefully lift eggs out. Let dry on a rack or paper towel.
- For a satin shine, lightly rub each egg with a drop of olive oil after drying.
Popular Natural Dye Recipes
1. Red Cabbage Blue Dye
- Chop half a red cabbage and simmer in 4 cups water for 30 minutes.
- Strain and add 3 tablespoons vinegar to the liquid.
- Soak eggs for several hours (overnight for deepest blue).
2. Beetroot Pink to Red Dye
- Peel and chop 2 medium beets. Boil in 4 cups water for 30 minutes.
- Strain and add 3 tablespoons vinegar.
- Soak eggs until desired shade is reached (from soft pink to deep red).
3. Turmeric Yellow Dye
- Simmer 2 tablespoons ground turmeric in 4 cups water for 15 minutes.
- Strain, add 3 tablespoons vinegar.
- Soak eggs for vibrant yellow. Turmeric works quickly and can stain hands and containers.
4. Onion Skin Orange and Brown Dye
- Fill a pot with skins from 6–8 yellow onions, cover with 4 cups water.
- Simmer for 30 minutes, strain, and add vinegar.
- Soak or boil eggs for rich orange to medium brown hues.
5. Blueberry Purple Dye
- Simmer 2 cups frozen blueberries in 4 cups water for 15–20 minutes.
- Strain and stir in vinegar.
- Eggs turn dusty blue to lavender depending on time in the dye.
Creative Techniques for Designs
- Leaf Print Eggs: Dampen herbs (parsley, mint) or leaves and gently press against the egg. Wrap in nylon or cheesecloth to hold in place, then submerge in dye. Leaves leave beautiful silhouette prints.
- Layered Colors: Dip eggs in one color, let dry, then re-dip in a contrasting dye for variegated tones.
- Ombre Effects: Gradually remove eggs from dye bath over time for lighter to deeper gradients.
- Speckled Texture: Sprinkle a little rice in a jar with the egg before dyeing for a speckled effect.
Pro Tips for the Most Vibrant Eggs
- Start with White Eggs: Colors show up best on white shells; brown eggs may produce earthier tones.
- Check Dye Strength: If the color isn’t bold enough, simmer longer or use more ingredient.
- Temperature Matters: Beets and turmeric dye quickly; red cabbage needs overnight soaking for deep blues.
- Experiment: Mix dyes or ingredients to create custom shades. Have kids guess what color results from different combinations.
- For a Glossy Finish: Buff eggs with a little olive oil once dry.
- Storage Safety: Eat eggs within a week if refrigerated. If using hollow (blown-out) eggs, they’re for decoration only.
Common Color Results Reference
| Ingredient | Predicted Egg Color | Notes |
|---|---|---|
| Beets | Pink/Magenta | Longer soaks yield deeper reds. |
| Red cabbage | Blue | Surprisingly turns blue, not purple. |
| Yellow onion skins | Yellow to Orange/Brown | Amounts affect depth of color. |
| Turmeric | Vivid Yellow | Potent and fast-acting. |
| Blueberries | Pale Blue to Purple | Can smudge, handle gently. |
| Coffee/Tea | Tan/Brown | Classic natural earth tone. |
| Paprika | Rusty Orange | Too long soaking = brown. |
| Spinach | Pale Green | Best combined with yellow dyes. |
Natural Dyeing FAQ
Q: How long do natural dyes take to color Easter eggs?
A: Dye times vary by ingredient. Turmeric, beets, and onion skins can color eggs in less than an hour, but red cabbage and blueberries are best left overnight for deep color.
Q: Will the eggs taste different after being dyed?
A: The flavor of hard-boiled eggs is not noticeably affected. Natural ingredients do not penetrate the shell enough to change taste.
Q: How can I create patterns on natural dyed eggs?
A: Use leaves, herbs, or small flowers pressed against the egg and secured with pantyhose or cheesecloth before dyeing. Wax crayon resist and layered dips also work for patterns.
Q: Can I use brown eggs?
A: Yes, but colors will appear more muted or earthy. White eggs best show true, bright colors.
Q: Are naturally dyed eggs safe to eat?
A: Yes, as long as ingredients and eggs are fresh and refrigerated after dyeing. Eat within a week for best safety and taste.
Final Touches: Display and Storage
- Store dyed eggs in the refrigerator until ready to display or eat.
- If you want eggs purely for decoration, blow out the contents before dyeing and handle with care.
- Arrange colored eggs in baskets with straw or paper grass, or display on cake stands for a rustic, natural centerpiece.
Experiment, Enjoy, and Create Traditions
Natural Easter egg dyeing is about experimentation, discovery, and celebrating nature’s colors. Use this guide to start your own family tradition, try new color combinations, and enjoy the process as much as the final results. Happy dyeing!
References
- https://rhodeislandmoms.com/kids-activities/make-natural-easter-egg-dye-printable/
- https://themodernnonna.com/naturally-dyed-easter-eggs/
- https://www.waldorftoday.com/2013/03/celebrate-easter-naturally-dyeing-eggs-with-plants-and-spices/
- https://www.youtube.com/watch?v=c_I10ix7V3I
- https://theranchtable.com/blogs/field-notes/natural-easter-egg-dyes
Read full bio of medha deb


