How to Dye Easter Eggs with Food Coloring: A Step-by-Step Guide
Transform blank shells into a lively springtime showcase with bold, handcrafted hues.

Brightly colored Easter eggs are a timeless symbol of spring and renewal. Whether you’re planning a holiday egg hunt, preparing festive centerpieces, or simply looking for a fun and creative family project, dyeing eggs with food coloring is an easy, affordable, and safe way to get vivid, beautiful results. This comprehensive guide will walk you through every step—plus offer color mixing ideas, decorating inspiration, and solutions to common egg dyeing problems.
What You’ll Need
- White eggs (hard-boiled or blown for decoration)
- Food coloring (liquid or gel, any brand)
- White vinegar
- Hot or room-temperature water
- Small bowls, cups, or jars (one for each color)
- Slotted spoon, tongs, or egg dipper
- Paper towels or drying rack
- (Optional) Rubber gloves to protect hands from stains
How to Prepare the Eggs
You can use either hard-boiled eggs (best for eating or displaying for a short time) or blown-out eggs (for long-lasting decorations). Here’s how to prep your eggs:
- Hard-Boiled Eggs: Gently place eggs in a single layer in a saucepan. Cover with cold water by about an inch. Bring to a boil, cover, and immediately remove from heat. Let sit for 9-12 minutes, then transfer to an ice bath for 10 minutes to cool and stop cooking.
- Blown Eggs: Make a small hole in each end of the raw egg using a pin. Blow out the contents into a bowl. Rinse the shell gently and allow to dry thoroughly before dyeing.
Mixing the Dye Baths
Food coloring offers a nearly infinite color palette. To make your dye baths:
- Pour ½ cup hot or room-temperature water into a cup, bowl, or jar for each desired color.
- Add 1 tablespoon white vinegar per cup. Vinegar ensures vibrant colors by helping the dye adhere to the eggshell.
- Add 6–20 drops of food coloring per cup, depending on desired color intensity. Start with fewer drops for pastels, more for bright hues.
- Stir each solution thoroughly.
Basic Food Coloring Recipe Table
| Color | Food Coloring Drops | Instructions |
|---|---|---|
| Red | 20 drops red | Mix with ½ cup water, 1 Tbsp vinegar |
| Yellow | 20 drops yellow | Same as above |
| Blue | 20 drops blue | Same as above |
| Green | 20 drops green | Same as above |
| Orange | 10 drops red, 10 drops yellow | Mix well |
| Purple | 10 drops red, 10 drops blue | Mix well |
Tip: You can experiment with color ratios for softer shades, custom tones, or use gel food colors for extra bold results.
How to Dye the Eggs
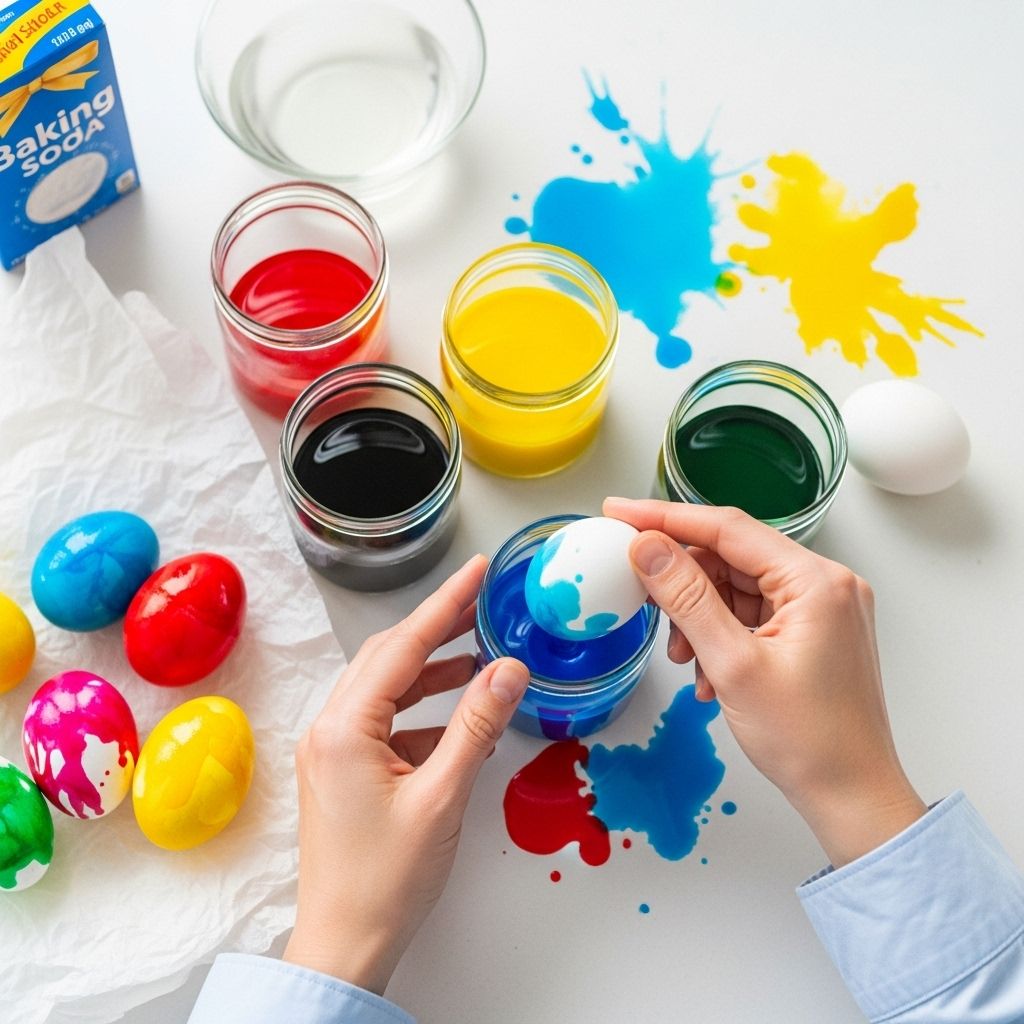
- Gently lower a cooled, dry egg into the prepared dye bath using a spoon, tongs, or an egg dipper.
- Let the egg soak: For a soft, pastel color, soak for 1–2 minutes. For deeper colors, let it sit for 3–5 minutes. Occasionally rotate the egg so it colors evenly.
- Remove the egg with the spoon or tongs and place it on a towel, rack, or an upturned bottle cap to dry. Handle gently to avoid smudges or cracks.
- Repeat for additional coats for even richer colors or added effects.
Tip: If you want to use multiple colors on one egg, allow the first dye coat to dry before dipping in the next color bath.
Mixing Custom Colors
You’re not limited to just the basic palette. Try these combinations or invent your own:
- Coral: 15 drops orange, 5 drops red
- Teal: 10 drops blue, 10 drops green
- Violet: 12 drops blue, 8 drops red
- Spring Green: 12 drops green, 4 drops yellow, 2 drops blue
Don’t be afraid to try small test batches and keep notes on drop counts for favorite shades.
Creative Egg Decorating Ideas
Take your dyed eggs to the next level with these fun techniques:
- Crayon Resist: Draw patterns, shapes, or words on dry eggs with wax crayon. Dye the egg as usual—your artwork will appear as white outlines against the color background.
- Rubber Band Stripes: Wrap eggs with rubber bands before dyeing. Remove the bands after coloring for cool striped patterns.
- Ombre Effects: Dip only parts of the egg into the dye, raising and lowering the egg gradually to create a gradient look.
- Double Dip: Dye in a light color first, let dry, then dip partially in a darker color for two-tone effects.
- Natural Dyes: Experiment with plant-based colors from foods like cabbage, beets, turmeric, or onion skins for subtle, earthy tones.
How to Make Naturally Dyed Eggs (Optional Variation)
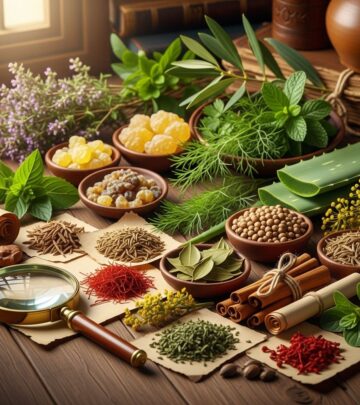
For a botanical twist, use ingredients from your kitchen to dye eggs in lovely muted shades. Here’s a simple method:
- Braise 1 cup chopped produce (like beets, red cabbage, onion skins, or blueberries) in 2–3 cups water for 10–30 minutes, until the water is deeply colored.
- Strain out the solids, then stir in 1–2 tablespoons vinegar (unless dyeing with blueberries; skip vinegar there).
- Soak hard-boiled eggs in cooled dye 30 minutes to 24 hours in the refrigerator. The longer they sit, the deeper the color.
Natural Dye Color Chart
| Color | Ingredient |
|---|---|
| Blue | Purple cabbage |
| Lavender | Red onion skins |
| Pink/Red | Beets |
| Orange | Yellow onion skins |
| Yellow | Ground turmeric |
For more natural dyeing inspiration and troubleshooting, see dedicated natural egg dyeing guides.
Tips for Success
- Room-temperature eggs are less likely to crack and accept color more evenly.
- Let dyed eggs dry thoroughly on a towel or rack to prevent color transfer or smudging.
- Don’t overcrowd your dye container. Dye a few eggs at a time to avoid breakage and ensure full color coverage.
- Wear gloves or use tongs to keep your hands clean.
- Store decorated eggs in the fridge if you plan to eat them within a week.
Egg Dyeing Safety
Is it safe to eat dyed eggs? Yes—if you use food-safe dyes (like commercial food coloring), handled the eggs correctly, and refrigerated promptly after dyeing. Never eat eggs that have stayed at room temperature for over two hours or that have cracked during boiling.
Frequently Asked Questions (FAQs)
Q: Do I have to use white eggs?
A: White eggs show the most vibrant colors, but you can dye brown or other colored eggs for unique, earthy results.
Q: How long do I soak eggs for maximum color?
A: Start with 2–3 minutes for typical colors. For more intense shades, let eggs sit 5 minutes or longer, checking regularly.
Q: Can I dye eggs without vinegar?
A: Vinegar helps food coloring stick to eggshells, producing brighter, more even colors. You can skip it, but the results will be much paler.
Q: How do I get pastel colors?
A: Use fewer drops of food coloring and reduce soak time to 1–2 minutes for lighter, pastel-hued eggs.
Q: Will the dye rub off after drying?
A: If eggs aren’t handled gently while drying, a little color may transfer. Dry completely and avoid moisture for best results.
Q: How do I prevent eggshells from cracking during boiling?
A: Gently lower eggs into the pot, avoid brisk boiling, and use an ice bath immediately after cooking. Older eggs are also less prone to cracking.
Q: Can I use gel food coloring for deeper colors?
A: Yes—gel food colors often yield especially bold, bright eggs. Dissolve well in hot water and adjust drop count as needed.
Wrap-Up: Creative, Colorful Egg Dyeing at Home
Dyeing Easter eggs with food coloring is a simple, fun, and endlessly creative tradition that anyone can enjoy. Whether you prefer classic bright hues, soft pastels, or sophisticated natural tints, these easy techniques let you personalize your springtime celebration. Happy egg decorating!
References
- https://www.youtube.com/watch?v=tMPvp9HkYpc
- https://www.youtube.com/watch?v=LjvSap0hLeQ
- https://masonjarlifestyle.com/blogs/all/naturally-dyed-easter-eggs-using-everyday-food
- https://www.freep.com/story/life/2018/03/28/easter-eggs-coloring-hack-whipped-cream-dye/462160002/
- https://www.youtube.com/watch?v=3HA4Z_m67jk
Read full bio of medha deb


