How to Dry Flowers: Expert Methods for Beautiful Preserved Blooms
Turn your favorite garden picks into elegant keepsakes that last for months.

Drying flowers is a time-honored technique that allows you to preserve the beauty, color, and charm of blooms from your garden, special occasions, or floral arrangements. Whether for home decor, crafts, or keepsakes, learning how to dry flowers properly will help you create lasting treasures that capture the moments you cherish most.
Why Dry Flowers?
Dried flowers offer a way to enjoy nature’s beauty year-round. They can be used in bouquets, wreaths, or displayed in vases just like fresh flowers, but without the need for water or frequent replacement. Drying flowers also preserves sentimental value—wedding bouquets, birthday blooms, or flowers from milestones can be cherished for years when properly dried.
When to Harvest Flowers for Drying
For the best results, harvest flowers:
- At early maturity or full bloom, but not past their prime
- During dry, mild weather—aim for midday when moisture is lowest
- Using sharp scissors or pruners to avoid damaging stems and petals
Remove excess leaves and damaged petals, and handle each stem gently to prevent bruising. Ideally, collect only flowers in perfect or near-perfect condition since imperfections amplify during drying.
Choosing the Right Flowers to Dry
Not all flowers dry equally well. Some blooms retain their shape and color better than others. Here are some of the best flowers for drying:
- Roses
- Hydrangeas
- Lavender
- Baby’s breath (Gypsophila)
- Statice
- Celosia
- Strawflowers
- Yarrow
- Larkspur
- Globe Amaranth
Foliage such as eucalyptus, ferns, and herbs like rosemary and sage also dry beautifully. Delicate or fleshy flowers may need special methods (see below).
Popular Methods for Drying Flowers
There are multiple approaches to transforming fresh flowers into dried, lasting arrangements. The best method depends on the type of bloom, your available time, and the final look you want. Below are the most common methods:
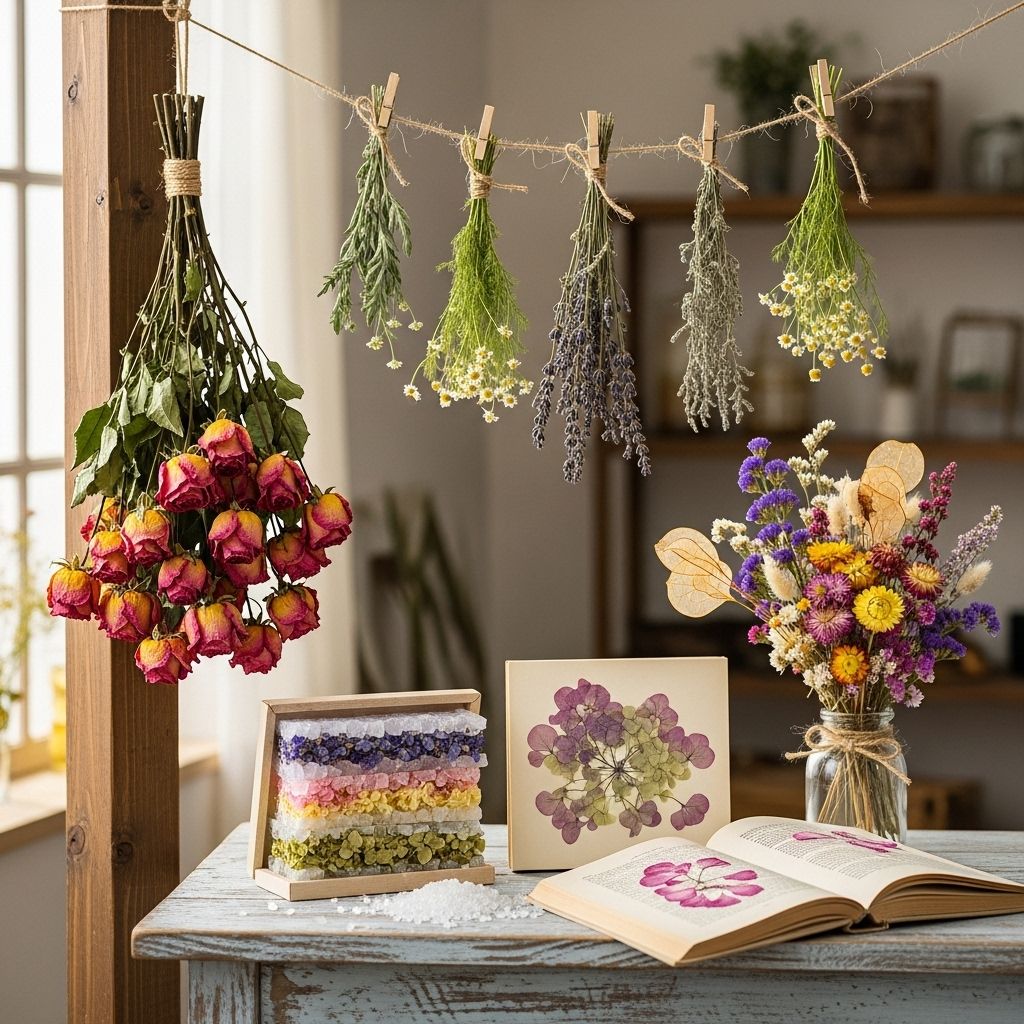
1. Air Drying (Hanging Method)
The simplest and most traditional method, air drying works best for sturdy flowers and most foliage. Here’s how:
- Strip leaves from stems to prevent mold and increase airflow.
- Gather 5–10 stems into a small bunch and tie them with string, a rubber band, or a twist tie.
- Hang upside down in a cool, dry, and dark place with good ventilation (e.g., a closet, attic, or unused room). Avoid direct sunlight as it fades colors.
- Leave flowers to dry for 1–3 weeks. Stems and heads should feel crisp—not flexible—when fully dried.
This method is ideal for statice, celosia, lavender, and baby’s breath, among others.
Pro Tips for Air Drying
- Cover bunches with brown paper bags (with slits for ventilation) to keep dust off and improve color retention.
- Don’t crowd bunches; good airflow prevents mold.
2. Drying Flowers with Desiccants (Silica Gel, Borax, or Sand)
Desiccants remove moisture faster and are perfect for blooms that are delicate, thick, or multi-petaled (like roses, dahlias, zinnias, and sunflowers). Desiccant drying preserves the flower’s shape and vibrant color better than air drying or pressing.
Using Silica Gel
- Pour 1/2–1 inch of silica gel crystals into the bottom of an airtight container.
- Place flowers (with short stems) face up or down as appropriate, spacing them apart.
- Gently sift or pour silica gel around and over each flower to completely cover them, protecting the shape of petals and heads.
- Seal the container and store in a cool, dry spot.
- Check after 2–7 days. Drying time varies based on thickness and size.
- Carefully remove the flowers, gently brushing off excess crystals with a soft brush.
This method is highly effective for almost any bloom but especially for roses, peonies, tulips, and sunflowers.
Using Borax or Sand
- Mix equal parts of borax and cornmeal (or use fine clean sand).
- Follow similar steps as for silica gel—layer the drying agent in a box, position flowers, and gently cover them.
- Leave the container open with borax/cornmeal for air circulation (sand-covered flowers can be sealed or left open).
- Drying may take 7–14 days, after which you can remove and clean the flowers carefully.
Sand dries flowers more slowly and may slightly mute their colors, giving a charming vintage look.
Table: Comparison of Desiccant Types
| Desiccant | Best For | Drying Time | Results | Notes |
|---|---|---|---|---|
| Silica Gel | Delicate/thick flowers | 2–7 days | Bright colors, excellent shape | Reusable, most expensive |
| Borax & Cornmeal | Most blooms | 7–14 days | Preserves form, gentle on petals | Affordable, may leave residue |
| Sand | Sturdy flowers, foliage | 7–14 days | Soft, muted colors, good support | Messy cleanup |
3. Pressing Flowers
Pressed flowers are a favorite for scrapbooks, frame art, greeting cards, and crafts. They work well for small, flat-faced or thin-petaled blooms such as pansies, violets, ferns, and daisies.
- Lay flowers flat between two sheets of absorbent paper (e.g., parchment, blotting, or newspaper).
- Place inside a heavy book or use a botanical press, spacing flowers apart.
- Add additional books or weights on top to ensure good pressure.
- Store in a cool, dry place for 1–3 weeks, changing the paper every few days if it becomes damp.
- Once fully dried, carefully remove and handle the pressed flowers gently—they become fragile.
4. Quick Methods: Oven and Microwave Drying
Oven Drying
- Preheat your oven to its lowest setting (typically 150–200°F / 65–93°C).
- Arrange flowers in a single layer on a baking sheet lined with parchment paper.
- Leave the oven door open to let moisture escape.
- Dry for 1–3 hours, turning flowers occasionally.
This method is faster but may not retain color or structure as well as slower methods.
Microwave Drying
- Place blooms between sheets of parchment or surrounded by silica gel in a microwave-safe container.
- Microwave on low power in short bursts (30–60 seconds), checking often.
- Let stand to finish drying and cool before removing.
Microwave drying is best for small, thin flowers or when you need quick results. Take special care to avoid overheating and scorching.
Tips for Achieving the Best Results
- Start with healthy, undamaged flowers.
- Dry flowers promptly to prevent wilting or mold.
- Label bunches or containers with species and harvest date for organization.
- Avoid direct sunlight to preserve vibrant colors.
- Once dried, store your flowers in airtight containers or display in dry spots to maximize longevity.
- To maintain the shape of fragile blooms, consider supporting them with wire before or after drying.
- For shatter-prone flowers, apply a small amount of clear glue at the base of petals before drying.
How to Use Dried Flowers
Dried flowers are versatile for decor and personal projects:
- Bouquets and arrangements – Fill vases or create table centerpieces
- Wreaths and garlands – Combine with dried herbs, grains, or foliage for seasonal accents
- Home fragrance – Blend with potpourri or sachets for naturally scented rooms
- Crafts – Attach to cards, bookmarks, or journal pages; press into resin jewelry; frame as lasting botanical art
- Gifts – Use as part of a personalized, handmade present
Frequently Asked Questions (FAQs)
Q: How long do dried flowers last?
A: Dried flowers can last months to years if kept away from moisture and direct sunlight. Most retain good appearance for 1–3 years, but may slowly fade over time.
Q: What is the fastest way to dry flowers?
A: The quickest method is microwave drying with silica gel, taking only a few minutes per bloom. However, air drying is simpler and requires no special equipment, though it takes 1–3 weeks.
Q: Can all flowers be dried using the same method?
A: No. Sturdy, non-fleshy flowers air dry well; delicate, thick-petaled, or moisture-rich flowers fare better with desiccants or pressing. Always match the method to the flower type for best results.
Q: Why are my dried flowers turning brown or getting moldy?
A: This is often due to humidity, poor airflow, or using flowers that were already damaged or wet when dried. Ensure your drying area is cool, dry, and well-ventilated, and start with perfect blooms.
Q: How do I keep dried flowers from shattering?
A: Handle dried flowers gently, support fragile stems with floral wire, and apply a clear-drying glue at the base of petals before or after drying for extra security.
Conclusion
Drying flowers at home is a simple, rewarding craft that lets you capture and enjoy the fleeting beauty of blooms for years to come. Whether you prefer traditional air drying, the fast results of desiccants, or artistic pressing, experimenting with different methods will help you discover your ideal approach. With the right preparation, patience, and a little creativity, your favorite flowers can become everlasting keepsakes to brighten up any space.
References
- https://edis.ifas.ufl.edu/publication/EP004
- https://www.finegardening.com/article/drying-flowers-in-sand
- https://publications.ca.uky.edu/files/ho70.pdf
- https://www.firstdayofhome.com/how-to-dry-flowers/
- https://www.youtube.com/watch?v=lLgpgD_xZzU
- https://www.masterclass.com/articles/how-to-dry-flowers
- https://growingformarket.com/articles/how-dry-flowers-that-come-back-from-market
Read full bio of Sneha Tete


