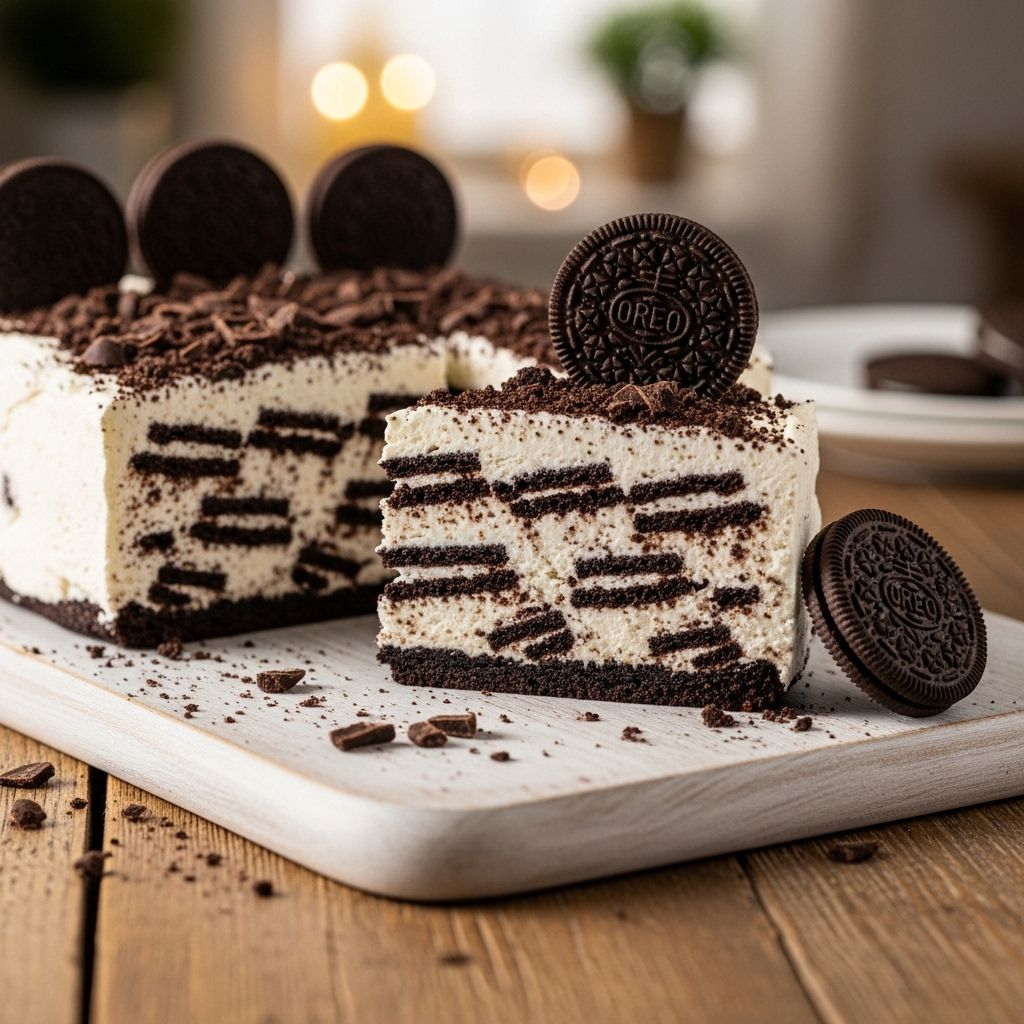
Oreo Icebox Cake Recipe
Silky cream cheese meets crisp wafers and raspberries in a layered summer indulgence.

Introduction to Oreo Icebox Cake
The Oreo Icebox Cake is a delightful no-bake dessert that combines the timeless charm of Oreos with the freshness of raspberries and the richness of cream cheese. This recipe is perfect for summer gatherings or any occasion when you want to impress your guests with ease. It’s light, it’s refreshing, and it’s sure to be a hit with both kids and adults alike.
Ingredients for Oreo Icebox Cake
To make this delicious dessert, you will need the following ingredients:
- 1 (8-oz.) package cream cheese, at room temperature
- 1 cup powdered sugar
- 1 Tbsp. vanilla extract
- 3 cups heavy cream, divided
- 50 chocolate sandwich cookies, such as Oreos, plus more for topping
- 3 (6-oz.) containers raspberries, divided
Instructions for Making Oreo Icebox Cake
Here’s a step-by-step guide on how to make this delightful dessert:
- Step 1: Prepare the Cream Cheese Mixture
In the bowl of a stand mixer fitted with the paddle attachment, beat the cream cheese on medium speed until smooth, 1 to 2 minutes. Add the powdered sugar and vanilla, and beat on low speed until combined, about 30 seconds. Scrape the sides and bottom of the bowl with a rubber spatula. Increase the speed to medium, and beat until smooth, 1 minute more.
- Step 2: Incorporate Heavy Cream
Scrape the sides and bottom of the bowl. Add 1 cup of the heavy cream, and beat on low speed until smooth. Add the remaining 2 cups of heavy cream, increase the speed to medium-high, and beat until soft peaks form, 1 to 2 minutes.
- Step 3: Layer the Cake
Spoon ¼ cup of the cream mixture into the bottom of a 9-inch square baking dish, smoothing it into a thin, even layer. Top the cream mixture with a single layer of cookies, breaking some as needed to fit. Spread about 1 1/2 cups of the cream mixture over the cookies, smoothing it into an even layer. Top with an even layer of raspberries from 2 containers. Add another 1 1/2 cups of the cream mixture, smoothing into an even layer. Top with a final layer of cookies, then add the remaining cream mixture on top, smoothing into an even layer.
- Step 4: Chill and Decorate
Cover with plastic wrap and refrigerate for at least 4 hours or up to 12 hours. Decorate the cake as desired with crumbled cookies and the remaining raspberries. Use a serrated knife to slice and serve.
Customizing Your Oreo Icebox Cake
This recipe offers a lot of flexibility if you want to experiment with different flavors or presentation:
- Flavor Variations: Feel free to use different flavors of Oreos, such as mint or peanut butter, to give your cake a unique twist.
- Alternative Fruits: Replace raspberries with other fruits like strawberries or blueberries for a different flavor profile.
Q: Can I make this cake ahead of time?
A: Yes, you can assemble the cake and refrigerate it for up to 12 hours before serving. In fact, chilling it for several hours helps the flavors meld together.
Q: How should I store leftovers?
A: Store any leftovers covered in the refrigerator for up to three days.
Q: Can I skip the raspberries?
A: Yes, if you don’t like raspberries or can’t find them fresh, feel free to omit them or substitute with another fruit of your choice.
Q: Can I use other types of cookies?
A: While Oreos are traditional, you can experiment with other chocolate sandwich cookies if you prefer.
References
- https://littlesunnykitchen.com/oreo-icebox-cake/
- https://www.thepioneerwoman.com/food-cooking/recipes/a65280765/chocolate-chip-cookie-icebox-cake-recipe/
- https://www.thepioneerwoman.com/food-cooking/recipes/a60608266/oreo-icebox-cake-recipe/
- https://www.youtube.com/watch?v=cuLgHwnUEdo
- https://www.thepioneerwoman.com/food-cooking/meals-menus/g40923568/oreo-desserts/
- https://www.youtube.com/watch?v=G_VdBViXL_0
Read full bio of Sneha Tete


