Halloween Pumpkin Carving Ideas: 55 Spooky & Stylish Designs
Transform ordinary pumpkins into glowing works of art that steal the spotlight.
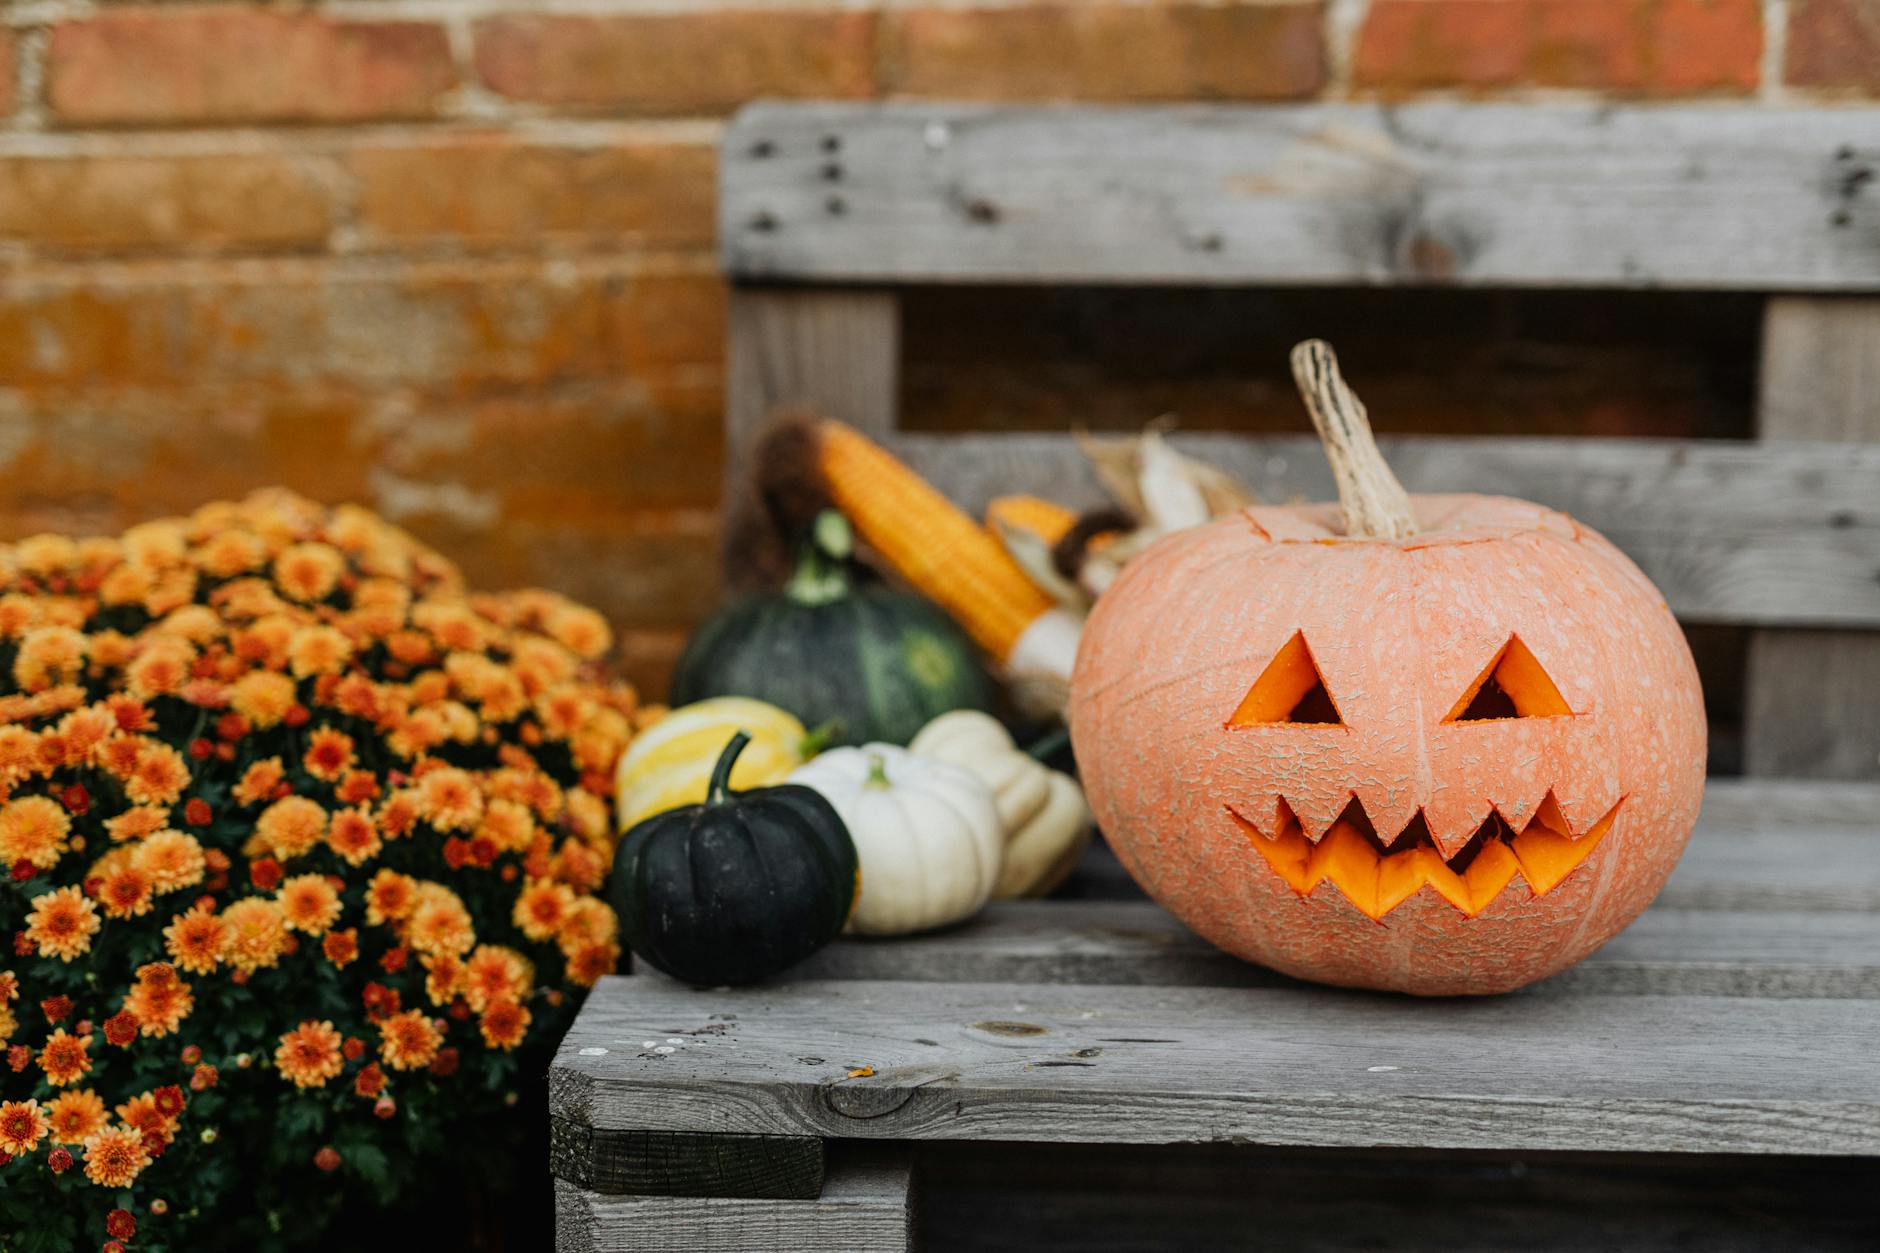
55 Inspiring Halloween Pumpkin Carving Ideas
As the leaves turn and the air grows crisp, Halloween season bursts onto the scene with costumes, parties, and, of course, pumpkins. Carving pumpkins is a timeless autumn tradition enjoyed by children and adults alike. This year, take your jack-o’-lantern game to the next level with these 55 creative, fun, and sometimes spooky pumpkin carving ideas. Whether you’re aiming for classic, whimsical, or downright macabre, there’s inspiration here for every carver and decorator!
Don’t worry if you’re not a master sculptor—many of these ideas are easy enough for beginners but bold enough to turn heads on your stoop. Remember, perfection isn’t the goal: the quirks and imperfections make your creations uniquely yours and add to the festive spirit!
Iconic Pumpkin Carving Ideas to Try
- Polka Dots: Carve out a pattern of circles for a simple yet visually dramatic effect. A lit candle glows perfectly through polka dot holes, bringing modern flair to your porch.
- Tongue Out: Give your pumpkin personality! Cut out a wide mouth and use the discarded piece as a tongue, making for a playful jack-o’-lantern that brings smiles to trick-or-treaters of all ages.
- Turkey Pumpkin: Not just for Halloween, this idea lets you keep the pumpkin on display through Thanksgiving. Carve a friendly turkey face and add feather-like designs around the stem for seasonal fun that lasts all fall.
- Monochrome Vibes: Paint your pumpkin a single bold color—white, black, or even neon. Then carve, scrape, or stencil your design. This approach offers modern, minimalist style inspired by celebrity trends.
- Haunted House: Pay homage to classic horror films or your own spooky dreams: carve a haunted house silhouette complete with crooked windows and lurking ghosts for a scene-setting Halloween showstopper.
- Pumpkin ‘With a Brain’: Carve a face with an open top and nest a smaller pumpkin inside to look like an exposed, eerie ‘brain.’ It’s simple to do, with max creepy impact!
More Standout Pumpkin Carving Designs
- Galaxy Pumpkin: Drill varying sizes of holes to mimic a starry sky, then use colored LED lights inside.
- Creepy Crawly: Carve out a web and add fake spiders for shivers.
- Emoji Faces: Recreate your favorite emoji’s grin, tears, or eye rolls for a digital twist on pumpkin fun.
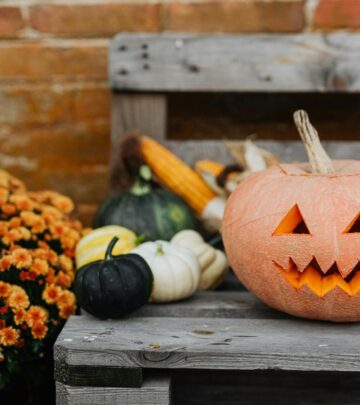
- Classic Grin: You can never go wrong with the standard triangle eyes and jagged, friendly smile. Add your own twist with eyebrows or eyelashes.
- Witch’s Brew: Carve a cauldron and arrange small gourds or dry ice at the base for a bubbling effect.
- Zombie Pumpkin: Let pumpkin guts ooze out of the mouth for a gory, humorous look.
- Cat Silhouette: Black cats and Halloween go hand-in-hand. Carve iconic feline outlines for an instantly recognizable vibe.
- Bat Cave: Use a stencil to add a swarm of flying bats, perfect for a grouping of pumpkins.
- Stenciled Patterns: Use lace or doily as a stencil to trace and carve intricate, elegant patterns that glow beautifully at night.
- Pumpkin Family: Carve multiple mini pumpkins, each with unique faces, and group them for a ‘family portrait’ scene on your porch.
Essential Pumpkin Carving Tools & Pro Tips
Having the right tools can elevate your pumpkin-carving experience, making complex designs easier and preventing messy mishaps. Here’s a rundown of what you need and how to use them effectively:
| Tool | Best For | Why It Helps |
|---|---|---|
| Serated Saw | Cutting lids, large shapes | Makes precise, clean cuts through thick pumpkin walls |
| Paring Knife | Detail work | Controls tiny cuts, sharp edges, and curves |
| Scraper Scoop | Removing seeds | Empties and thins inside wall for even glow |
| Drill & Bits | Circle patterns, starbursts | Uniform holes with minimal effort |
| Pokers & Punches | Transferring stencils | Trace pattern outlines onto pumpkin’s surface |
| Stencil Sheets | Guided designs | Makes repeating complex motifs much easier |
Consider investing in a professional carving kit, such as the BOOtiful Carving Tools Professional Pumpkin Carving Kit or the Elmchee 13-Piece Pumpkin Carving Kit. Both offer a variety of saws, scoops, and specialty tools for all carving ambitions. If you’re a detail fanatic or want a kit for the whole family, you can’t go wrong with an all-inclusive set that includes storage and easy-grip handles for safe, comfortable use.
Creative Alternatives: Painted & Stuffed Pumpkins
If traditional carving seems daunting or you want to mix things up, try these alternative pumpkin projects:
- Painted Pumpkins: Use acrylic paints, paint pens, or even temporary tattoos to create patterns, faces, or abstract art on your gourds—no messy guts required.
- Stuffed Pumpkins: Hollow out mini or medium pumpkins and use them as festive bowls. Stuff them with hearty soups, cheesy casseroles, bread puddings, or even a boozy punch for parties. The possibilities are endless and oh-so-delicious.
- Etched Designs: Gently scrape away just the skin (not all the way through) for a subtle, glowing appearance. Floral, geometric, or swirling motifs work beautifully.
These alternatives are ideal for younger children or anyone who wants to avoid using sharp tools but still join in on the seasonal fun and décor.
Pro Carving Techniques for Spectacular Results
- Start from the Bottom: Instead of slicing off the pumpkin’s top, try carving out the bottom. This makes it easier to position your candle or light and keeps the stem as a natural decorative handle.
- Thinning the Walls: After scooping out seeds and strings, use a scoop or rounded spoon to thin the pumpkin wall to about an inch. Thinner walls make detailed cutting easier and allow for a brighter glow.
- Transferring Patterns: Print or draw your design on paper, tape it to the pumpkin, and poke small holes along the lines to create a dotted outline. Remove the paper, then cut along the guide.
- Layered Carving: Use multiple carving depths—cut all the way through some areas for bright highlights, scrape away just the skin elsewhere for subtle, glowing effects.
- Preservation Tips: Soak your carved pumpkin in a bath of water and a little bleach to help slow spoilage. Petroleum jelly or vegetable oil rubbed on cut edges can slow drying and shriveling.
Pumpkin Recipes to Use the Whole Gourd
Don’t let those delicious pumpkin guts go to waste! Here are tasty ways to use your pumpkin innards:
- Roasted Pumpkin Seeds: Wash, season, and bake for a crunchy treat.
- Pumpkin Puree: Steam or roast the flesh and blend for homemade puree to use in pies, breads, pancakes, and even smoothies.
- Pumpkin Soup: Combine roasted pumpkin with garlic, onion, and sage for a warming autumn soup.
- Boozy Pumpkin Bucket: Hollow out a large pumpkin, add ice and your favorite drinks for a festive beverage cooler!
Common Pumpkin Carving Mistakes (& How To Avoid Them)
- Using Dull Tools: Always carve with sharp, clean blades for smoother cuts and less risk of slipping.
- Cutting the Lid at the Wrong Angle: Angle your knife towards the stem for the lid so it doesn’t fall inside.
- Neglecting to Thinning the Wall: Thick walls make cutting details tough. Take the time to scrape out excess flesh where you’ll be carving.
- Forgetting To Clean Up: Wipe away marker or stencil outlines for a neat final look.
- Premature Carving: Pumpkins last about 5-10 days once carved, so plan accordingly for peak freshness on Halloween night.
Bonus: 10 Super-Easy Last-Minute Pumpkin Carving Ideas
- Classic Jack Face: Go for triangle eyes and a zig-zag mouth – done in minutes.
- Winking Emoji: One round eye, one angled for the wink, and your pumpkin is flirty fun.
- Simple Ghost: Use just two eyes and an O-shaped mouth for a boo-tiful effect.
- Flower Power: Drill a dozen small holes in petal patterns for a glowing floral pumpkin.
- Mini Monsters: Draw faces on mini pumpkins with markers for mess-free last-minute decor.
- Toothy Grin: Go big with a wide, jagged mouth for a dramatic—yet quick—effect.
- Lightning Bolt: Draw one bold, zig-zag cut and you’re done.
- Star Punch: Use small cookie cutters to punch out stars.
- Candle Cluster: Group several carved, hollowed pumpkins and arrange tea lights inside.
- Moon & Stars: Carve out a crescent moon and star shapes for a simple celestial scene.
Frequently Asked Questions (FAQs)
Q: How far in advance should I carve my pumpkin?
A: Pumpkin carvings usually last 5-10 days, depending on weather and care. For freshest results, carve 2–3 days before Halloween night.
Q: What type of pumpkin is best for carving?
A: Look for pumpkins labeled ‘pie’ or ‘jack-o’-lantern.’ They have thinner walls and smoother surfaces, making them easier to carve intricate designs.
Q: How can I preserve my carved pumpkin longer?
A: Soak the pumpkin in cold water with a splash of bleach to deter mold and slow decay. Store in a cool, shaded place, and seal exposed edges with petroleum jelly or vegetable oil.
Q: What type of light works best inside a carved pumpkin?
A: LED tea lights or battery-operated candles are safest and last the longest. Traditional candles work, but monitor them closely if used indoors or on flammable surfaces.
Q: Can children carve pumpkins safely?
A: Yes—with close adult supervision! Offer kids safer tasks like drawing designs, cleaning out seeds, or painting pumpkins instead of using sharp tools.
Let Your Creativity Shine This Halloween!
The magic of Halloween lies in creativity, novelty, and a touch of mystery. Whether you choose a quirky face, a masterful work of art, or an edible project, pumpkin carving is a perfect way to celebrate the season. Gather your family and friends, break out the tools, and let your gourd-geous designs light up the night!
References
- https://www.youtube.com/watch?v=w5Msk8uogdU
- https://www.delish.com/holiday-recipes/halloween/g1813/halloween-pumpkin-carving/
- https://www.delish.com/kitchen-tools/cookware-reviews/g40722575/best-pumpkin-carving-tools/
- https://www.delish.com/holiday-recipes/halloween/g2941/stuffed-pumpkins-ideas/
- https://www.pinterest.com/pin/55-nonbasic-pumpkin-carving-ideas-you-need-this-halloween–2885187247781153/
Read full bio of Shinta











Community Experiences
Join the conversation and become a part of our empowering community! Share your stories, experiences, and insights to connect with other beauty, lifestyle, and health enthusiasts.