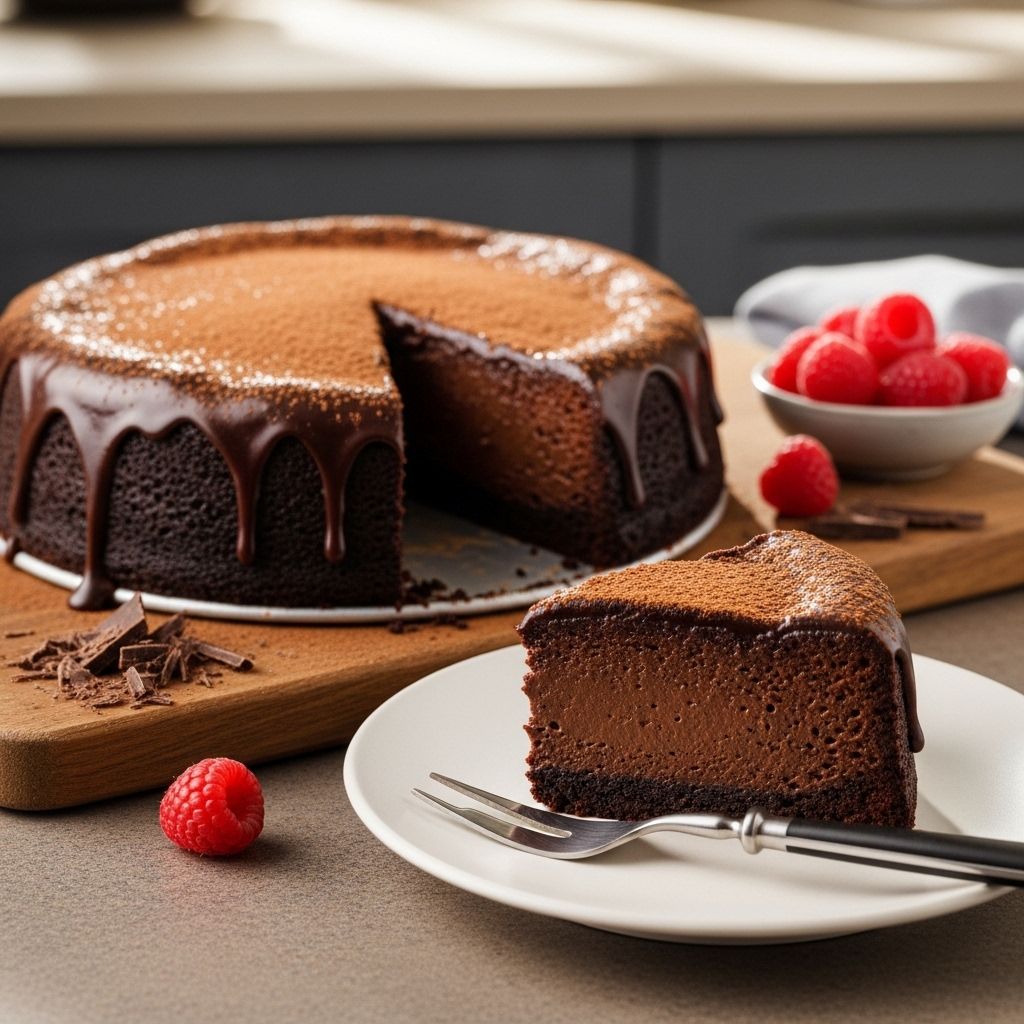
Decadent Flourless Chocolate Cake
A rich, gluten-free indulgence with deep cocoa notes and hassle-free baking.

Introduction to Flourless Chocolate Cake
Flourless chocolate cake is one of the most indulgent and sophisticated desserts you can make, which might seem impossible without flour. However, this absence of flour is what makes it ultra moist, dense, and fudgy. It’s a testament to the versatility of chocolate in baking and is perfect for those looking for a gluten-free dessert option.
Why This Cake is Special
This cake is not just any ordinary dessert; it’s a masterpiece that comes together with minimal ingredients but offers a deep, rich chocolate flavor. The lack of flour means you can enjoy it without worrying about gluten, making it a great option for those with dietary restrictions.
Key Ingredients
The success of this cake relies on a few key ingredients:
- 8 oz semisweet chocolate, chopped – The higher the quality of the chocolate, the better the flavor of the cake.
- 1 cup (2 sticks) salted butter – Adds richness and moisture.
- ¾ cup granulated sugar – Provides sweetness without overpowering the chocolate.
- ¼ cup packed light brown sugar – Adds depth and a hint of caramel flavor.
- 6 large eggs – Essential for structure and moisture.
- ½ cup unsweetened cocoa powder – Intensifies the chocolate flavor.
- 1 tbsp vanilla extract – Enhances the overall flavor profile.
- Pinch of kosher salt – Balances sweetness and enhances flavors.
- Powdered sugar, for dusting – Adds a touch of elegance to the presentation.
Preparing the Pan
Before you start mixing, ensure you have a nonstick 9-inch springform pan ready. Grease the pan with nonstick cooking spray and line the bottom with parchment paper. This will help the cake release smoothly once baked.
Step-by-Step Instructions
Step 1: Melt Chocolate and Butter
Start by melting the chocolate and butter in a double boiler. Place the chopped chocolate and cubed butter in a heatproof bowl set over a saucepan of simmering water. Stir frequently until both are fully melted, then set aside to cool slightly.
Step 2: Beat Eggs and Sugars
In a stand mixer equipped with a whisk attachment, beat the eggs, granulated sugar, and brown sugar on medium-high speed until the mixture becomes light and fluffy, about 8 to 10 minutes. This step is crucial for adding air to the batter, which helps the cake rise slightly.
Step 3: Combine Ingredients
On low speed, add the cocoa powder, vanilla extract, and a pinch of salt to the egg mixture. Slowly pour in the cooled chocolate mixture, mixing until just combined. Avoid overmixing to maintain the cake’s texture.
Step 4: Bake the Cake
Pour the batter into the prepared pan and smooth the top. Gently tap the pan on the counter to release any large air bubbles. Bake at 325°F (165°C) for about 50 minutes, or until the top is set and the center still jiggles slightly.
Step 5: Cool and Chill
Let the cake cool completely in the pan on a wire rack. Once cooled, cover it and refrigerate for at least 2 hours or overnight to allow it to set properly.
Serving and Presentation
Before serving, run a knife around the edges to release the cake from the pan. Transfer it to a platter and dust with powdered sugar for a touch of elegance. You can also garnish with fresh berries or a dollop of whipped cream for added flair.
Storing the Cake
To store the cake, wrap it in plastic or transfer it to an airtight container and keep it in the refrigerator for up to four days.
Cutting Clean Slices
To cut neat slices, dip a sharp knife into hot water, wipe it dry, and make your first cut. Repeat this process for each slice to ensure clean edges.
Frequently Asked Questions (FAQs)
Q: What is the significance of using high-quality chocolate?
A: High-quality chocolate gives the cake a richer, more complex flavor profile.
Q: Why is it important not to overbake the cake?
A: Overbaking can cause the cake to dry out and lose its desirable fudgy texture.
Q: How should I chill the cake for the best results?
A: Chill the cake in the refrigerator for at least 2 hours or overnight to ensure it sets properly and slices cleanly.
References
Read full bio of Sneha Tete


