15 Creative Pumpkin Carving Ideas for Halloween
Transform ordinary pumpkins into spooky masterpieces with these easy carving techniques
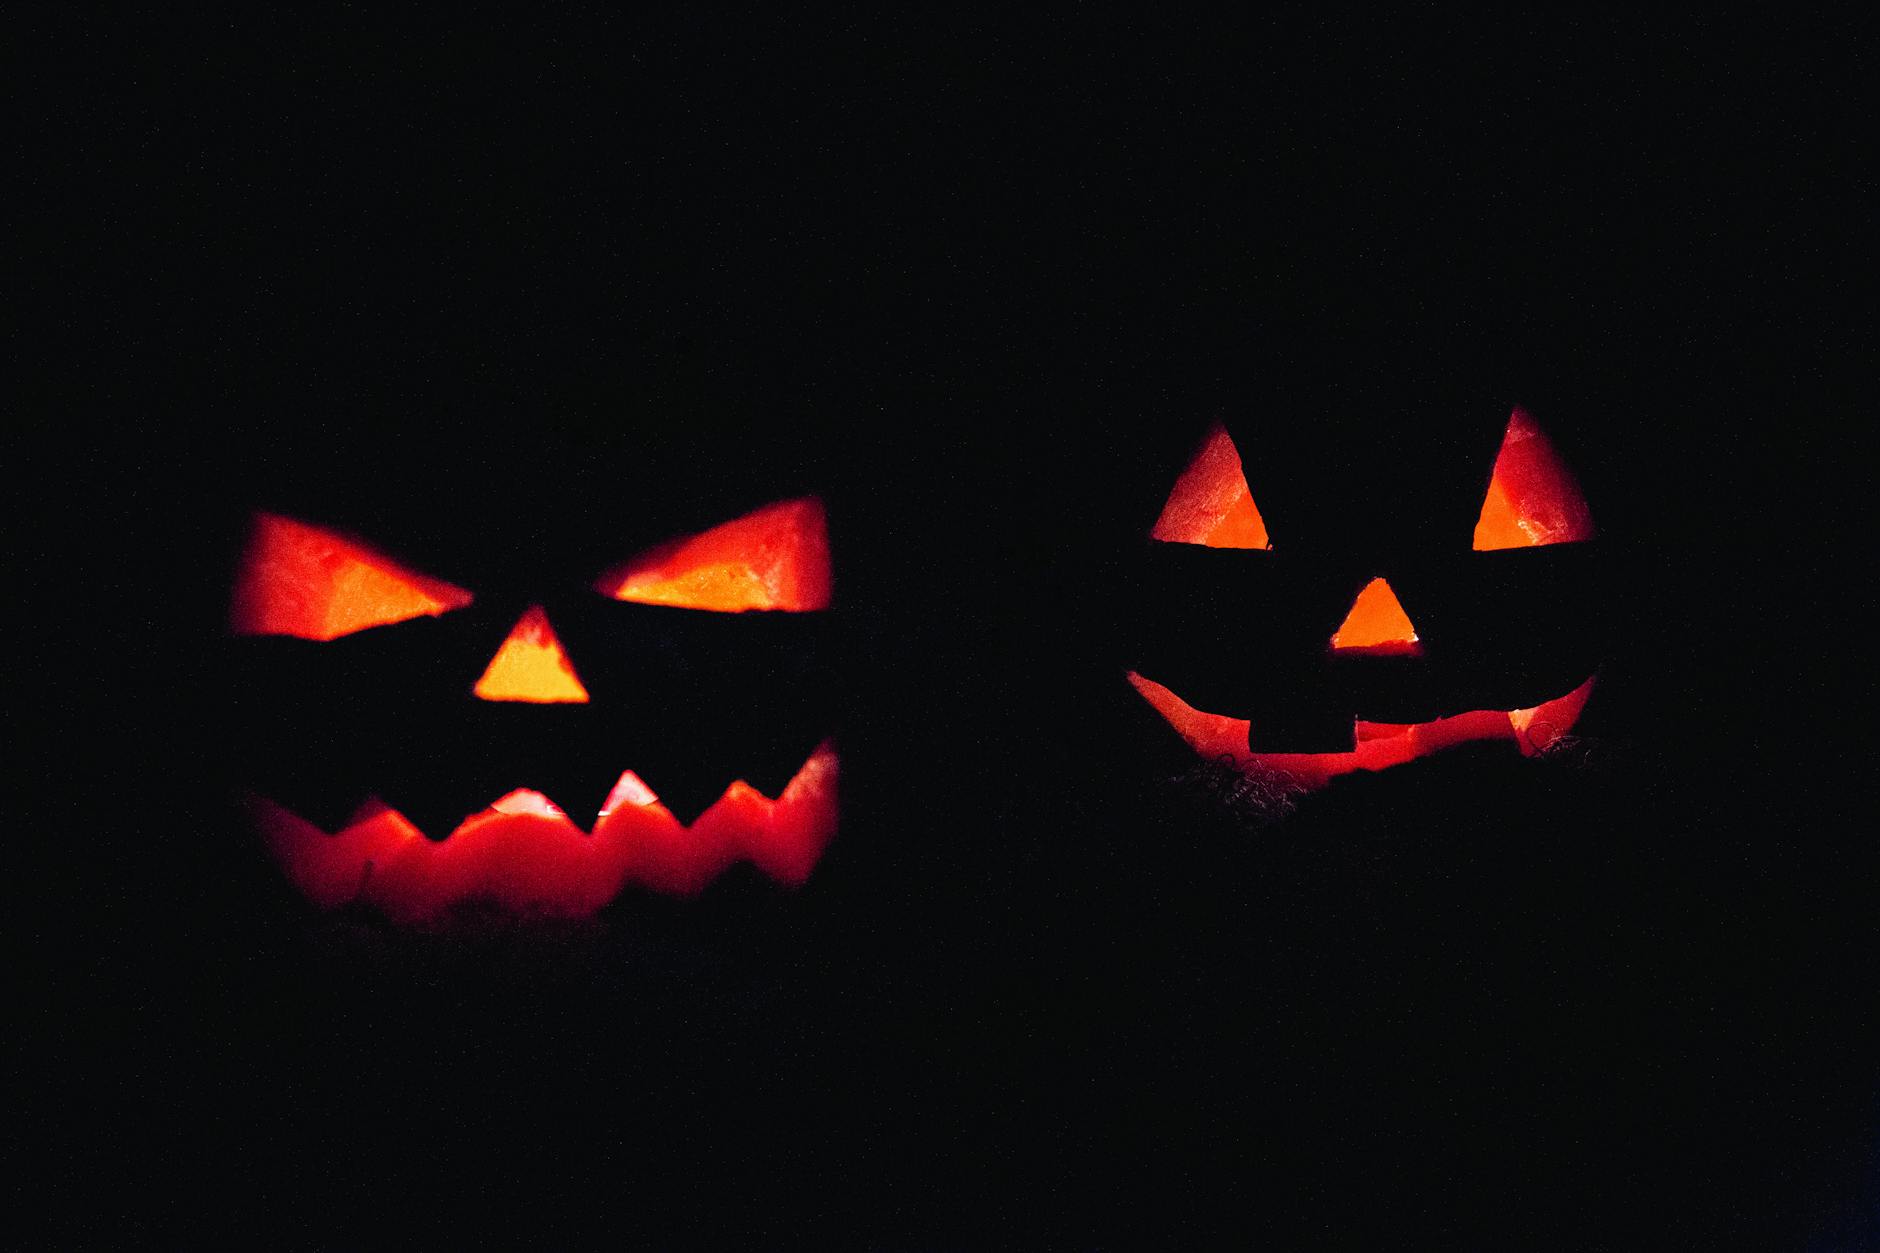
Easy Halloween Pumpkin Carving Ideas
As Halloween approaches, one of the most beloved traditions is carving pumpkins to create spooky, silly, or artistic decorations for your home. The good news is that you don’t need any special equipment for this fun family activity—just a serrated knife or a basic pumpkin carving kit that includes a knife and scoop. With a little creativity and our simple guide, you can transform ordinary pumpkins into extraordinary Halloween masterpieces.
Before you begin carving, it’s helpful to draw your design on the pumpkin with a pencil first. This allows you to erase and adjust if you make a mistake—pen ink can smudge and make your pumpkin look messy. All our pumpkin designs are hulled using the traditional method: cutting a circular lid out of the top to make it easier to insert tealights later. Let’s explore some creative and easy pumpkin carving ideas that will impress trick-or-treaters and party guests alike!
Tools You’ll Need for Pumpkin Carving
Before diving into the creative designs, make sure you have these basic tools ready:
- A medium-sized, sturdy pumpkin
- A serrated knife or pumpkin carving kit
- A large spoon or ice cream scoop
- A pencil for sketching designs
- Tea lights or LED candles
- Newspaper to cover your work surface
Classic and Creative Pumpkin Designs
1. Cat Pumpkin
Complete your witchy Halloween aesthetic with an adorable cat cut-out for your table decoration. This design features chunky whiskers and expressive eyes that create a striking silhouette when lit from within. To enhance the design, cut out triangular orange peel ears, then scrape the flesh from the underside of the peel. Use halved cocktail sticks to secure the ears to the top of the pumpkin for a 3D effect that adds character to your feline creation.
2. Owl Pumpkin
Give a hoot for the spooky season with our wise owl pumpkin design. The owl’s distinctive features make for a perfect Halloween carving project. Carve small arrowheads down the middle of the pumpkin to create a feathery effect on the owl’s stomach. For an extra touch of creativity, cut orange peels into feet shapes and attach them to the bottom of your pumpkin. This brilliant Halloween bird will add a touch of woodland charm to your decorations.
3. Little Pumpkin, Big Pumpkin
Keep it classic with a scary pumpkin face, then add a fun twist with a mini pumpkin surprise sitting inside the larger one. This nested design creates an interesting visual effect that’s sure to catch attention. For maximum impact, use different-colored pumpkins if possible. When carving the face on the smaller squash, use the eye remover on a potato peeler—it will help you achieve precise scoops for perfect features.
4. Laughing Pumpkin
Sometimes the simplest designs make the biggest impact. A laughing pumpkin with a wide, toothy grin brings a lighthearted feel to Halloween decorations. Focus on creating a broad, open-mouthed smile with jagged teeth and round, expressive eyes. The key to making this design effective is to leave plenty of space around the mouth to create the illusion of cheeks pushing up in laughter. When lit from within, this jolly jack-o’-lantern spreads Halloween cheer.
5. Scary Thoughts Pumpkin
For a more conceptual approach, try the “scary thoughts” pumpkin. Carve a standard face on your pumpkin, then add a thought bubble coming from the top of the head. Inside the thought bubble, carve tiny spooky symbols like bats, spiders, or ghosts. This creative design suggests that even pumpkins have nightmares during Halloween! The contrast between the simple face and the detailed thought bubble creates visual interest and storytelling.
6. Spider Web Design
Spider webs are classic Halloween imagery and make for effective pumpkin carvings. Start with a circular cut at the center of your design face, then extend straight lines outward like spokes on a wheel. Connect these lines with curved segments to create the web effect. For added impact, carve a small spider on one part of the web. This design looks particularly effective when placed near entryways, as if guarding your home with spooky spider sentinels.
7. Silhouette Pumpkins
Silhouette designs offer dramatic visual impact with relatively simple carving techniques. Choose recognizable Halloween shapes like witches flying on broomsticks, howling wolves, or spooky trees. Trace your chosen silhouette onto the pumpkin, then carefully cut around the outline, removing the entire shape to allow light to shine through. The stark contrast between the dark pumpkin and the glowing silhouette creates a theatrical effect perfect for window displays.
8. Geometric Patterns
For those who prefer contemporary designs over traditional Halloween imagery, geometric patterns offer a modern alternative. Create repeating shapes like triangles, diamonds, or hexagons across the surface of your pumpkin. You can vary the size of the shapes to create visual interest or arrange them in gradients. This approach works particularly well for decorative indoor pumpkins and can complement modern home décor while still acknowledging the Halloween season.
9. Word Pumpkins
Make a statement with your pumpkin by carving words or short phrases. “Boo,” “Eek,” or “Happy Halloween” are popular choices that are relatively easy to execute. When selecting your text, choose bold, simple fonts with thick lines that won’t be too difficult to carve. For longer messages, consider using multiple pumpkins with one word on each. When lit and arranged in sequence, they create a glowing Halloween greeting.
10. Dripping Pumpkin
Create the illusion of dripping slime or blood with this spooky design. Carve a traditional face, then add irregular, elongated openings extending downward from the eyes and mouth. This creates the appearance of the pumpkin “melting” or oozing, adding a creepy dimension to your Halloween display. For extra effect, you can add green or red LED lights inside to create colored drips that enhance the eerie atmosphere.
11. Constellation Pumpkin
Bring the night sky to your Halloween décor with a constellation pumpkin. Use a drill with different-sized bits to create holes representing stars, then connect them with shallow carved lines to form recognizable constellations. Scorpio and Draco (the dragon) are particularly appropriate for Halloween. Place a bright light inside, and your pumpkin will project starry patterns onto nearby surfaces for a magical effect.
12. Stacked Pumpkin Totem
Create an impressive display by stacking several pumpkins of decreasing size on top of one another. Carve each with a different expression or design element that contributes to an overall character. For stability, use dowels to connect the pumpkins vertically. This multi-pumpkin sculpture creates height and visual interest in your Halloween display and allows you to showcase several carving techniques in one striking arrangement.
13. Etched Pumpkin
For a sophisticated look, try etching instead of cutting all the way through the pumpkin. Use a linoleum cutter or knife to remove just the outer skin of the pumpkin in your desired pattern, revealing the lighter flesh beneath. When illuminated from within, these areas will glow softly, creating a more subtle effect than traditional cut-through designs. This technique works beautifully for detailed designs like haunted houses or intricate Halloween scenes.
14. Polka Dot Pumpkin
Sometimes less is more. A simple pattern of varied-sized holes creates a festive, lantern-like effect that’s both modern and charming. Use a drill with different-sized bits to create holes in random or patterned arrangements across your pumpkin’s surface. This design emits a constellation-like glow when lit and offers a contemporary alternative to traditional face carvings that’s easy for beginners to master.
15. Monster Mouth Pumpkin
Transform your pumpkin into a hungry monster by focusing on creating an oversized, dominant mouth. Carve wide, gaping jaws with prominent teeth, making the mouth the main feature of your design. For added effect, position your pumpkin near Halloween candy or small decorative items, as if it’s about to devour them. This playful design brings personality to your Halloween display and is particularly popular with children.
Pumpkin Carving Tips and Techniques
To get the best results from your pumpkin carving endeavors, keep these helpful tips in mind:
- Choose a firm, fresh pumpkin with a flat bottom so it won’t roll
- Cut the lid at an angle so it won’t fall inside when replaced
- Thoroughly scrape the interior walls to a thickness of about 1-inch for easier carving
- Save the pumpkin seeds for roasting—they make a delicious snack!
- Apply petroleum jelly to the cut edges to keep them from drying out
- Use LED tea lights instead of real candles for safety
Preserving Your Carved Masterpiece
Once you’ve created your perfect pumpkin design, you’ll want it to last through the Halloween season. To extend the life of your carved pumpkin, spray all cut surfaces with a mixture of water and bleach (1 tablespoon bleach per quart of water). This helps prevent mold growth. Keep your pumpkin out of direct sunlight and extreme temperatures. When not on display, store your pumpkin in the refrigerator wrapped loosely in a damp cloth. With proper care, your carved pumpkin can last up to a week.
Frequently Asked Questions
Q: What’s the best type of pumpkin for carving?
A: Medium to large pumpkins with smooth, even surfaces work best for carving. Look for pumpkins that feel heavy for their size and have a sturdy stem, indicating freshness.
Q: How long before Halloween should I carve my pumpkin?
A: For best results, carve your pumpkin no more than 2-3 days before Halloween. In warmer climates, you might want to wait until the day before to ensure it looks fresh for trick-or-treaters.
Q: What can I do with the pumpkin pulp after carving?
A: Don’t waste the pulp! Separate the seeds for roasting, and use the flesh to make pumpkin soup, bread, or pie. The BBC Good Food website has excellent recipes for using pumpkin pulp.
Q: Are there alternatives to cutting all the way through the pumpkin?
A: Yes! Try etching or shaving the outer skin rather than cutting completely through. This creates a subtle, glowing effect when lit from within and allows for more detailed designs.
Q: How can I make pumpkin carving safer for young children?
A: Let adults handle the cutting, and involve children in the design process, drawing on the pumpkin, and scooping out seeds. Alternatively, use paint, stickers, or markers for no-carve pumpkin decorating with very young children.
With these creative ideas and helpful tips, your Halloween pumpkins are sure to be the highlight of your seasonal decorations. Happy carving!
References
- https://www.bbcgoodfood.com/howto/guide/easy-pumpkin-carving-ideas
- https://www.youtube.com/watch?v=KjuJ7GUFd4k
- https://www.discoverwildlife.com/people/wildlife-themed-pumpkin-carving-ideas
- https://www.gathered.how/arts-crafts/how-to-carve-a-pumpkin
- https://www.mumsnet.com/talk/food_and_recipes/4930735-anyone-got-a-good-recipe-to-use-up-pumpkin-pulp
Read full bio of Shinta







Community Experiences
Join the conversation and become a part of our empowering community! Share your stories, experiences, and insights to connect with other beauty, lifestyle, and health enthusiasts.