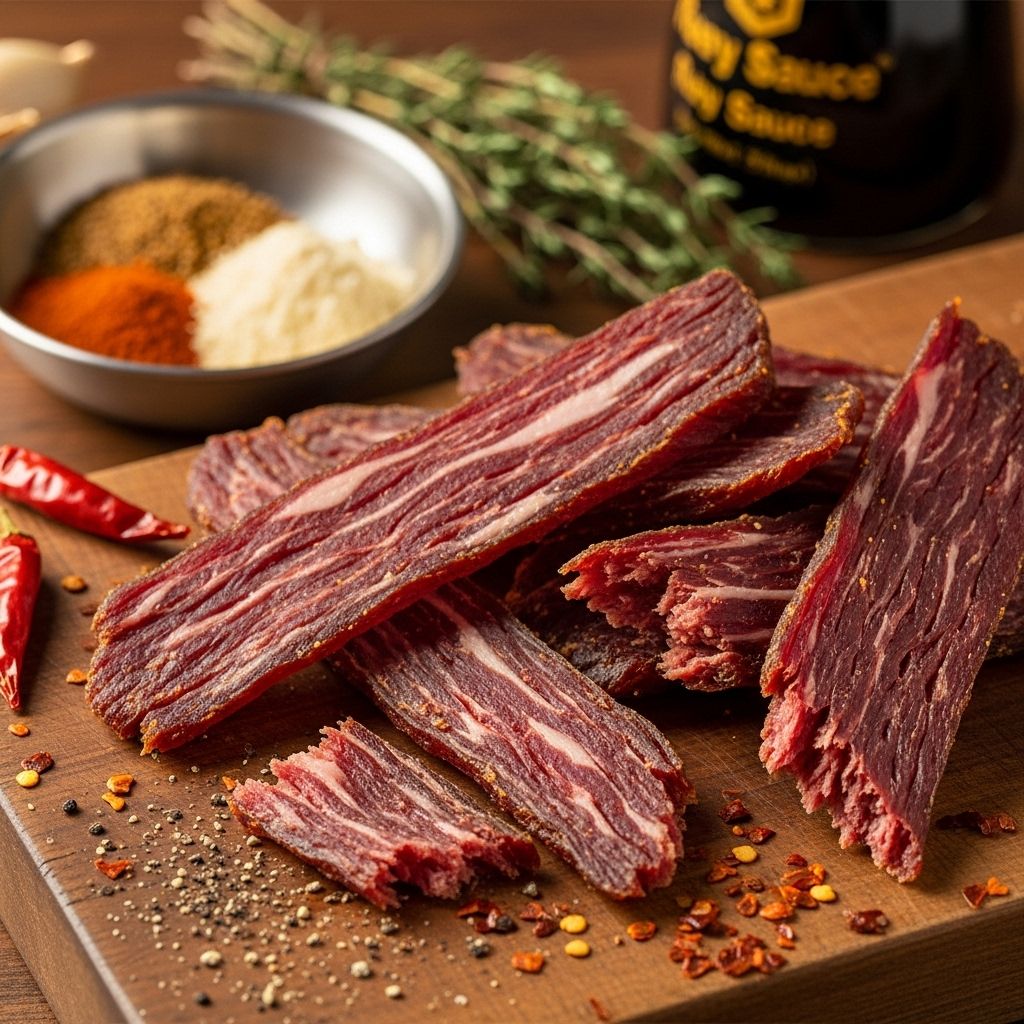
Best Homemade Beef Jerky Recipe: Expert Tips & Techniques
Master the art of making delicious, preservative-free beef jerky in your own kitchen

Image: HearthJunction Design Team
How to Make the Best Homemade Beef Jerky
Creating your own beef jerky at home is a rewarding process that results in a delicious, preservative-free snack that’s perfect for hiking, road trips, or simply enjoying as a high-protein treat. While store-bought jerky can be convenient, nothing beats the satisfaction and flavor of homemade jerky made exactly to your taste preferences. This guide will walk you through everything you need to know to create perfect beef jerky in your own kitchen, from selecting the right cut of meat to the final drying process.
Why Make Homemade Beef Jerky?
Before diving into the process, let’s explore why making your own beef jerky is worth the effort:
- Complete control over ingredients and flavors
- No preservatives or artificial additives
- Significantly more affordable than premium store-bought options
- Ability to customize the thickness, texture, and flavor profile
- Great way to preserve meat when you find a good sale
- Makes for thoughtful, homemade gifts
Homemade beef jerky also allows you to experiment with unique flavor combinations that you might not find in commercial products. Whether you prefer your jerky spicy, sweet, smoky, or savory, you can adjust the recipe to suit your exact preferences.
Selecting the Right Cut of Beef
The foundation of great beef jerky starts with choosing the right cut of meat. The ideal cuts for jerky are lean with minimal marbling, as fat can cause the jerky to spoil faster. Here are the best options:
- Eye of Round: Perhaps the most popular choice for jerky, this cut is very lean and has a uniform shape that makes it easy to slice consistently.
- Top Round or Bottom Round: These economical cuts from the rear leg of the cow are lean and flavorful.
- Sirloin Tip: Another lean option that works well for jerky making.
- Flank Steak: While a bit more expensive, flank steak has a robust beef flavor that makes exceptional jerky.
When purchasing meat for jerky, look for cuts with minimal fat on the edges and little to no marbling. If possible, ask your butcher to trim excess fat or do this yourself before slicing. Remember that the meat will lose about 2/3 of its weight during the drying process, so plan accordingly when determining how much to purchase.
Essential Equipment for Making Beef Jerky
While beef jerky has been made for centuries using only the sun and air, modern techniques provide more consistent and food-safe results. Here’s what you’ll need:
- Sharp Knife: A sharp chef’s knife or slicing knife is essential for cutting uniform slices.
- Cutting Board: A large, sturdy cutting board provides adequate space for slicing.
- Mixing Bowls: For preparing and holding your marinade.
- Ziplock Bags or Glass Containers: For marinating the meat.
- Drying Method: You have several options here:
- Food Dehydrator: The most consistent method for making jerky
- Oven with Wire Racks: A great alternative to a dehydrator
- Smoker: For those who want that authentic smoky flavor
- Wire Cooling Racks: If using an oven, these allow air to circulate around the meat.
- Paper Towels: For patting meat dry before drying.
- Meat Thermometer: To ensure food safety.
- Airtight Containers: For storing your finished jerky.
While not absolutely necessary, a meat slicer can be helpful if you plan to make jerky regularly, as it ensures consistent thickness across all your slices.
Step-by-Step Process to Perfect Beef Jerky
1. Preparing the Meat
Proper preparation is crucial for creating tender, flavorful jerky:
- Partially freeze the meat: Place your beef in the freezer for about 1-2 hours until it’s firm but not completely frozen. This makes it much easier to slice thinly and consistently.
- Trim all visible fat: Fat does not dry properly and can cause your jerky to spoil faster, so be thorough in removing it.
- Slice the meat: Using your sharpened knife, slice the beef between 1/8 and 1/4 inch thick. You can slice with or against the grain:
- Slicing with the grain produces chewier jerky with a more traditional texture
- Slicing against the grain creates more tender jerky that’s easier to bite through
- Ensure consistent thickness: Try to keep all slices at a uniform thickness to ensure even drying.
2. Creating the Perfect Marinade
The marinade is where you can really personalize your jerky. A basic marinade contains salt (for preservation and flavor), some form of sweetener, and spices, but you can get creative with countless variations. Here’s a classic marinade recipe that serves as an excellent starting point:
Classic Beef Jerky Marinade
- 1/2 cup soy sauce
- 1/4 cup Worcestershire sauce
- 2 tablespoons brown sugar
- 2 teaspoons freshly ground black pepper
- 1 teaspoon garlic powder
- 1 teaspoon onion powder
- 1 teaspoon smoked paprika
- 1/2 teaspoon red pepper flakes (adjust to taste)
- Optional: 1 teaspoon meat tenderizer (containing papain or bromelain)
To prepare the marinade, simply combine all ingredients in a bowl and whisk until the sugar is completely dissolved. For more tender jerky, you can add a meat tenderizer or acidic ingredients like pineapple juice, which contains natural enzymes that help break down muscle fibers.
3. Marinating Process
Proper marination is key to flavorful jerky:
- Place your sliced meat in a ziplock bag or glass container.
- Pour the marinade over the meat, ensuring all pieces are evenly coated.
- Seal the container and refrigerate for at least 12 hours, though 24 hours will provide better flavor penetration.
- If using a bag, turn it occasionally to ensure even marination. If using a container, stir the meat a few times during marination.
The longer you marinate, the more intense the flavor will be, but don’t exceed 48 hours as the meat can begin to break down too much.
4. Preparing for Drying
Once your meat has properly marinated, it’s time to prepare for the drying process:
- Remove the meat from the marinade and pat each piece dry with paper towels. This speeds up the drying process and prevents dripping.
- Arrange the meat on your drying racks, ensuring pieces don’t touch or overlap to allow for proper air circulation.
- For food safety, preheat your oven to 165°F (74°C) and cook the jerky at this temperature for the first 30 minutes to kill any bacteria before reducing the temperature for the drying process.
5. Drying Methods
Using a Food Dehydrator:
- Arrange marinated meat strips on dehydrator trays, ensuring they don’t overlap.
- Set the temperature to 155-160°F (68-71°C).
- Dry for 4-6 hours, checking periodically for desired doneness.
Using an Oven:
- Preheat oven to 175°F (80°C).
- Line baking sheets with aluminum foil for easy cleanup.
- Place wire cooling racks on the baking sheets.
- Arrange meat on the racks in a single layer.
- Prop the oven door open slightly with a wooden spoon to allow moisture to escape.
- Bake, rotating the pans halfway through, for 3-4 hours until properly dried.
Using a Smoker:
- Preheat smoker to 160-180°F (71-82°C).
- Hang or place meat strips on smoking racks.
- Add your choice of wood chips for flavor (hickory and mesquite work well).
- Smoke for 4-5 hours, monitoring temperature and adding chips as needed.
6. Testing for Doneness
Properly dried jerky shouldn’t be too dry or too moist. To test for doneness:
- Remove a piece from the heat and let it cool to room temperature.
- The jerky should bend and crack but not break when bent in half.
- It should be dry to the touch but not brittle.
- When torn, it should have a leathery appearance with fibers visible at the tear.
If the jerky feels too moist, continue drying in 30-minute increments until the desired texture is achieved.
Storing Your Homemade Beef Jerky
Proper storage is essential to maintain the quality and safety of your jerky:
- Short-term storage: Store in an airtight container at room temperature for up to one week.
- Medium-term storage: Refrigerate in an airtight container for up to two months.
- Long-term storage: Freeze in vacuum-sealed bags for up to 6 months.
For maximum freshness, add a food-grade desiccant packet to your storage container to absorb any remaining moisture. Always check your jerky before eating—if you notice any mold or off smells, discard it immediately.
Troubleshooting Common Jerky Issues
| Problem | Possible Cause | Solution |
|---|---|---|
| Too tough/brittle | Over-dried or sliced too thin | Reduce drying time or slice slightly thicker |
| Too chewy/moist | Under-dried or sliced too thick | Increase drying time or slice thinner |
| Mold develops quickly | Insufficient drying or improper storage | Ensure jerky is properly dried and store in airtight containers |
| Too salty | Too much salt in marinade or marinated too long | Reduce salt in marinade or marination time |
| Uneven drying | Inconsistent slice thickness or poor air circulation | Ensure uniform slicing and proper spacing on racks |
Creative Flavor Variations
Once you’ve mastered the basic jerky technique, experiment with these popular flavor profiles:
- Teriyaki: Add soy sauce, ginger, garlic, and a touch of honey
- Spicy: Increase red pepper flakes and add cayenne or hot sauce
- Sweet and Spicy: More brown sugar plus chili powder and cayenne
- Peppered: Heavy on the freshly cracked black pepper
- Barbecue: Add liquid smoke, paprika, and your favorite BBQ sauce
Frequently Asked Questions About Beef Jerky
Q: Is making beef jerky at home safe?
A: Yes, homemade beef jerky is safe when proper food handling practices are followed. The key is ensuring the meat reaches 160°F (71°C) at some point in the process to kill harmful bacteria, and then drying it sufficiently to prevent moisture-loving microorganisms from growing.
Q: How do I know if my jerky has gone bad?
A: Discard jerky if you notice any mold growth, off odors, unusual discoloration, or excessively hard texture. When in doubt, throw it out.
Q: Can I make jerky from other meats besides beef?
A: Absolutely! Turkey, venison, bison, and even salmon make excellent jerky. Just be sure to adjust drying times as leaner meats may dry faster.
Q: Why is my jerky too salty?
A: You may have used too much salt in your marinade or marinated the meat for too long. Try reducing the salt content or marination time in your next batch.
Q: How can I make my jerky more tender?
A: Slice against the grain, use a meat tenderizer in your marinade, or include acidic ingredients like pineapple juice or vinegar which help break down muscle fibers.
Making beef jerky at home allows you to create a healthier, more flavorful alternative to store-bought versions. With practice, you’ll develop your own signature recipe that perfectly matches your taste preferences. Happy jerky making!
References
Read full bio of Srija Burman


