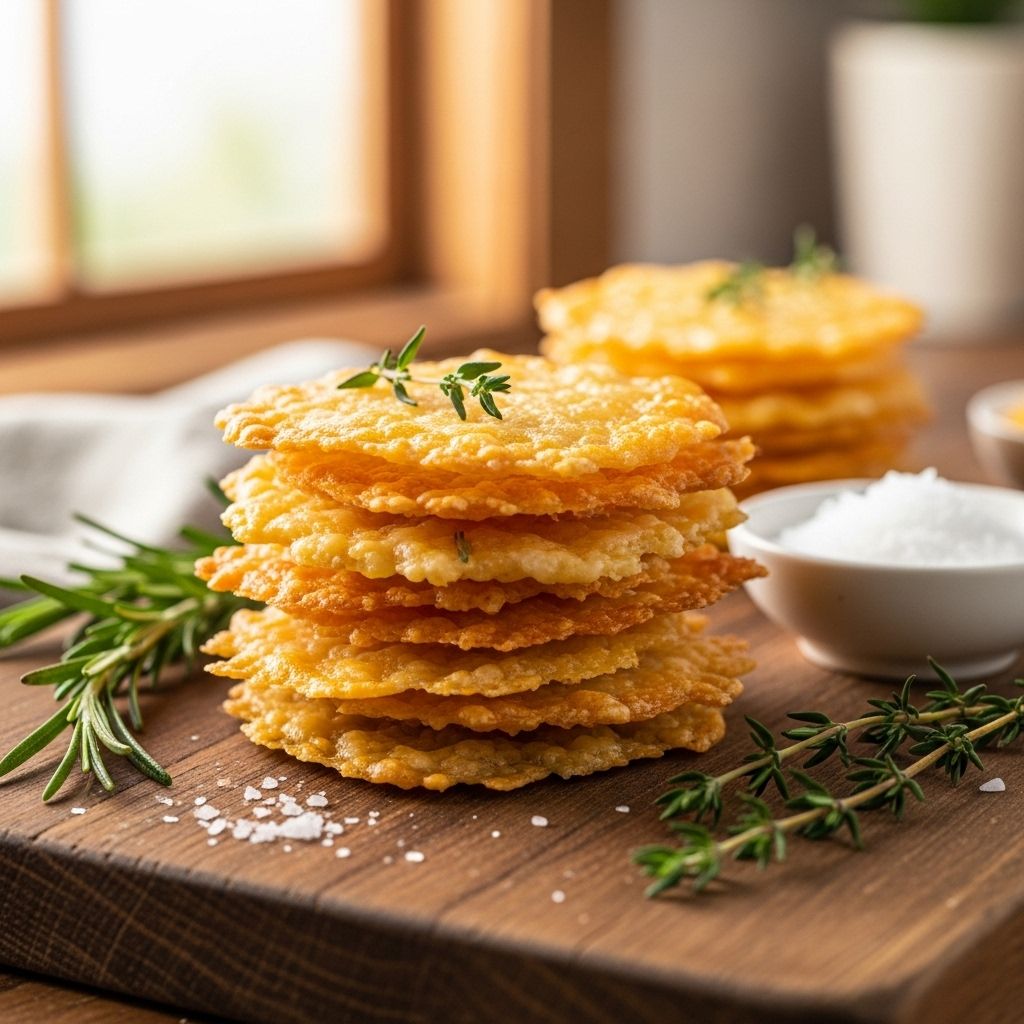
Basic Keto Cheese Crisps: A Crunchy, Low-Carb Snack Recipe
Melted dairy transformed into golden, gluten-free bites that add crunch to any spread.

Image: HearthJunction Design Team
Basic Keto Cheese Crisps: The Ultimate Low-Carb, One-Ingredient Snack
If you’re searching for a crunchy, savory snack that aligns perfectly with your keto or low-carb lifestyle, look no further than basic keto cheese crisps. With just one ingredient and less than 15 minutes from start to finish, these crisps are a testament to how simplicity can deliver amazing taste and texture. Whether you need a midday snack, crave something crunchy to accompany your salad, or want a sturdy vessel for your favorite dips, keto cheese crisps are a versatile solution that satisfies without compromise.
Why Cheese Crisps Are the Keto Favorite
Cheese crisps have become increasingly popular among the keto, paleo, and gluten-free communities for several key reasons:
- One-ingredient recipe: All you need is your favorite cheese.
- Naturally low in carbohydrates: Perfect for those restricting carbs.
- Gluten-free and grain-free: Safe for those with celiac disease or gluten sensitivities.
- Quick to prepare: Less than 15 minutes from start to finish.
- Customizable: Add your favorite herbs or spices for extra flavor.
Ingredients and Equipment
Making keto cheese crisps couldn’t be simpler. Here’s what you need to get started:
- Cheese: The classic version uses shredded cheese. Cheddar, Parmesan, Colby, or Monterey Jack all work well. You can also use a blend for complex flavor.
- Parchment paper: For lining your baking sheet to prevent sticking.
- Baking sheets.
- Oven: Preheated to 400 degrees F (200 degrees C).
- Optional spices: Try adding black pepper, paprika, or Italian herbs.
Choosing Your Cheese
The most popular options include:
- Cheddar: Sharp, melts well, and delivers a classic crisp.
- Parmesan: Extra crispy, nutty flavor.
- Swiss: Slightly sweet, melts with a lacy texture.
- Pepper Jack: For a spicy twist.
- Colby: Mild and smooth.
- Mozzarella: Mild flavor, slightly less crispy due to moisture.
Step-by-Step Instructions
- Preheat your oven to 400 degrees F (200 degrees C). This high heat is essential for crisping.
- Prepare the baking sheet: Line two baking sheets with parchment paper. This prevents sticking and helps with even baking.
- Shred the cheese if using blocks. Use a generous hand, as the cheese will spread and crisp as it bakes.
- Arrange the cheese in 24 small, evenly-sized heaps on your prepared baking sheets. Each mound should be about a tablespoon of shredded cheese, spaced apart to allow for spreading.
- Bake in the preheated oven for roughly 7 minutes, or until the edges are golden brown and lacy.
- Cool for 5 to 10 minutes on the baking sheet before transferring. This allows them to firm up and develop their crisp texture.
Pro Tips for Perfect Cheese Crisps
- Space the mounds well apart; cheese spreads as it melts.
Read full bio of Anjali Sayee


