Vermicomposting: A Complete Step-by-Step Beginner’s Guide
Learn how to transform kitchen scraps into nutrient-rich compost through the sustainable practice of vermicomposting at home.

Vermicomposting Step-By-Step: The Complete Beginner’s Guide
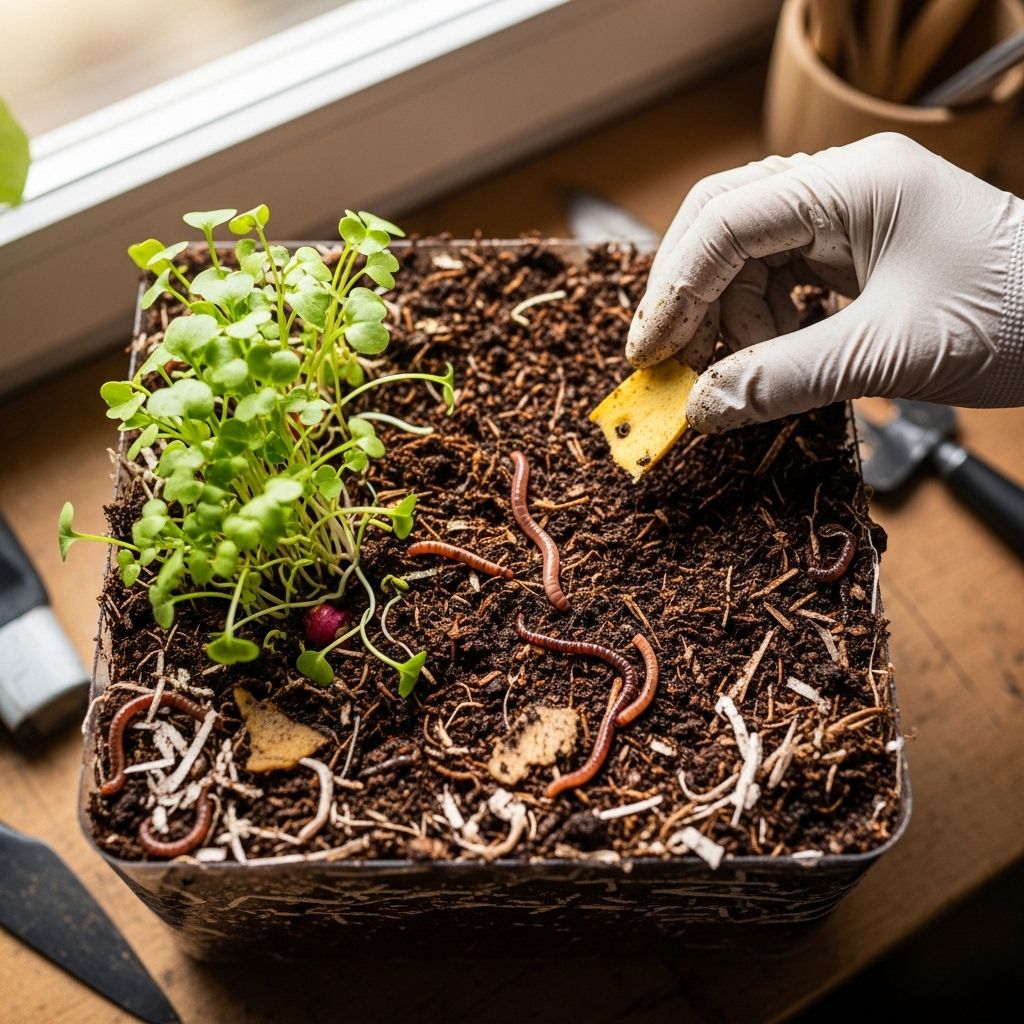
Vermicomposting, also known as worm composting, is a sustainable and efficient method of recycling organic kitchen waste into nutrient-rich compost. Using composting worms, most commonly red wigglers, this process not only reduces landfill waste but also produces a natural soil amendment prized by gardeners for its ability to enhance plant health, improve soil structure, and increase yield. This in-depth guide walks you through every stage of vermicomposting, from setting up your worm bin to harvesting the finished compost and troubleshooting common issues along the way.
Table of Contents
- What Is Vermicomposting?
- How Vermicomposting Works
- Supplies Needed for Vermicomposting
- Step-by-Step Vermicomposting Setup
- How and What to Feed Your Worms
- Maintaining Your Vermicompost Bin
- Harvesting and Using Worm Castings
- Troubleshooting Common Problems
- Frequently Asked Questions (FAQs)
What Is Vermicomposting?
Vermicomposting is the breakdown of organic matter like food scraps and paper by specific species of worms, creating compost and worm castings that can be used to enrich garden soil. Unlike traditional composting, which relies on microbes and heat, vermicomposting is cold composting and can be done indoors all year round.
- Key worms used: Red wigglers (Eisenia fetida) are the most effective due to their appetite for decaying organic material and rapid reproduction.
- What it produces: Worm castings (also called vermicast) and a liquid byproduct known as worm tea, both valued for their plant-boosting nutrients.
- Benefits: Reduces food waste, produces high-quality compost, and can be done on a small or large scale, making it suitable for apartments, classrooms, and gardens.
How Vermicomposting Works
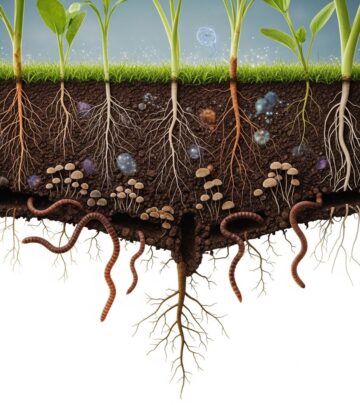
Vermicomposting relies on worms and beneficial microbes to transform organic waste into stable humus. The process occurs at room temperature in a bin with controlled moisture and aeration.
- Worms consume organic material such as fruit and vegetable scraps and bedding.
- Organic matter passes through the worms’ digestive systems, breaking down into fine, nutrient-rich castings.
- Finished compost is harvested periodically, and the process repeats as long as the bin is maintained properly.
Supplies Needed for Vermicomposting
Before you start, gather the following essential supplies:
- Composting bin (with lid):
- Plastic or wood are common; size depends on waste generated (typical start: 10-18 gallons).
- Factory-made specialized vermicomposters (like stackable trays or in-ground Subpod systems) are available, but a DIY bin works well.
- Bedding material:
- Moistened, shredded newspaper, cardboard, or coconut coir.
- Mixed with a handful of plain, non-toxic soil for grit and microorganisms.
- Red wiggler worms (Eisenia fetida):
- Start with ½ to 1 pound (about 500–1,000 worms) for small bins; more for larger bins.
- Do not use earthworms or nightcrawlers (they are not adapted for box composting).
- Food scraps:
- Preferably chopped, non-citrus, non-meat kitchen waste.
- Water spray bottle (to maintain moisture)
- Small trowel or garden fork (optional, for turning material)
- Container for collecting food scraps before adding to bin
- Screening or mesh (to cover drainage/air holes and prevent worm escape)
Step-by-Step Vermicomposting Setup
1. Choose and Prepare Your Bin
- Pick a well-ventilated bin with drainage holes.
- Drill small holes (1/8 to 1/4 inch) along the top edges and base for air flow and excess liquid drainage.
- Line holes on the inside with breathable mesh (e.g., plastic or vinyl screen) and secure with waterproof glue to keep worms in and pests out.
2. Add Bedding
- Tear newspaper or cardboard into strips or use coconut coir.
- Add enough bedding to fill one-third of the bin.
- Moisten bedding thoroughly so it feels like a wrung-out sponge—damp but not dripping.
- Mix in a small handful of soil to introduce beneficial microbes and provide grit for worm digestion.
3. Introduce the Worms
- Gently place worms on top of the bedding; they will move downward away from light on their own.
- Let them acclimate to their new home for a day before their first feeding.
4. Find a Placement Location
- Keep the bin in a spot with stable temperatures between 55°F and 80°F (13°C to 27°C); avoid direct sunlight or freezing areas.
- Basements, heated garages, laundry rooms, or shady outdoor locations can all work, as long as temperatures are consistent.
5. Prepare the First Feeding
- Wait 24 hours after adding worms before feeding them for the first time.
- Start with a small amount of food scraps, placing them in a shallow trench inside the bedding.
- Cover scraps completely with bedding to minimize odors and discourage pests.
How and What to Feed Your Worms
Feeding your worms properly is crucial for a healthy bin.
| Feed | Avoid |
|---|---|
|
|
- Frequency: Feed once a week or when previous food has disappeared. Overfeeding causes odors and pests.
- Amount: As worms multiply, gradually increase the quantity of food offered. A pound of worms can process up to half a pound of food per day.
- Technique: Collect scraps in a small, airtight container during the week. When ready, dig a hole in the bedding, add scraps, and re-cover with moist bedding.
- Observe: If food remains after a week, you’re feeding too much. Adjust accordingly and remove any uneaten, molding food.
Maintaining Your Vermicompost Bin
- Moisture: Keep bedding as damp as a wrung-out sponge. Dry bedding slows decomposition; soggy bins cause odors and can drown worms. Mist bedding or add dry material as needed.
- Temperature: Ideal range: 65–77°F (18–25°C). Move bin indoors during extreme temperatures.
- Aeration: Fluff or gently turn the bedding once a week. Allows oxygen in and prevents compaction.
- Bedding replenishment: Every few weeks, mix in more dry bedding to replace what has broken down and keep conditions balanced.
- Watch for pests: Fruit flies indicate exposed food or excess moisture. Cover food thoroughly and avoid overfeeding.
Harvesting and Using Worm Castings
After about 3–6 months, the bedding and food scraps will be mostly transformed into rich, dark worm castings. These castings are an excellent organic fertilizer for garden beds or potted plants.
- Harvest when: The bin appears full of finely textured, brown-black compost with few recognizable food scraps.
- Harvesting methods:
- Migration/Tray method: Push castings to one side and add new bedding/food to the opposite side. Worms migrate to the fresh area in a few weeks. Remove finished compost.
- Dump and sort: On a tarp, separate castings from worms by hand or with light (worms flee light, burrowing downward). Return the worms and any unfinished material to the bin.
- Use of castings:
- Mix into potting soil or garden beds for a natural fertilizer boost.
- Brew worm tea by steeping a small amount of castings in water and use it to water plants.
Troubleshooting Common Problems
- Odors: Strong smells mean overfeeding or too much moisture. Remove uneaten food, mix in dry bedding, and check moisture levels.
- Fruit flies: Always bury food under bedding. Use covers like moistened newspaper or cardboard. Avoid overripe or sugary fruits.
- Worms escaping: May indicate that conditions are too wet, too dry, or food is rotten. Adjust moisture, stop feeding temporarily, and ensure bin is in the recommended temperature range.
- Pests (mites, ants): Control by reducing moisture, removing infested food, and keeping lids tight.
- Bin is too dry: Mist bedding with water.
- Bin is too wet: Add shredded paper or cardboard to absorb excess moisture.
Frequently Asked Questions (FAQs)
Q: How long does it take to start harvesting worm compost?
A: Typically, 3 to 6 months are needed before you can begin to harvest the first batch of worm castings. Subsequent cycles may be faster as the worm population grows.
Q: Can I vermicompost during winter?
A: Yes, vermicomposting can be done year-round if the bin is kept indoors at room temperature. Outdoor bins need to be protected from frost and temperature extremes.
Q: What should I do if my worms are trying to escape?
A: Check for environmental stress: the bin may be too wet, too dry, too hot, or too acidic, or contain unsuitable food. Address these conditions and the worms should settle back in.
Q: How do I stop fruit flies from invading the worm bin?
A: Always bury food well under ample bedding, minimize the addition of fruit scraps, and keep a layer of damp newspaper over the surface to prevent flies from accessing food.
Q: Is the liquid collecting at the bottom usable?
A: The liquid (leachate) can contain plant pathogens or excess salts; it should be diluted before use or composted further as ‘worm tea’ made from finished castings is safer for plants.
Tips for Vermicomposting Success
- Start small and scale up your worm bin as you gain confidence.
- Chop or tear food into small pieces to speed up decomposition.
- Consistently monitor moisture and temperature for best results.
- Record when you add worms and their food to keep track of bin cycles and troubleshoot patterns.
- Share castings or extra worms with neighbors and gardeners to spread sustainability!
References
- https://www.vegogarden.com/blogs/academy/how-to-vermicompost-successfully-in-10-easy-steps
- https://www.epa.gov/recycle/how-create-and-maintain-indoor-worm-composting-bin
- https://growingspaces.com/blog/what-is-vermiculture/
- https://www.leaflimb.com/how-to-make-vermicompost/
- https://unclejimswormfarm.com/vermicomposting-for-beginners/
- https://urbanwormcompany.com/how-to-start-worm-bin/
- https://compost.css.cornell.edu/worms/steps.html
- https://urbanwormcompany.com/vermicomposting-ultimate-guide-beginner-expert/
- https://memesworms.com/blogs/news/4-steps-to-starting-a-composting-bin-turning-kitchen-scraps-into-garden-gold
Read full bio of Sneha Tete


