DIY Compost Bins You Can Build in One Day
Transform your kitchen and yard waste into nutrient-rich compost with easy DIY bins you can assemble in a single day.

Introduction: Why Build Your Own Compost Bin?
Composting is one of the most rewarding and sustainable habits for any gardener or eco-conscious homeowner. By turning kitchen and yard waste into a nutrient-rich soil amendment often called “black gold”, you divert food scraps from landfills, improve soil health, and support a greener lifestyle. While store-bought compost bins are convenient, building your own is cost-effective, customizable, and surprisingly simple. This article guides you through easy DIY compost bin designs you can assemble in a single day, so you can start composting and benefiting your garden immediately.
Benefits of Composting at Home
- Reduces landfill waste: Organic scraps make up a large portion of household trash, composting keeps them out of landfills.
- Enriches garden soil: Compost enhances soil fertility, structure, and water retention.
- Saves money: Use homemade compost instead of commercial fertilizers.
- Lowers greenhouse gas emissions: Minimizes methane production from decomposing organic matter in packed landfills.
- Promotes healthy plant growth: Provides balanced nutrients and beneficial microorganisms.
Materials You Can Use for DIY Compost Bins
Many recycled and affordable materials make excellent compost bins. Choose what’s available, affordable, and suits your composting volume and space.
- Wooden pallets – sturdy and easy to source, often free from warehouses or stores.
- Wire mesh/hardware cloth – provides good airflow, inexpensive, ideal for open bins.
- Plastic storage bins – accessible, lightweight, good for indoor or worm composting.
- Recycled trash cans – convert old garbage bins into composting barrels.
- Cinder blocks or bricks – for heavy-duty, long-lasting compost setups.
Types of Compost Bins You Can Build in One Day
Below are several popular and practical designs, each suitable for different spaces and needs. Choose one (or more) to start your composting journey:
1. Classic Wood Pallet Compost Bin
Skill level: Beginner
Materials: 4 wood pallets, zip ties or screws, optional gate or fifth pallet for front.
Steps:
- Stand three pallets upright to form three sides of a square.
- Secure corners together using zip ties or screws.
- Attach the fourth pallet as the back wall.
- Optionally, use a fifth pallet as a hinged gate on the front for easy access.
This design is inexpensive, provides excellent airflow, and is easy to expand into a multi-bin system for larger gardens.
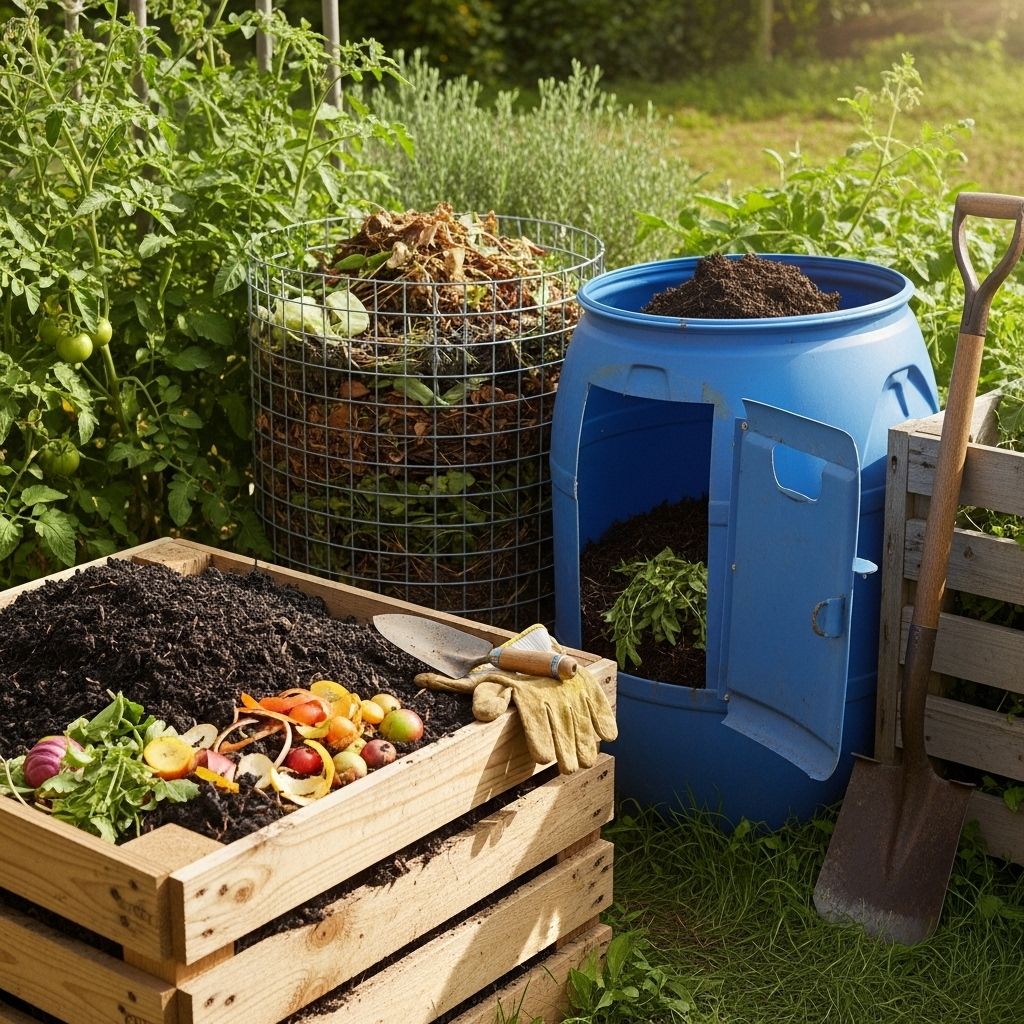
2. Wire Mesh Bin
Skill level: Beginner
Materials: Hardware cloth or chicken wire (approx. 10 feet), stakes, twist ties or wire cutters.
Steps:
- Roll the wire into a cylinder around 3-4 feet in diameter.
- Secure edges together using twist ties or wire.
- Place the bin on level ground and stake it to keep it upright.
- Fill with alternating layers of green and brown organic material.
Wire bins offer easy aeration, are lightweight, and can be moved as needed. They are ideal for smaller yards or beginner composters.
3. Wooden Slat Bin
Skill level: Intermediate
Materials: Wooden pickets or boards, 2×2 posts for corners, screws, hardware cloth for aeration.
Steps:
- Cut wooden boards to size for bin sides (typically 3×3 feet).
- Attach boards to 2×2 posts to form an open box.
- Staple hardware cloth to sides and lid for ventilation.
- Add a removable lid and optional hinged front for access.
This open-sided design balances durability and breathability, supporting fast compost breakdown.
4. Trash Can or Barrel Compost Bin
Skill level: Beginner
Materials: Large plastic or metal trash can with lid, drill.
Steps:
- Drill 10-20 holes evenly around the sides and the bottom for air flow and drainage.
- Fill with alternating layers of ‘greens’ (kitchen scraps) and ‘browns’ (dry leaves, shredded paper).
- Cover with the lid and shake/roll the can every few days to aerate the compost.
A repurposed trash can keeps odors contained, pest-resistant, and is ideal for small spaces or patios.
5. Indoor Kitchen Compost Bin
Skill level: Beginner
Materials: Plastic container with tight-fitting lid, optional charcoal filter, drill.
Steps:
- Drill small holes in the lid for air flow.
- Line the lid with a charcoal filter for odor control (optional).
- Store under the sink, on countertop, or in your refrigerator/freezer.
This bin stores kitchen scraps conveniently between trips to your outdoor compost pile, minimizing smells indoors.
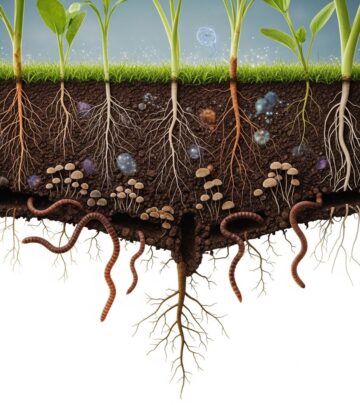
6. Worm Bin (Vermicompost)
Skill level: Beginner
Materials: Plastic storage bin, drill, bedding (shredded newspaper, cardboard, dry leaves), red wiggler worms.
Steps:
- Drill drainage and aeration holes in bottom and sides of container.
- Prep bedding (shred, moisten, and add to bin).
- Add worms and fruit/vegetable scraps.
- Cover scraps with bedding and secure lid.
Vermicomposting is perfect for apartments or homes without a yard. It produces rich castings for indoor plants or garden beds and is odor-free when properly maintained.
How to Start and Maintain Your Compost Bin
Getting started involves collecting kitchen scraps and yard waste, and building up the pile with the correct ratios of ‘greens’ and ‘browns’.
- Greens: Fruit and vegetable scraps, coffee grounds, tea bags, fresh grass clippings.
- Browns: Dry leaves, twigs, cardboard, sawdust, shredded newspaper.
Begin your pile with a thick layer of browns at the base to absorb excess moisture and encourage aeration. Build the pile in layers, making sure to cover each addition of fresh greens with a layer of browns to minimize odors and pests. To keep your compost healthy and active:
- Turn the pile regularly to aerate and speed decomposition.
- Keep it moist – like a wrung-out sponge, but not soggy.
- Monitor temperature: Active piles will heat up; high temperatures help kill weed seeds and pathogens.
What NOT to Compost
- Meat, bones, fish – attract pests, slow decomposition.
- Dairy products, greasy/oily foods – cause odors, attract rodents.
- Pet waste – may contain harmful pathogens.
- Sick plant material, weeds with seeds – spread disease/weeds in garden.
- Glossy/coated paper – contains chemicals and resists breakdown.
Harvesting and Using Your Finished Compost
Depending on materials, airflow, and regular turning, finished compost may take 3-6 months. Mature compost is dark, crumbly, and smells earthy. To harvest:
- Remove unfinished material from the top and set it aside.
- Shovel out finished compost from the bottom for use.
- Mix compost into garden beds, spread as mulch, or blend into potting soil.
If using a worm bin, harvest castings every few months by separating worms from the finished compost and starting with fresh bedding.
Common Problems and Solutions
| Problem | Cause | Solution |
|---|---|---|
| Bad odor | Too many greens, not enough browns; lack of air | Add more browns, turn pile frequently |
| Pile is dry & slow | Not enough moisture | Add water and greens, mix well |
| Pests/rodents | Composting meat/dairy/greasy foods | Remove problem materials, bury food scraps |
| Pile not heating | Small pile, poor aeration, lack of greens | Add more greens, increase pile size, turn regularly |
Advanced Tips: Multi-Bin Systems and Tumblers
Once you’ve mastered basic compost bin construction, consider upgrading for more efficient decomposition or larger volume:
- Multi-bin systems: Use three side-by-side bins: one for fresh material, one for active composting, and one for curing finished compost. This makes managing continuous composting easier.
- Compost tumblers: Rotating barrel designs speed up the composting process and are convenient for turning material regularly. These can be built from large barrels or drums mounted on a frame.
Frequently Asked Questions (FAQs)
Q: How long does composting take?
For most backyard bins, finished compost is ready in 3–6 months. Vermicomposting can produce usable castings in 2–3 months.
Q: Can I compost in cold climates?
Yes. Composting slows down in winter but resumes as temperatures rise. Insulate your bin or move it to a sunnier spot if possible.
Q: Is it necessary to turn the compost pile?
Turning the pile aerates the material and speeds decomposition. For fastest results, turn it every few weeks, but compost will still break down without turning—just more slowly.
Q: Do I need to add worms to my compost pile?
Not for standard outdoor compost bins—the worms will find their way. Use worms intentionally only for your indoor worm bin.
Q: Can I compost weeds or diseased plants?
Compost weeds only before they set seed; avoid diseased plants unless your pile reliably reaches above 130°F to kill pathogens.
Conclusion: The One-Day DIY Difference
Building a compost bin is an empowering, eco-friendly project that benefits your garden and the planet. With these simple designs using pallets, wire, trash cans, or storage bins, you can start composting in just one day. Gather your materials, follow the steps, and soon you’ll enjoy nutrient-dense compost, reduced household waste, and healthier homegrown plants.
References
Read full bio of medha deb


